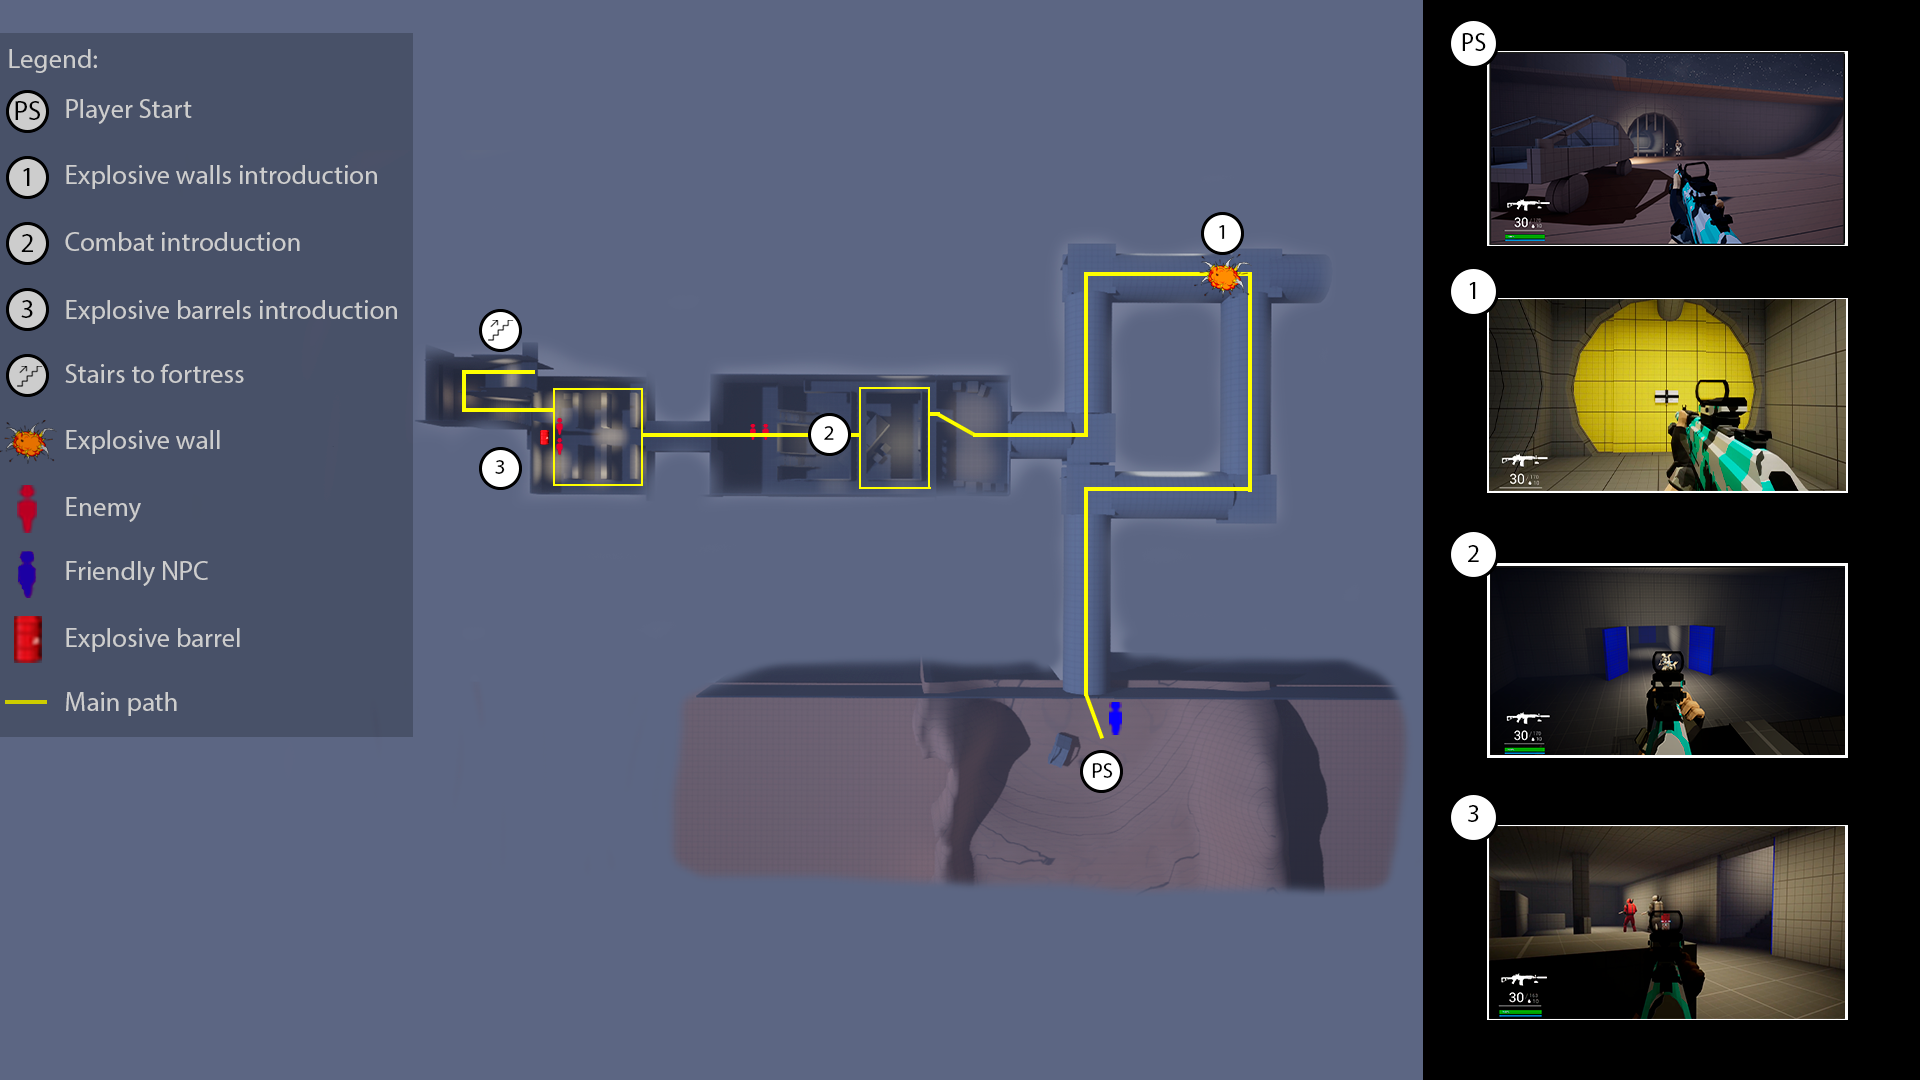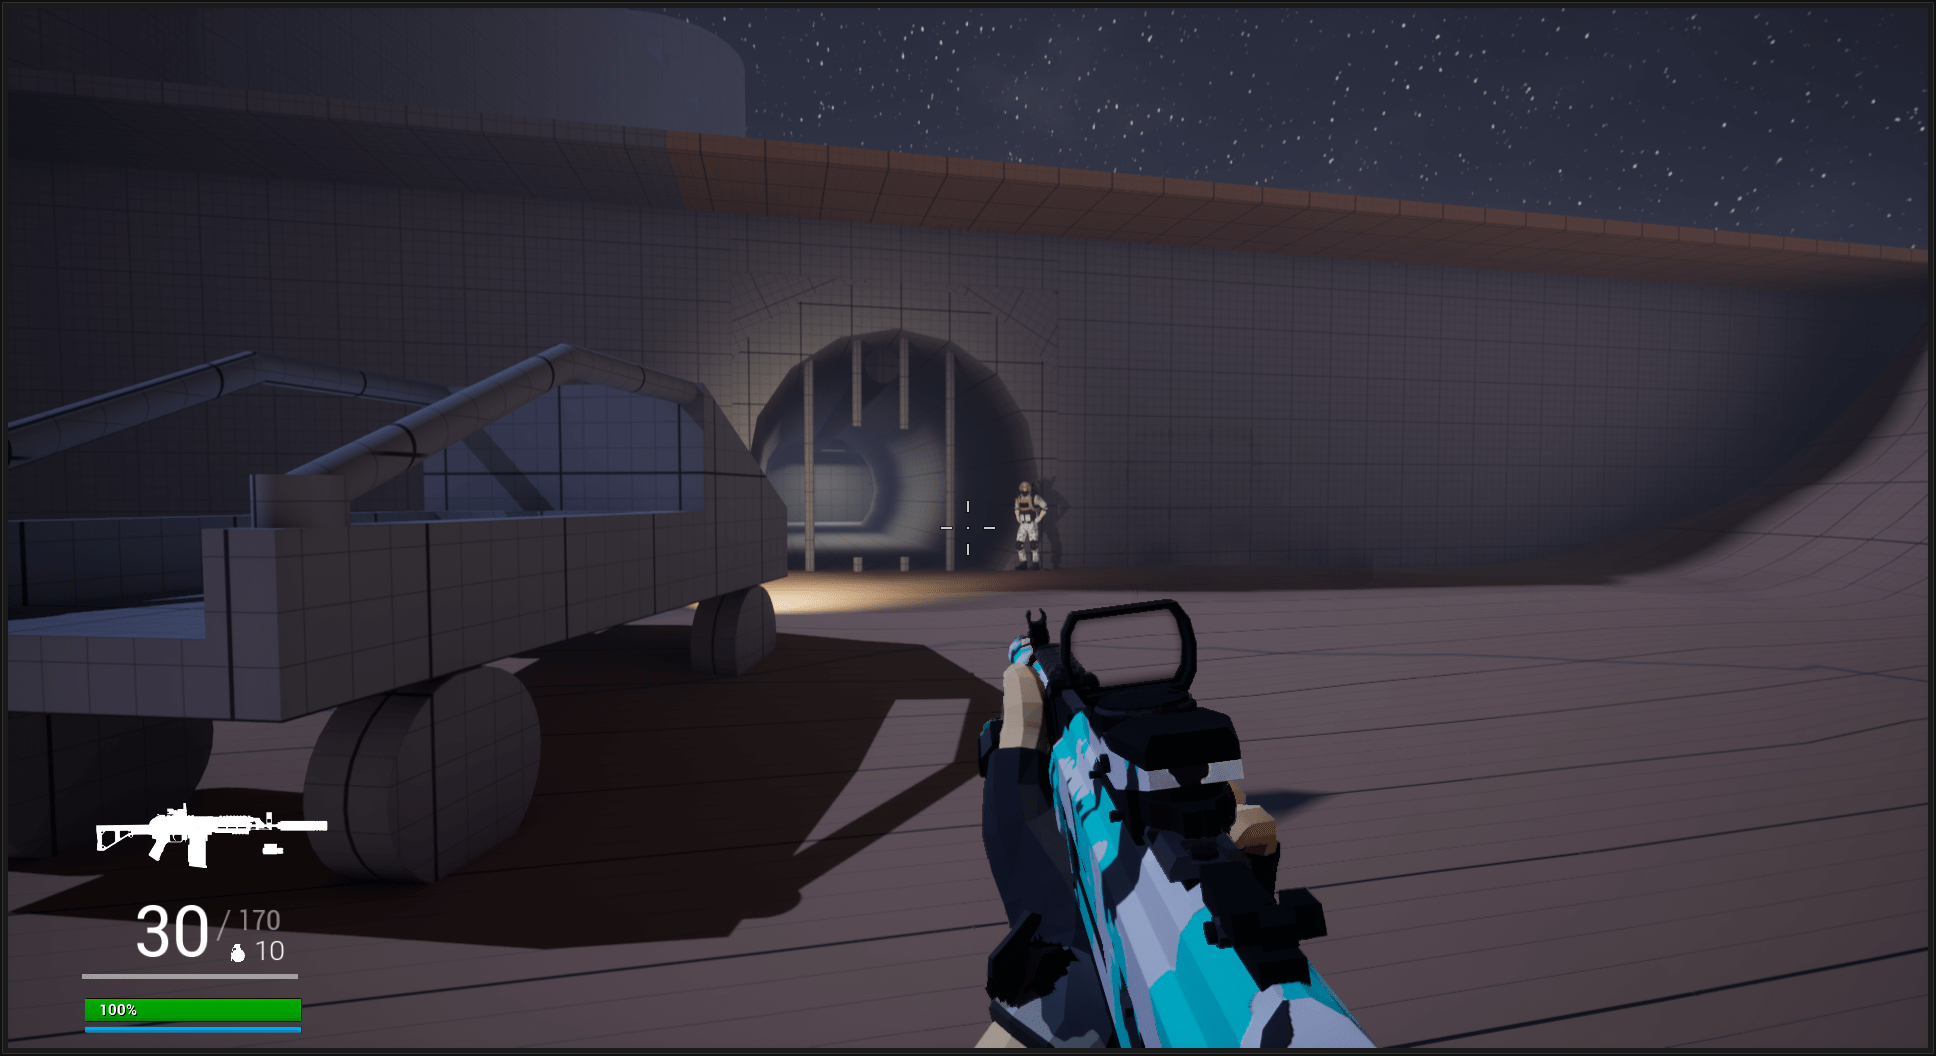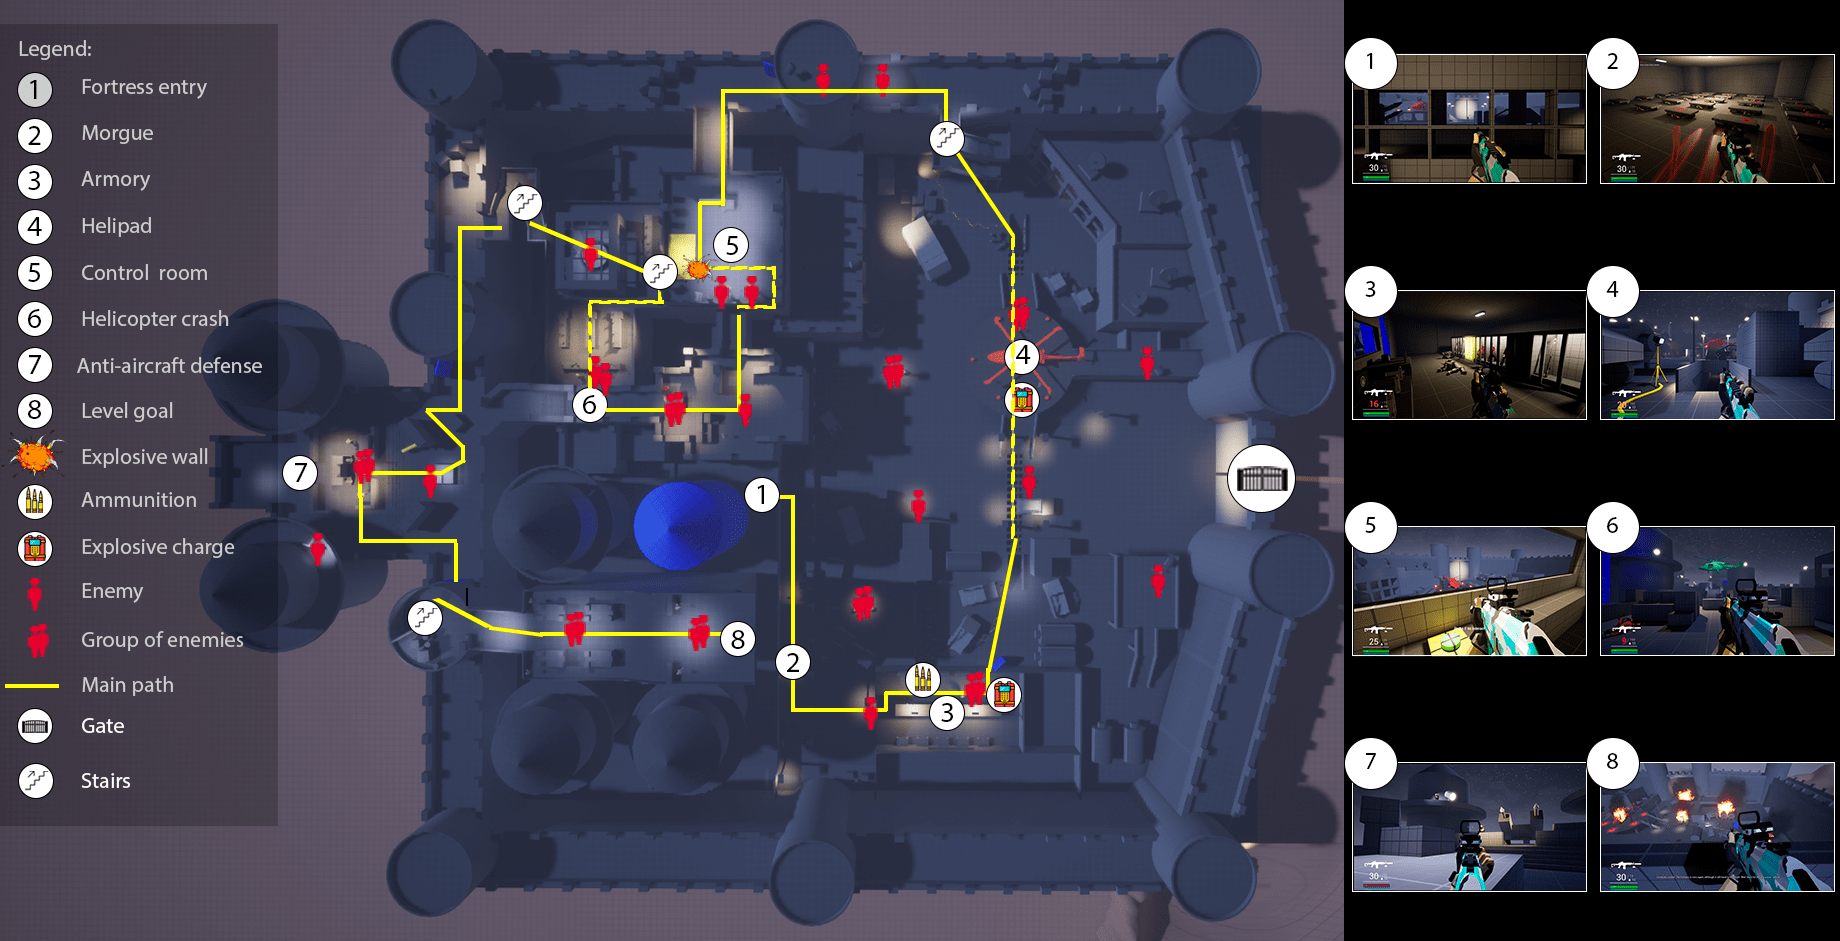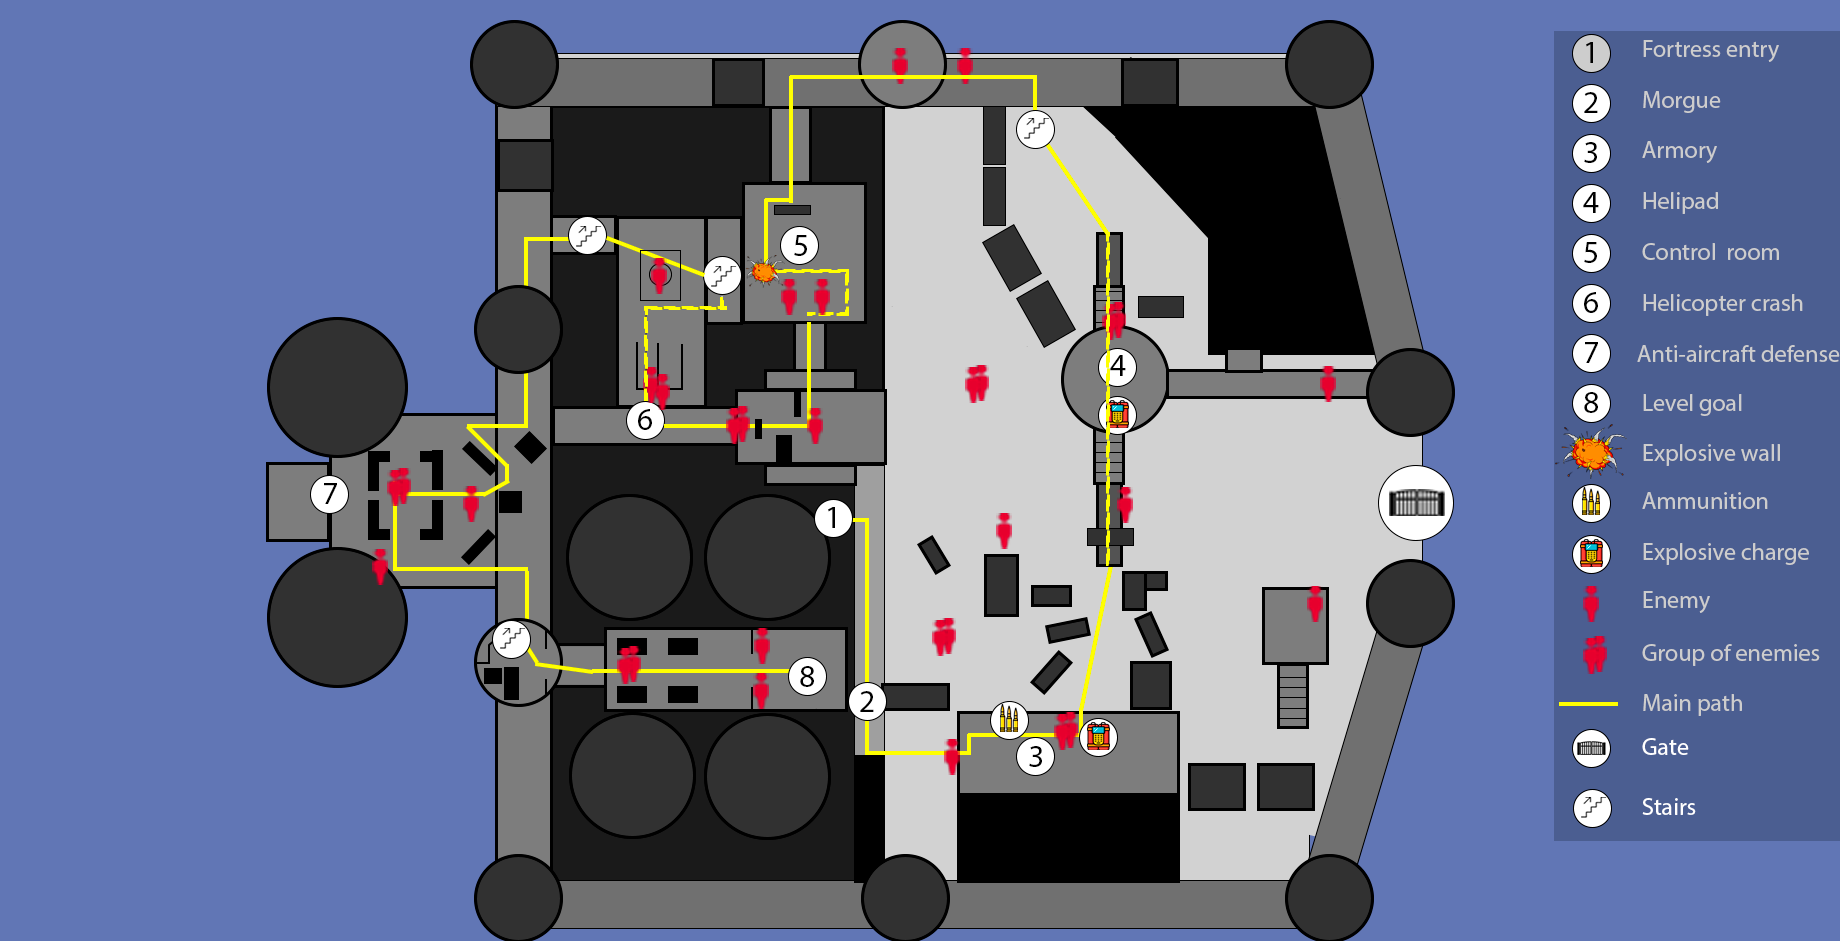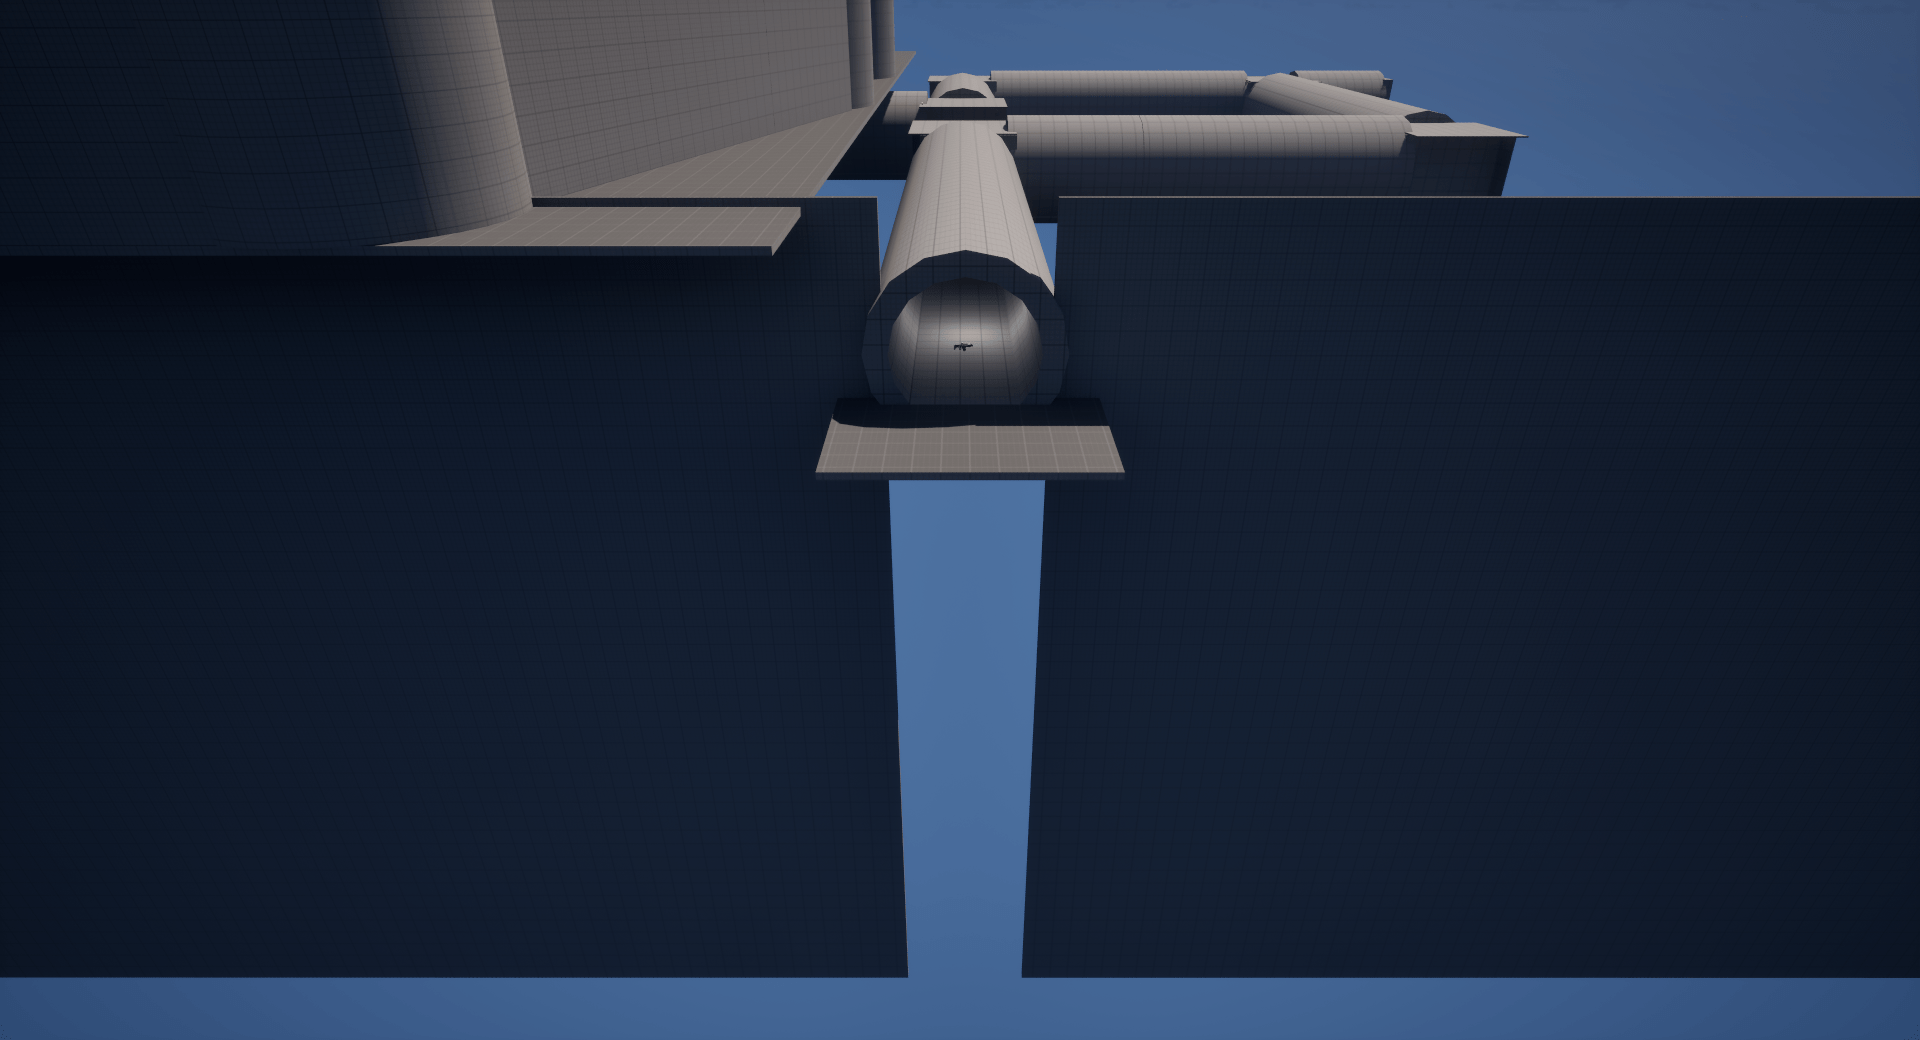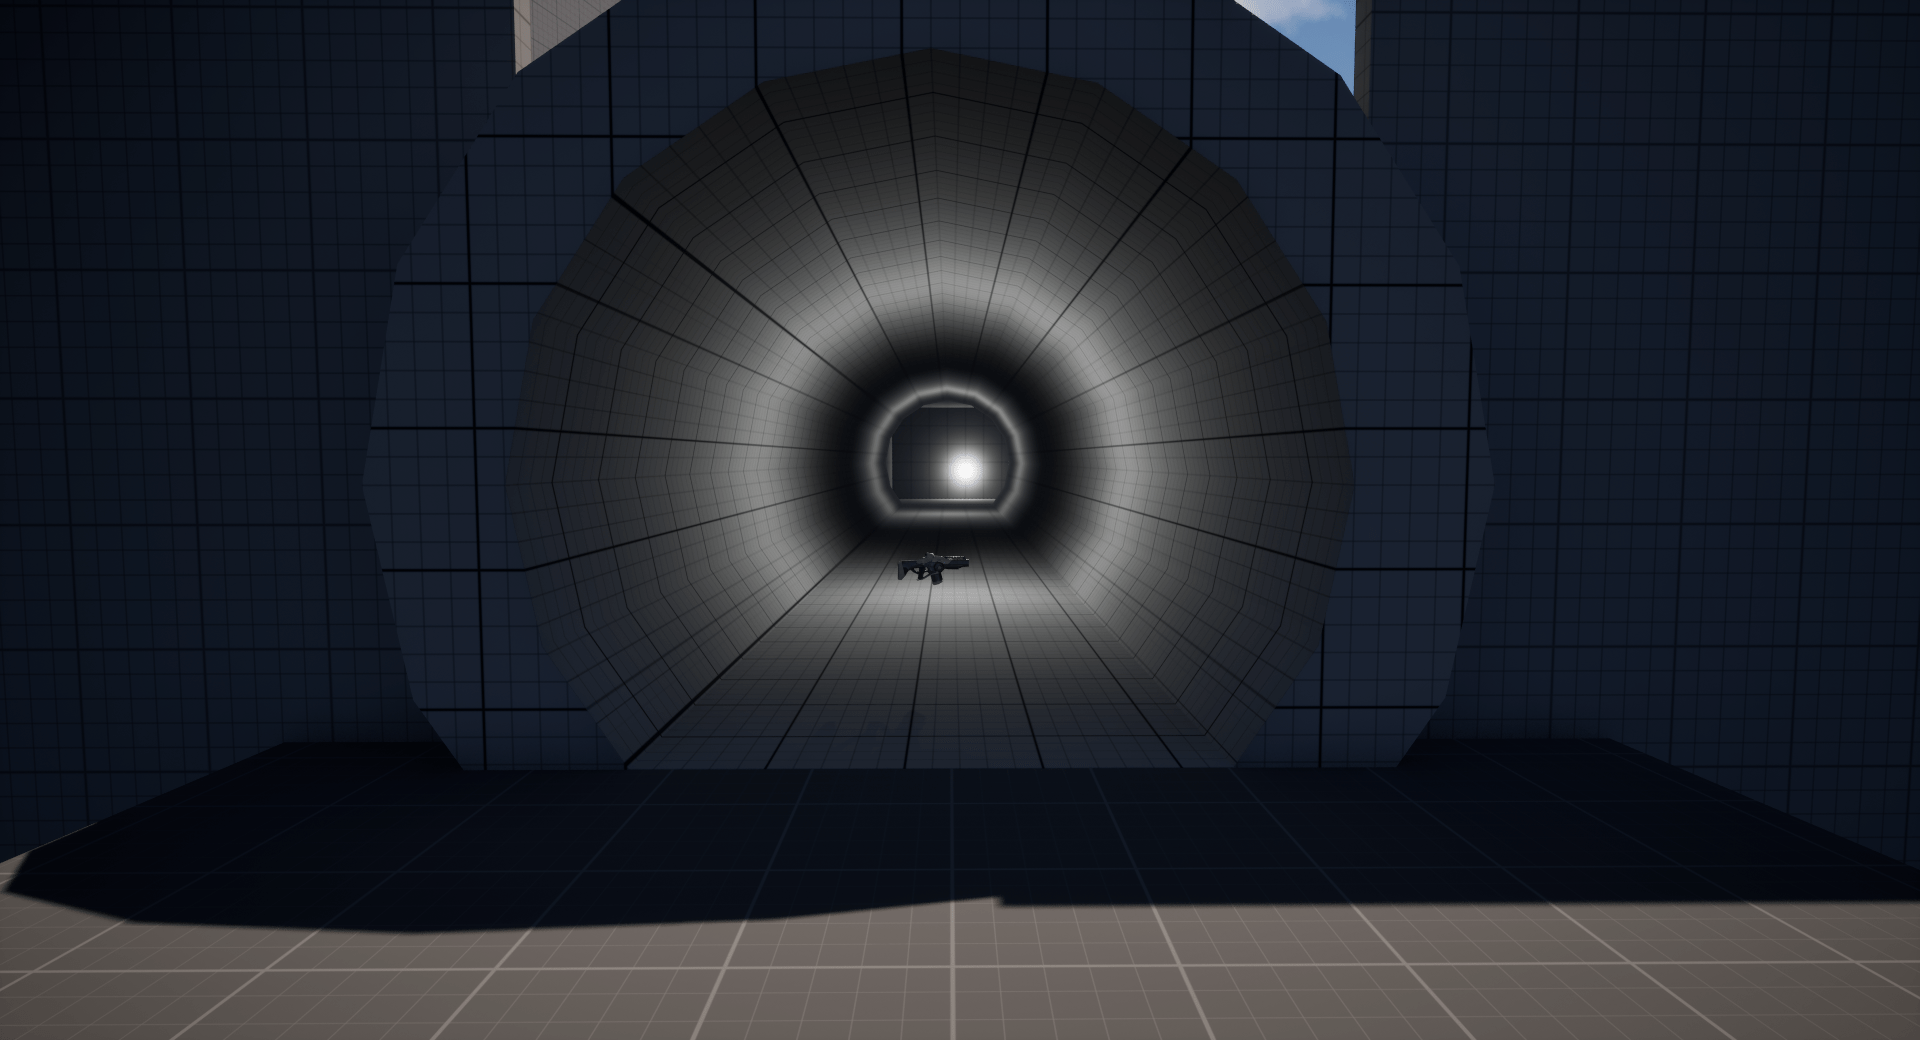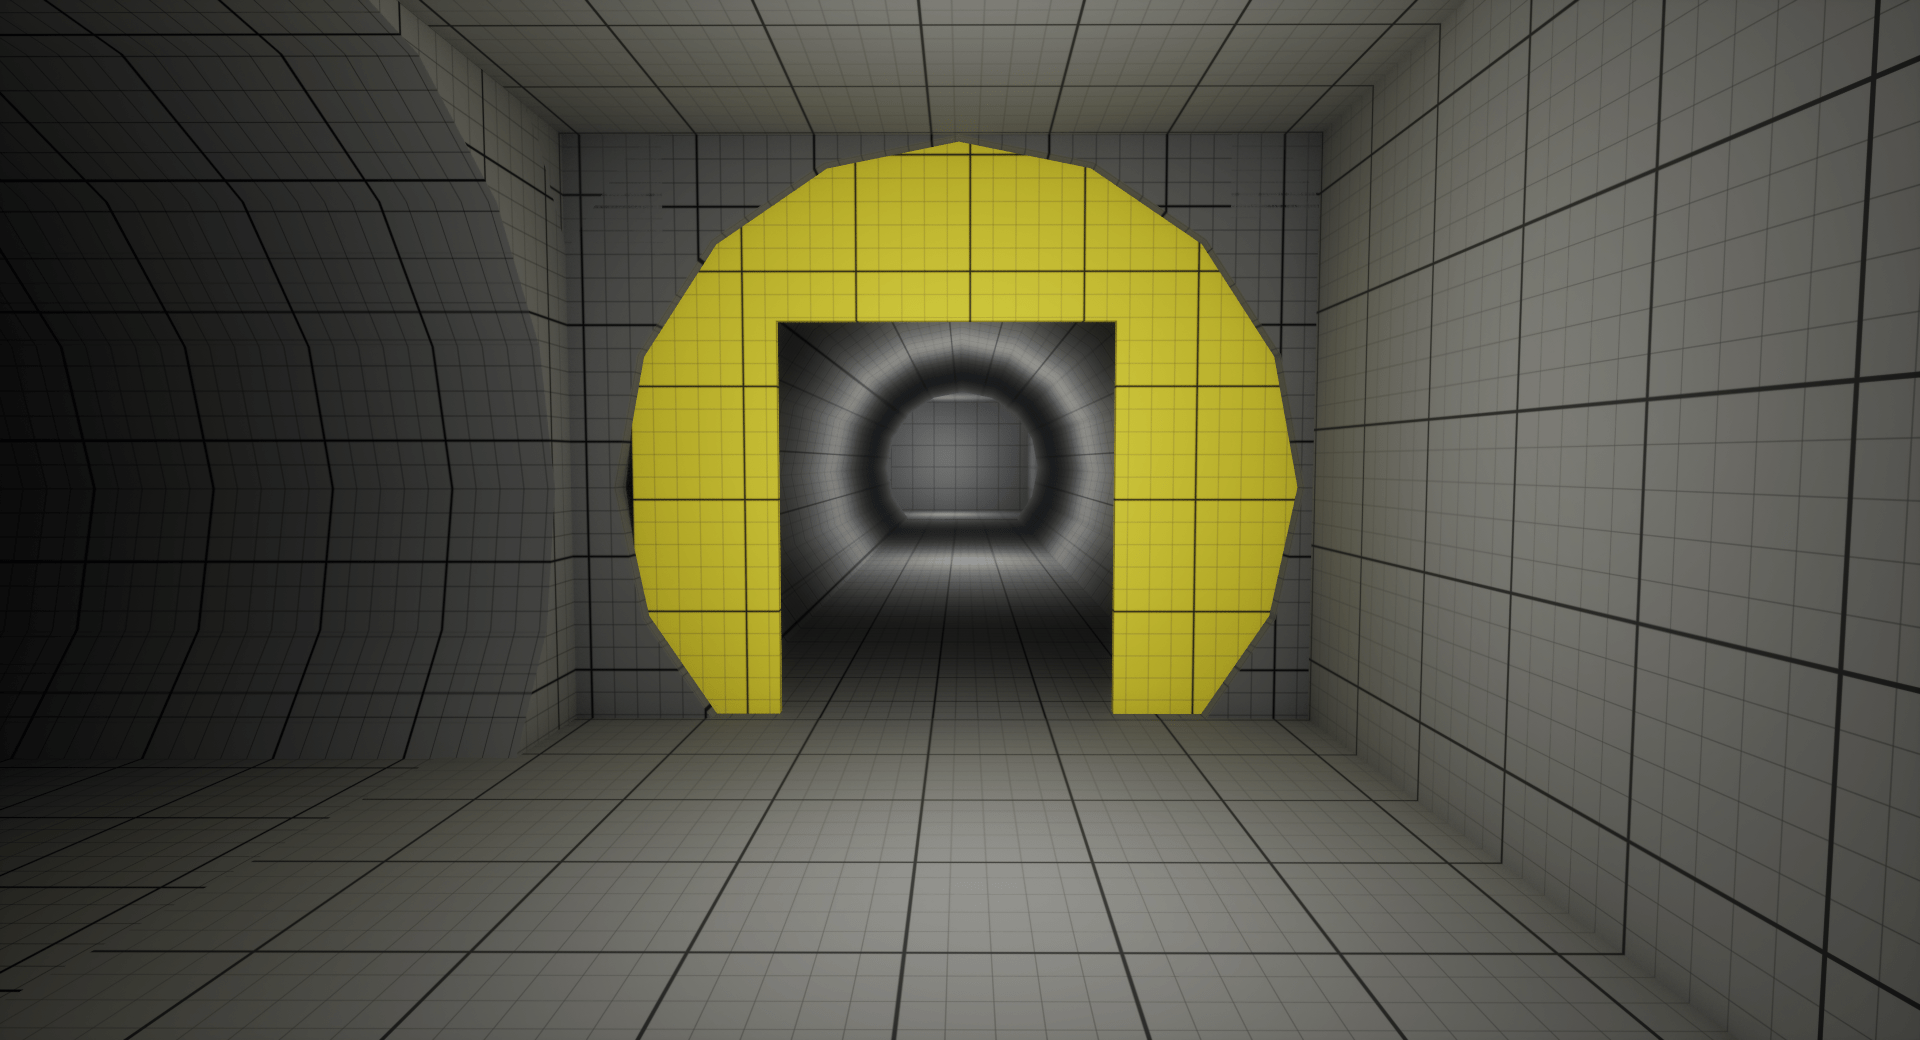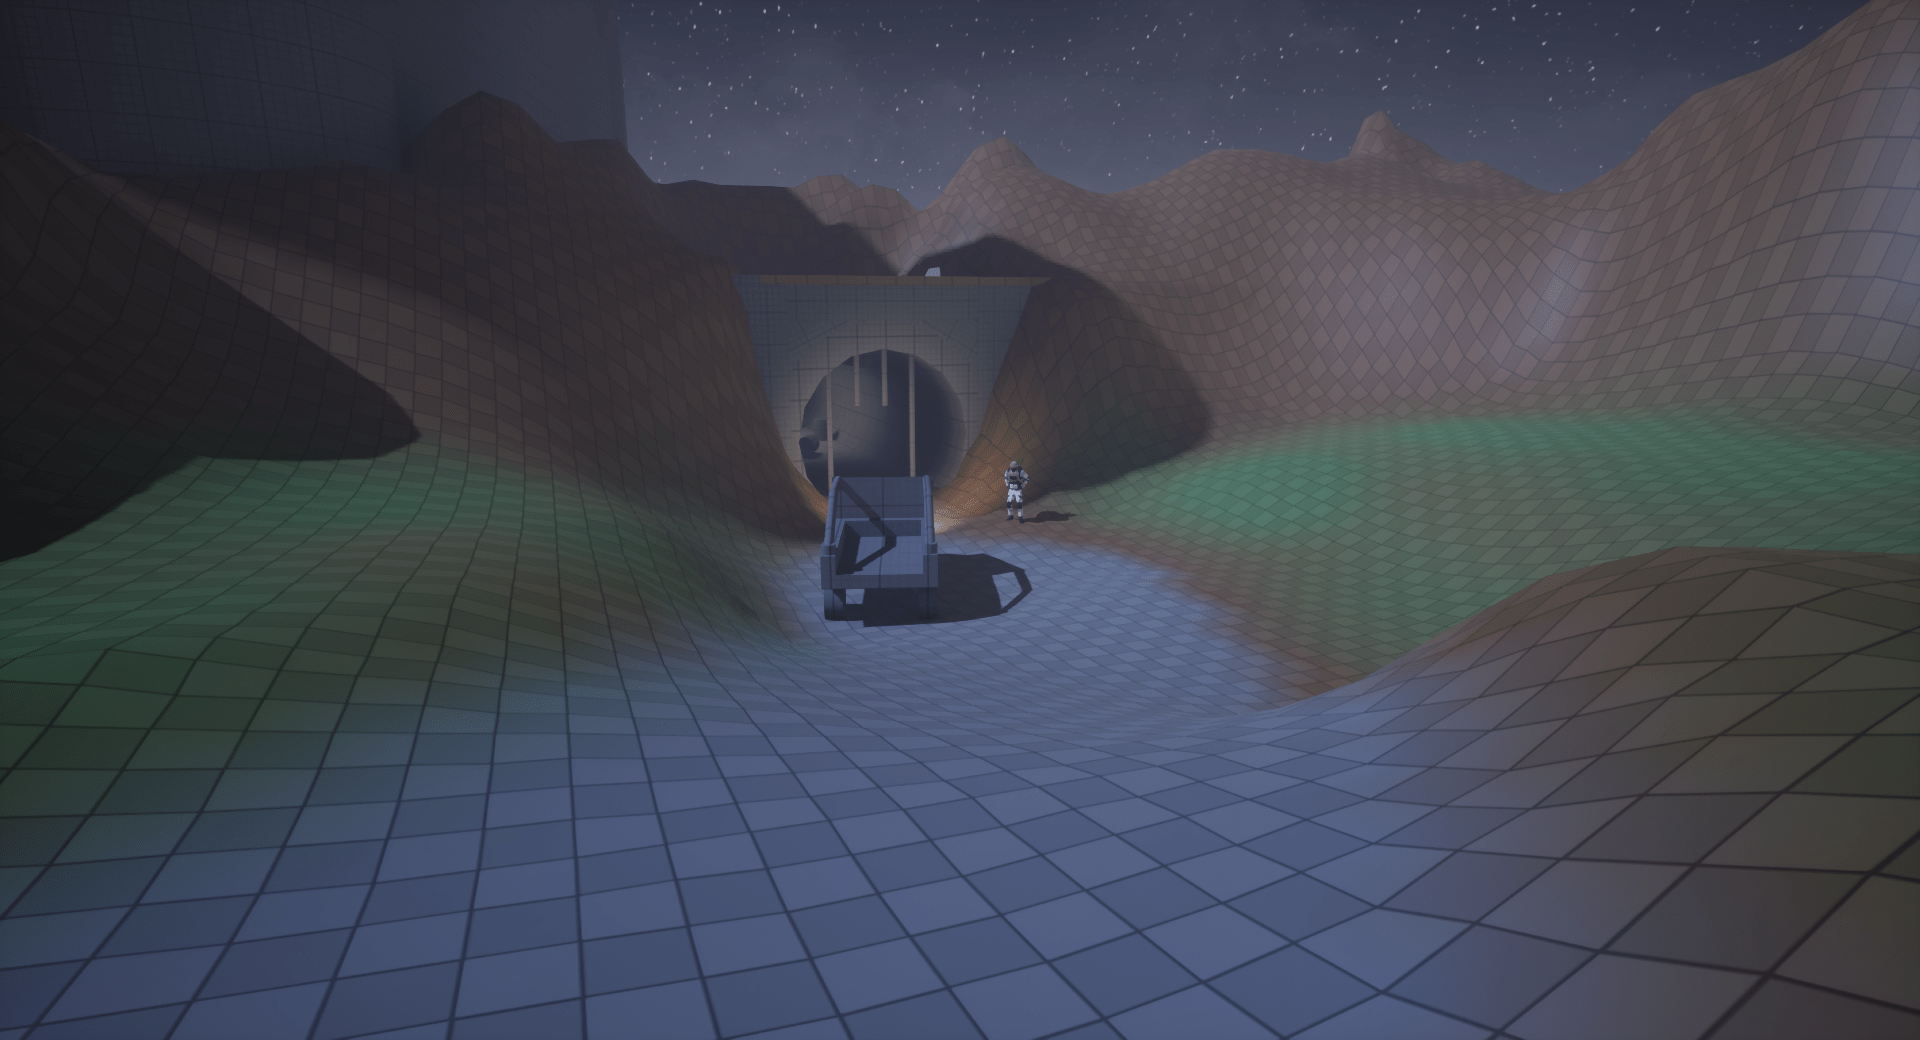

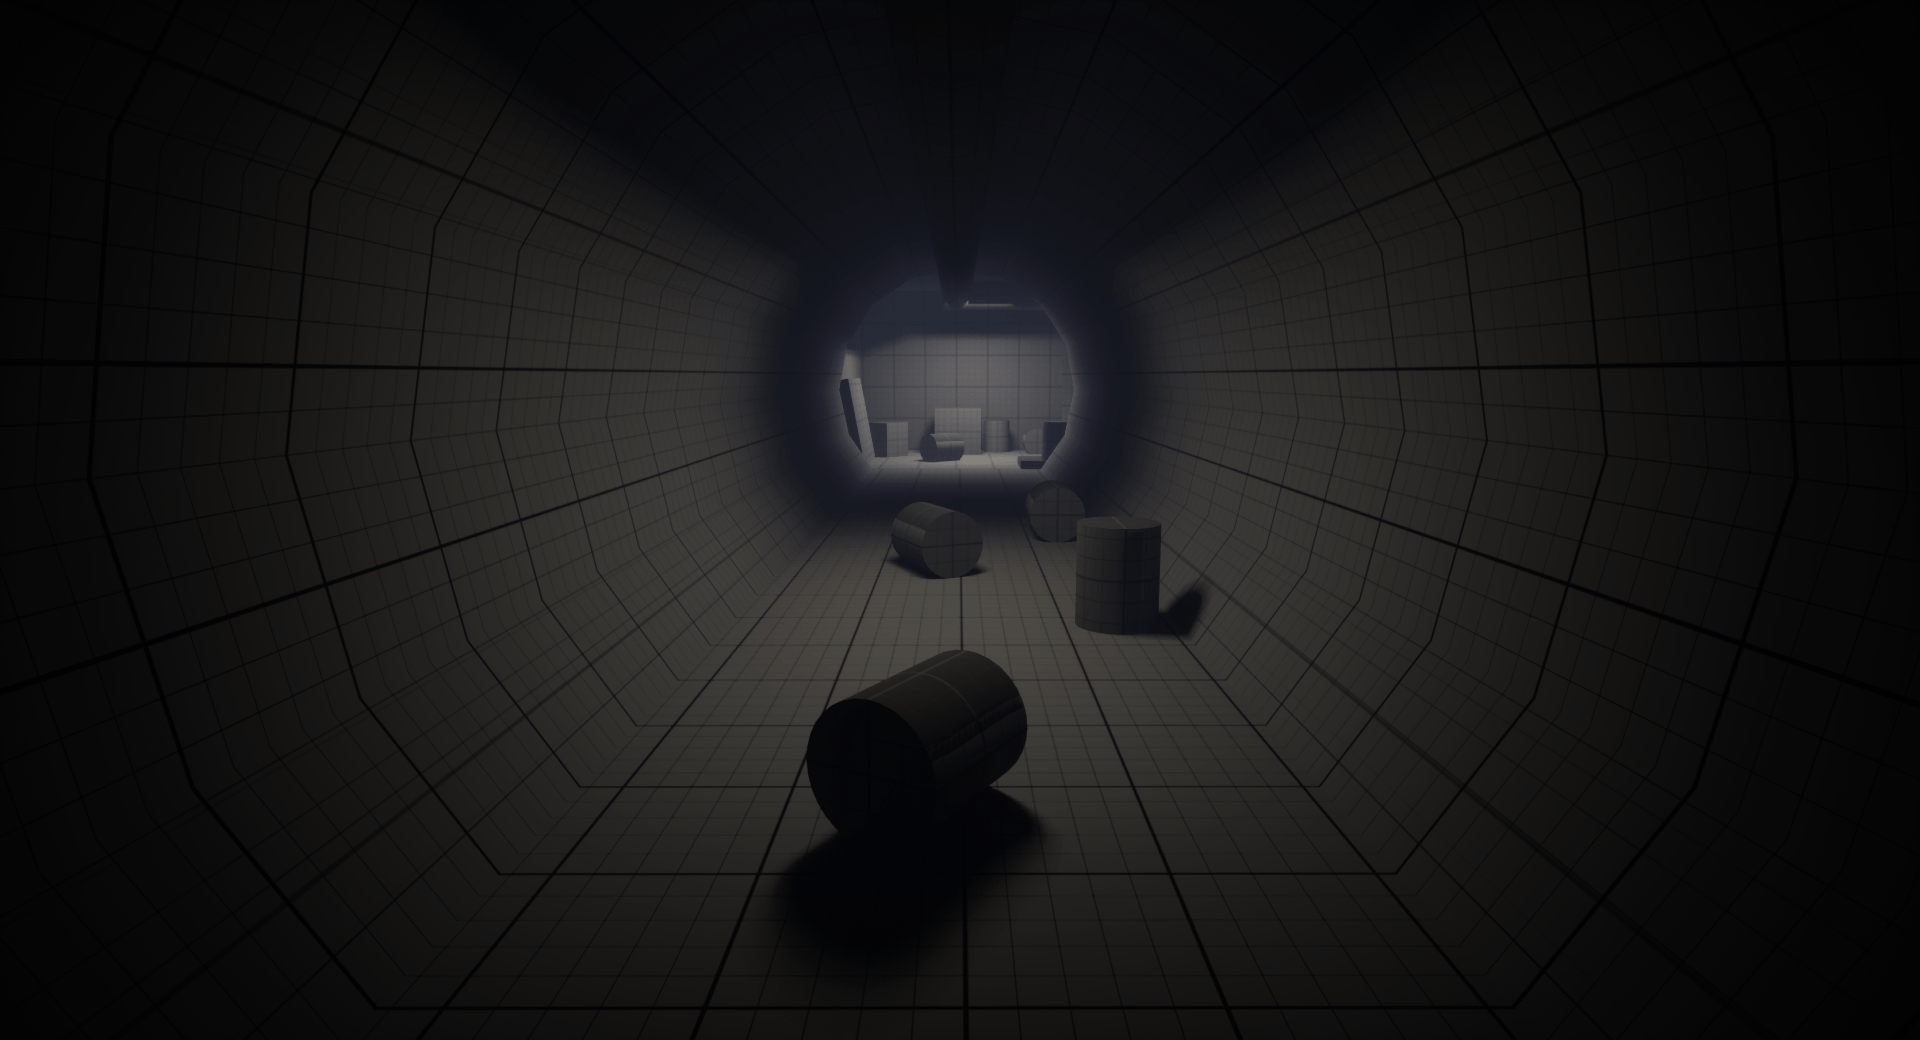
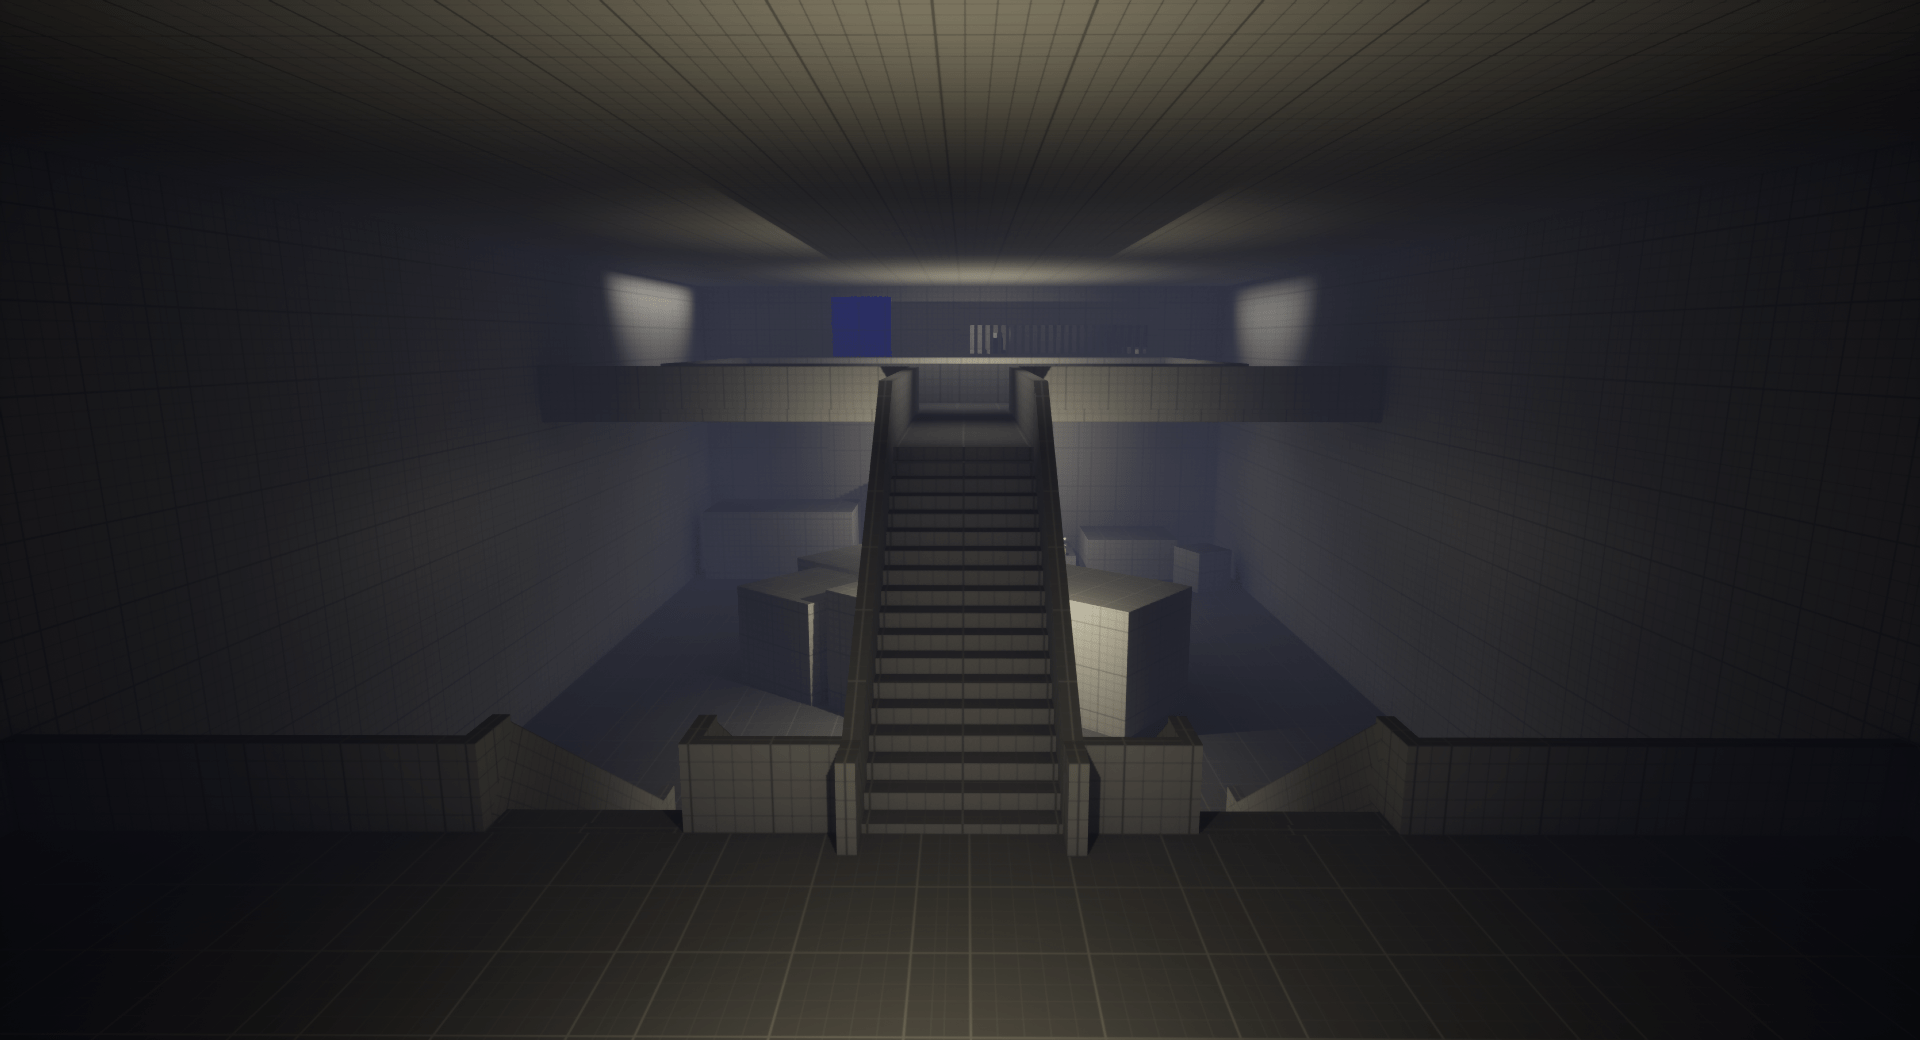
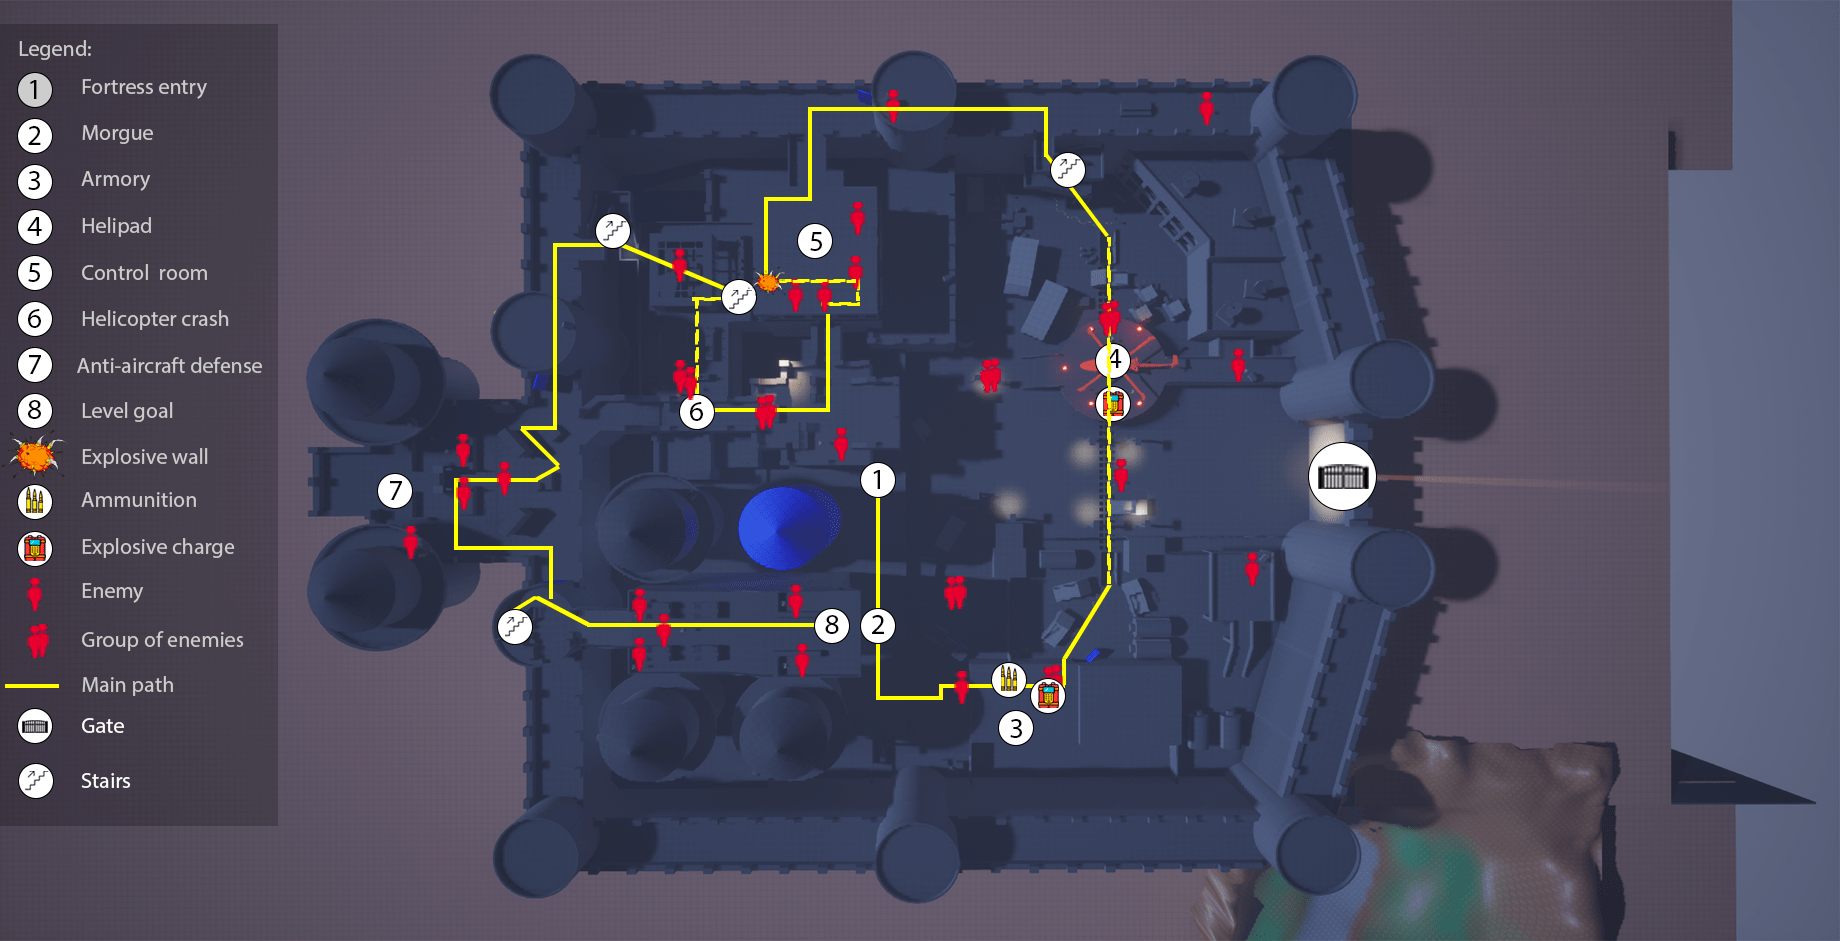


Beat 1: Tunnels entry
The player arrives at the entrance of the tunnels that he will use to infiltrate the fortress. After saying goodbye to his partner, the mission can begin.
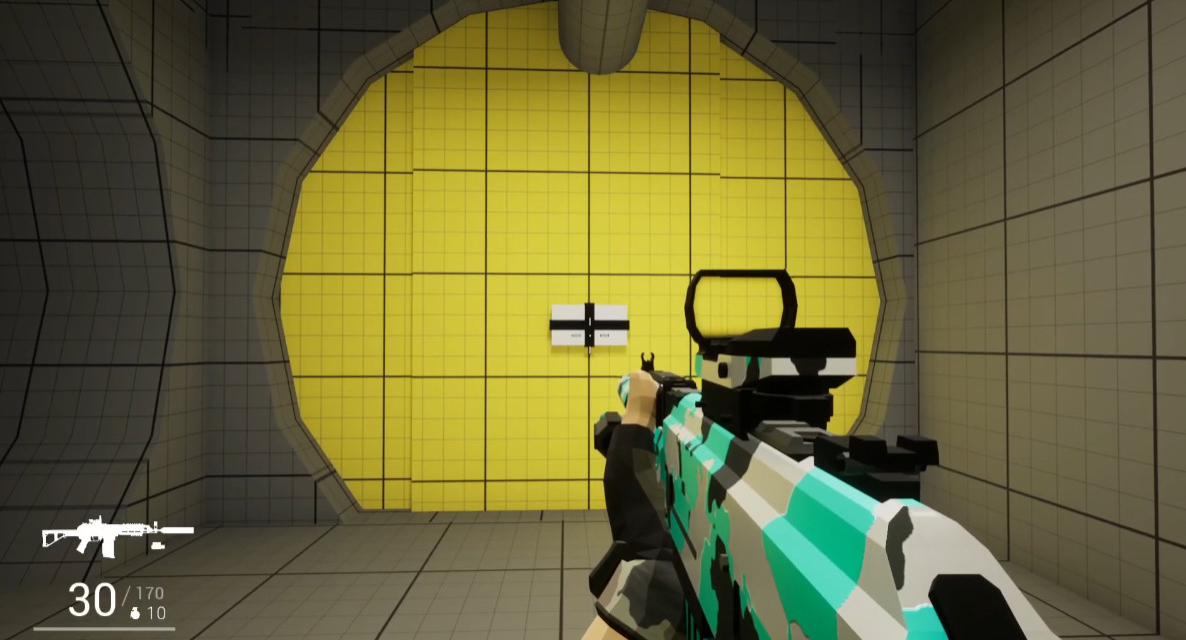
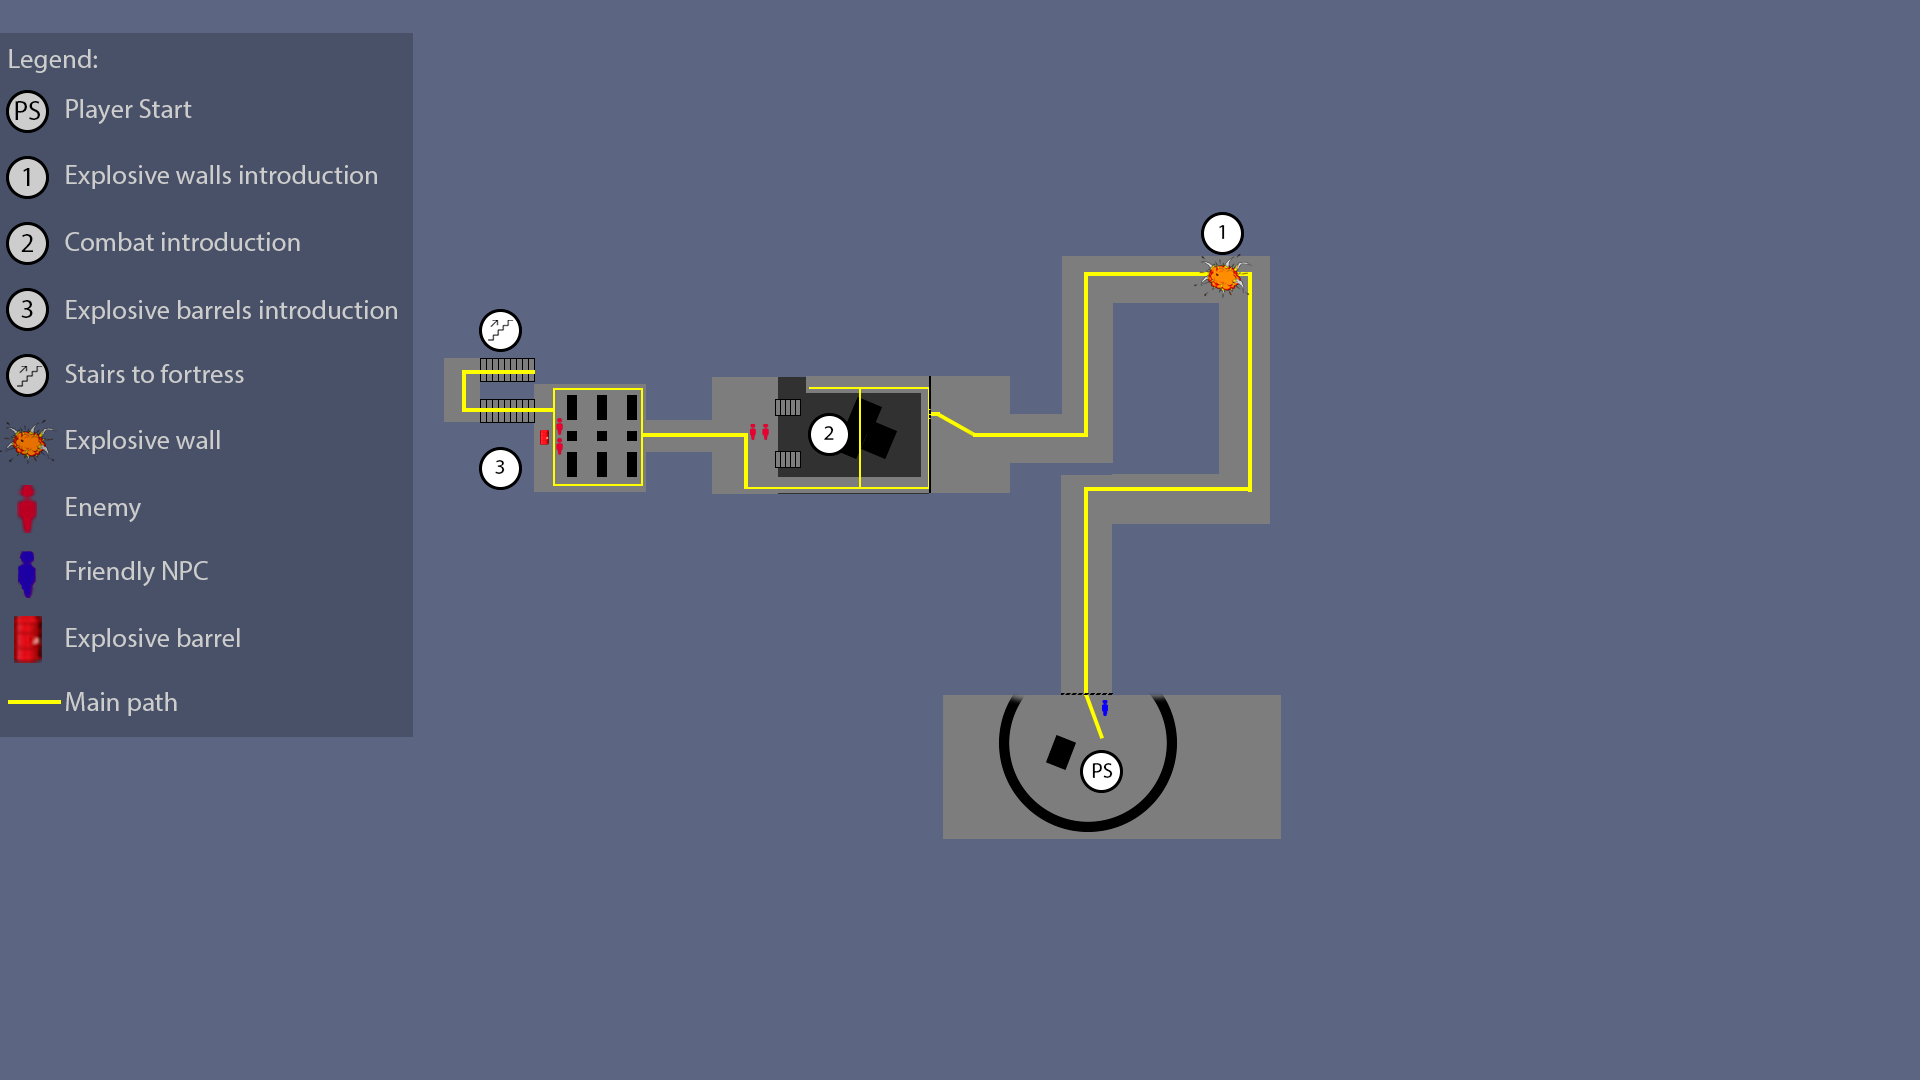
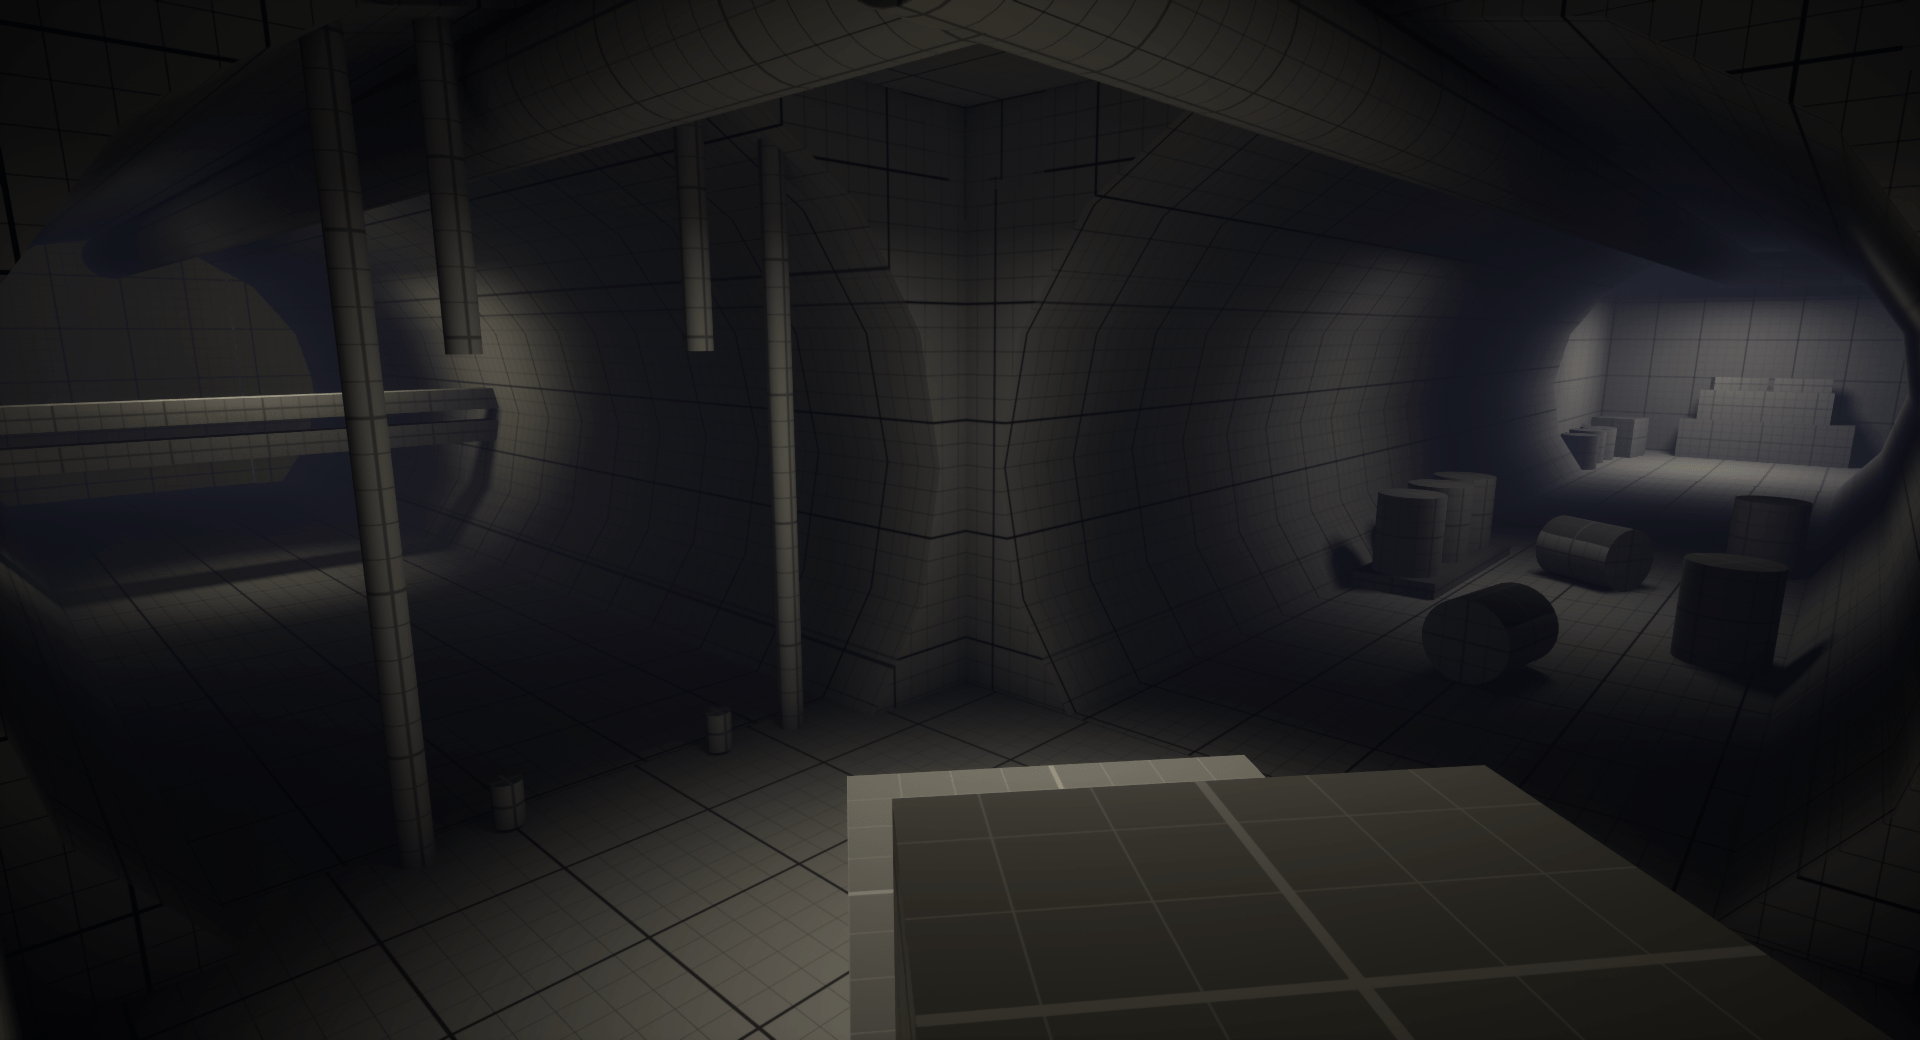
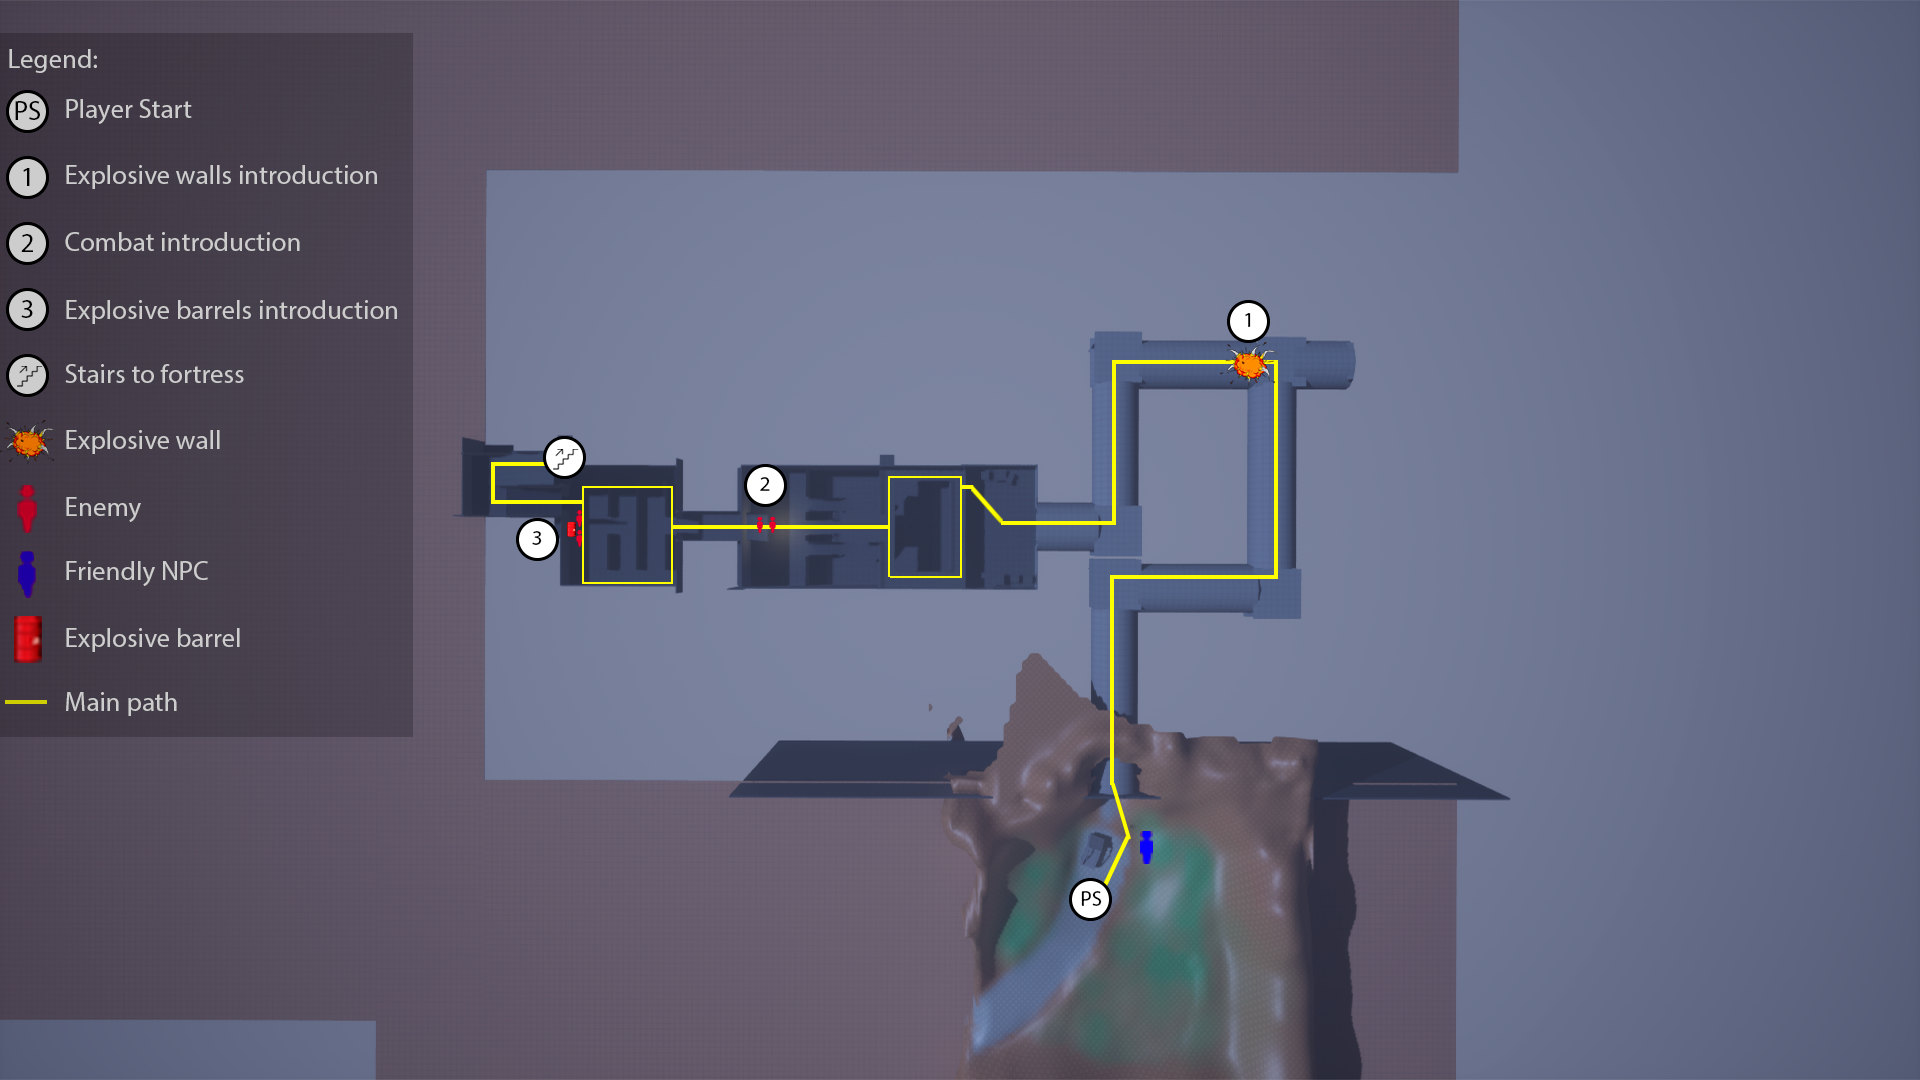
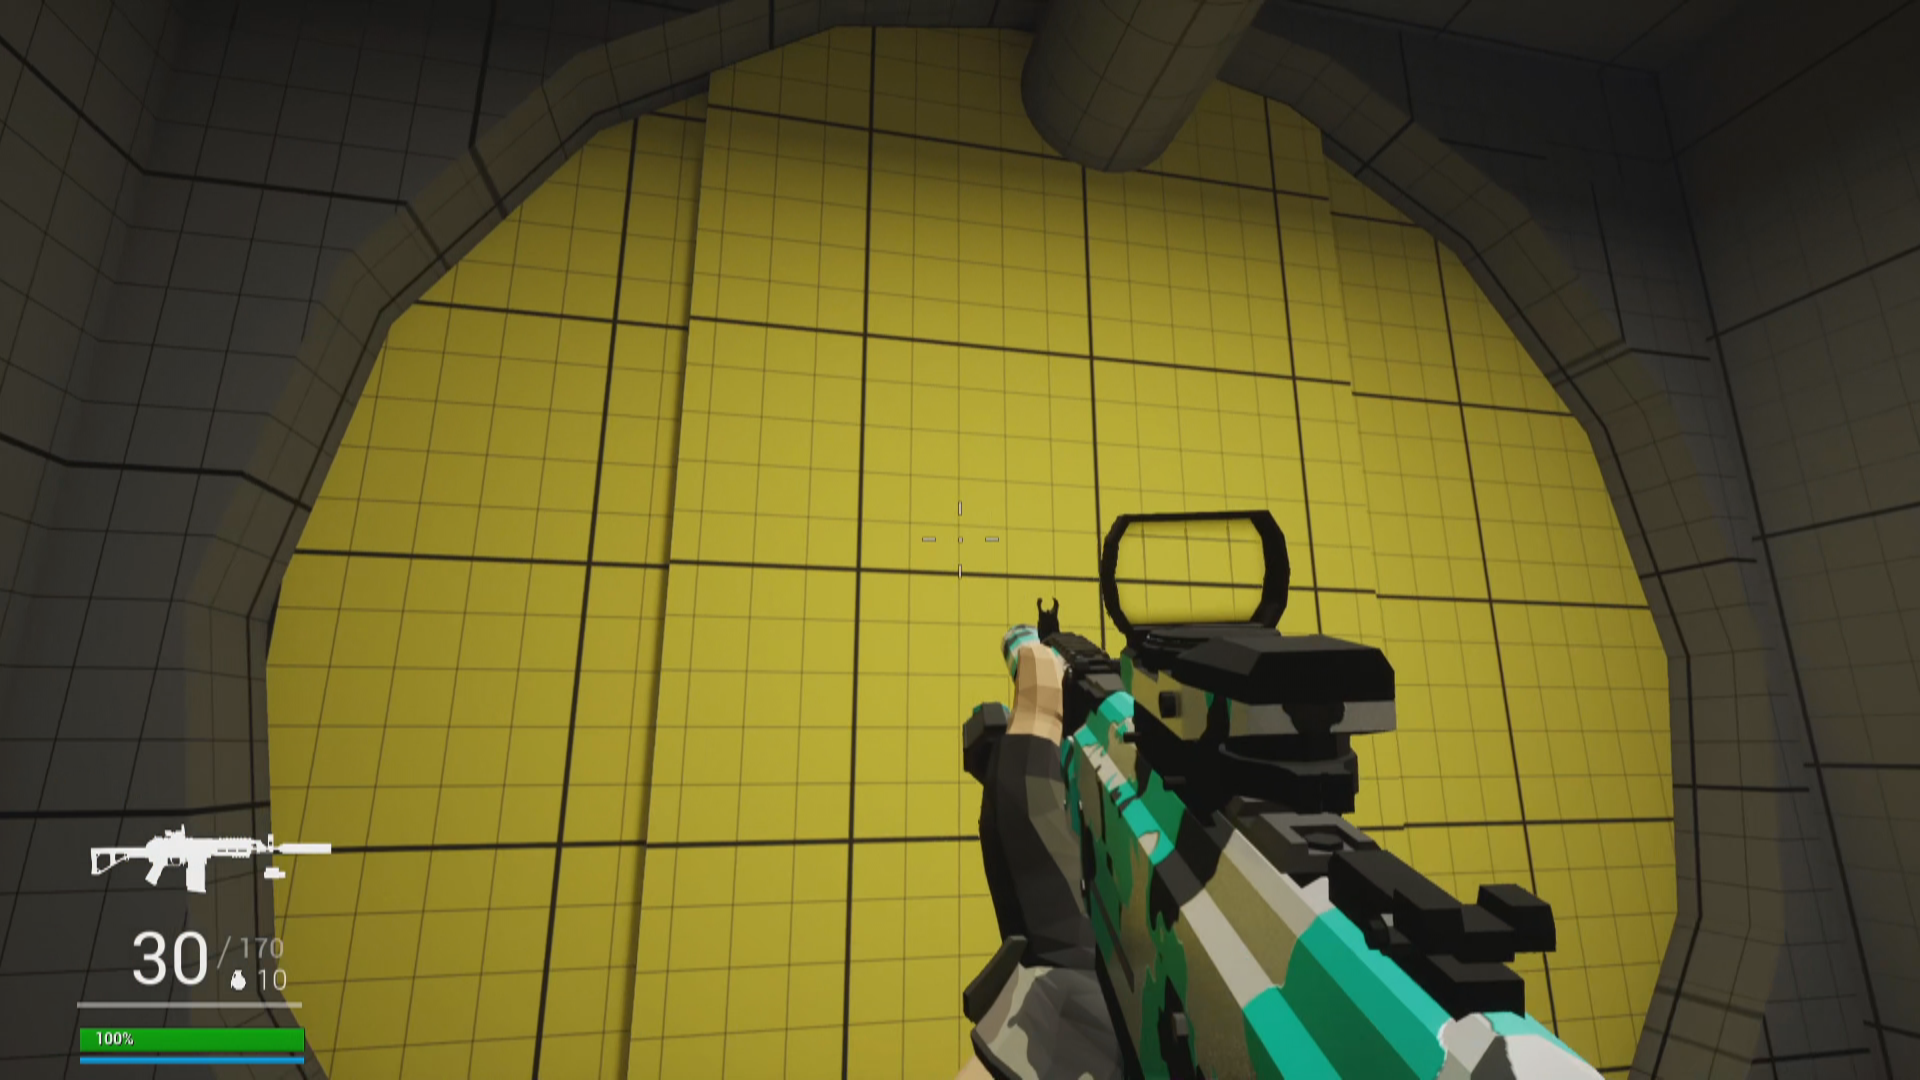
Beat 2: Explosive Wall
The first obstacle appears: a wall blocking the player’s path. Fortunately, he can easily get rid of it using an explosive charge.
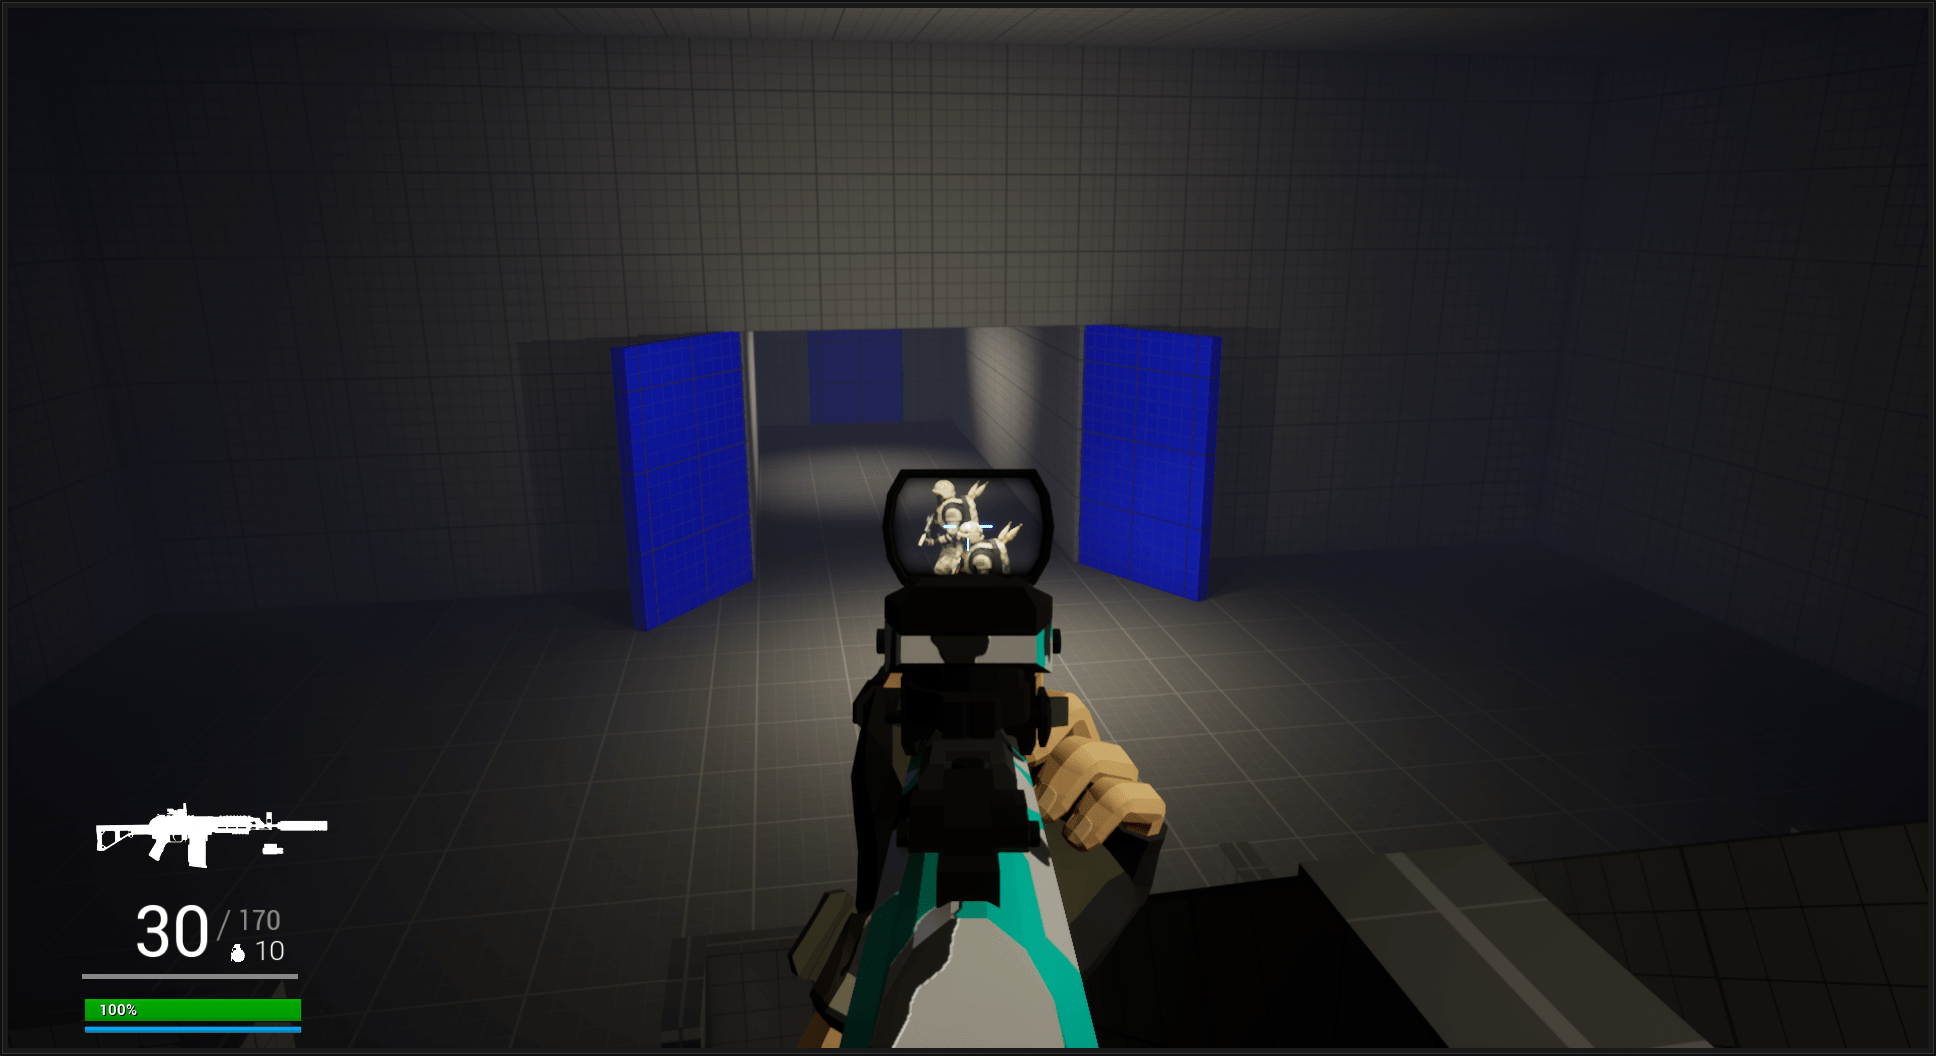
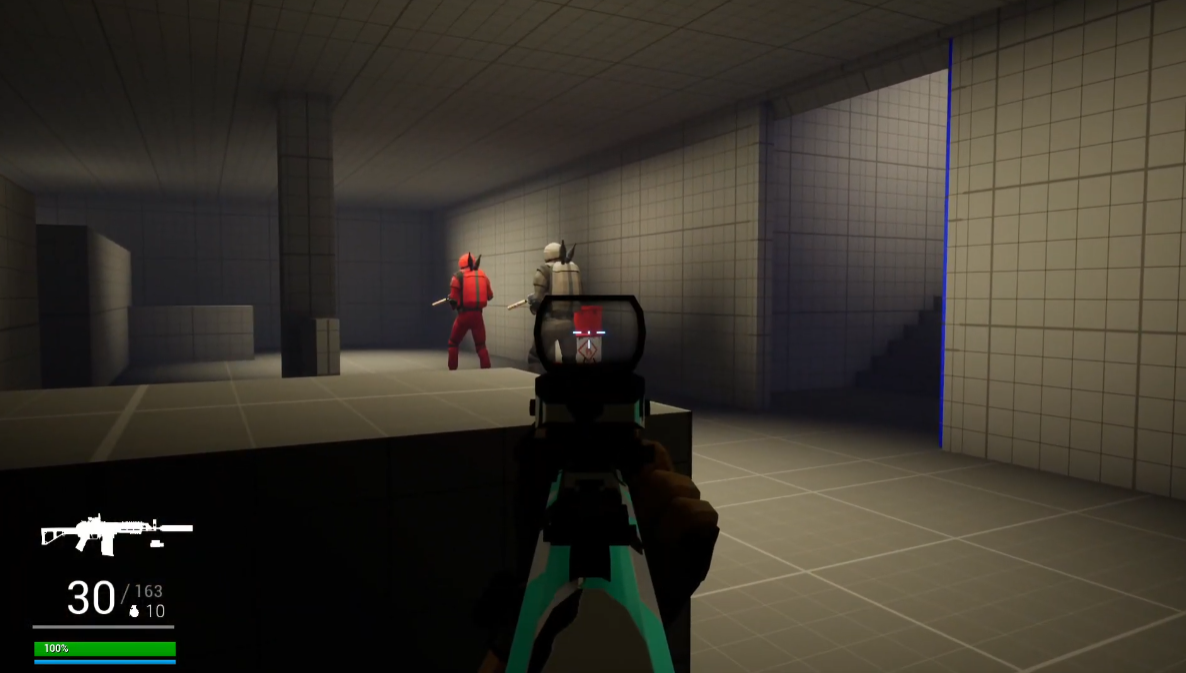
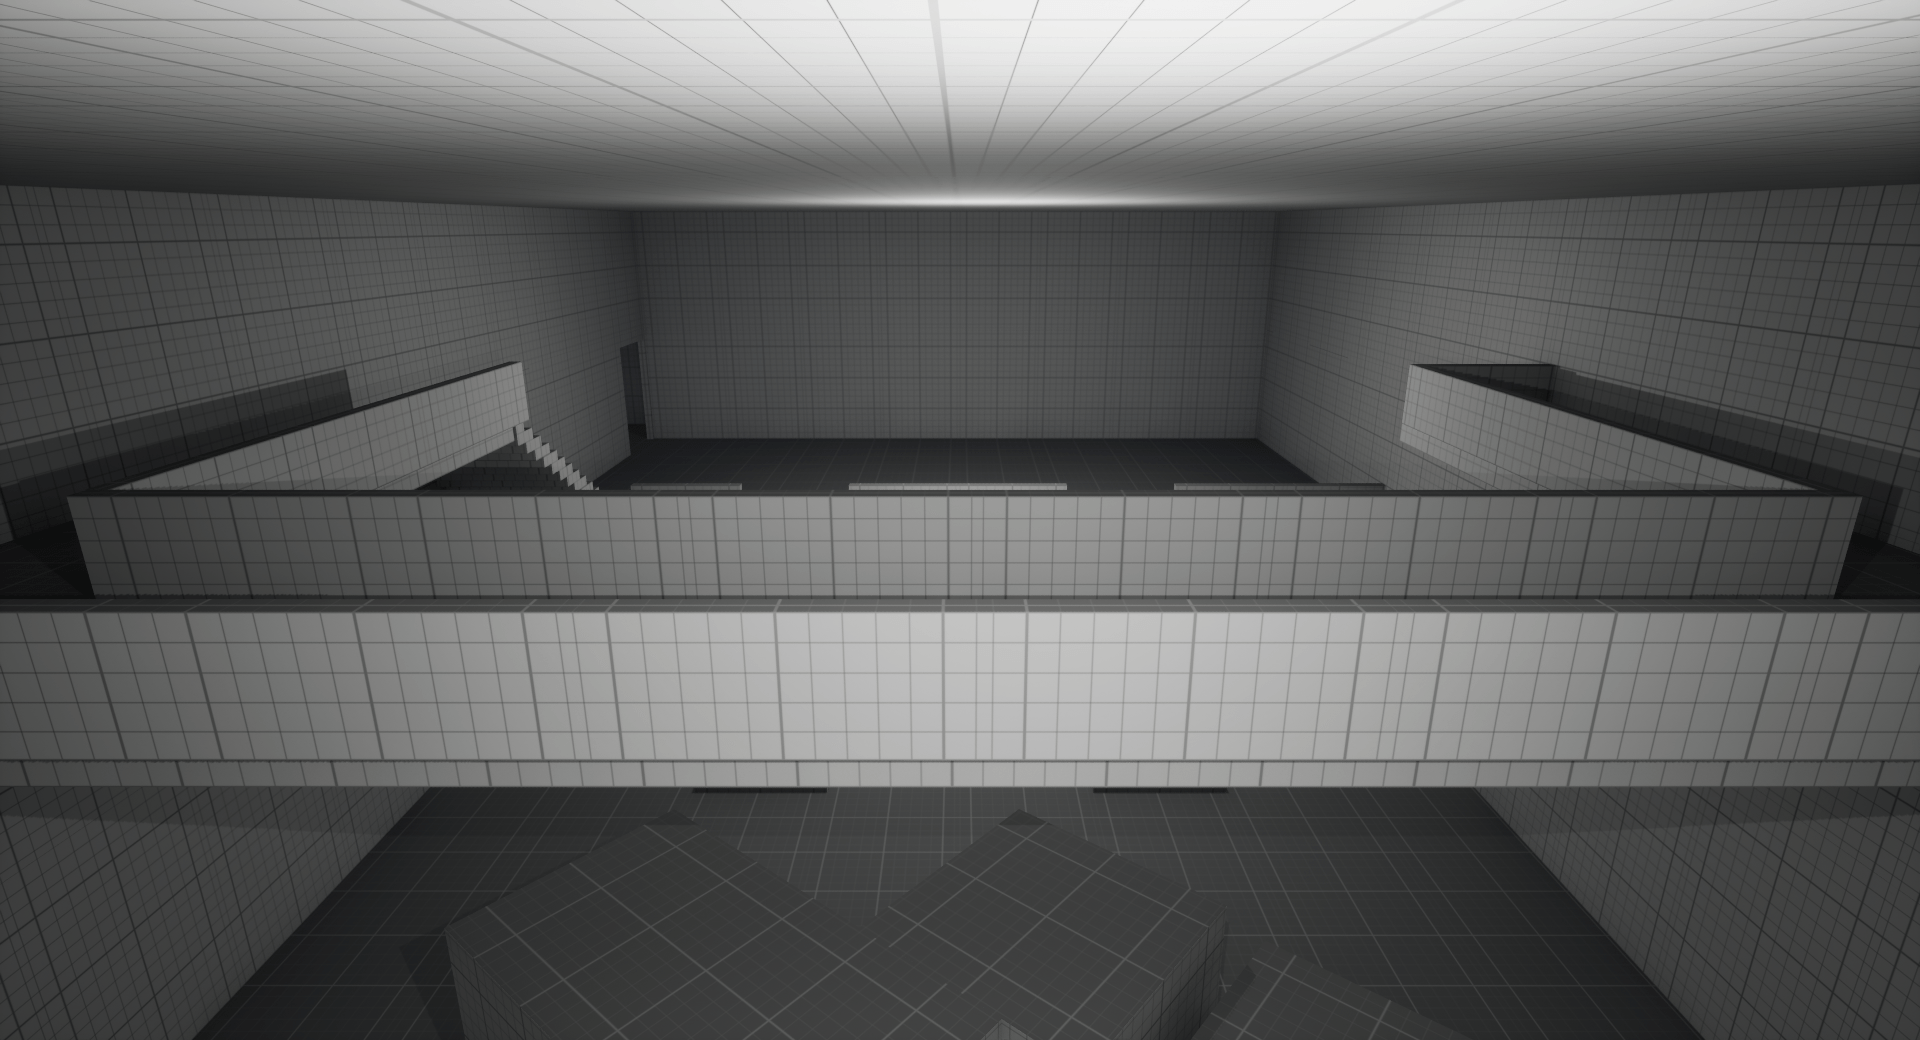
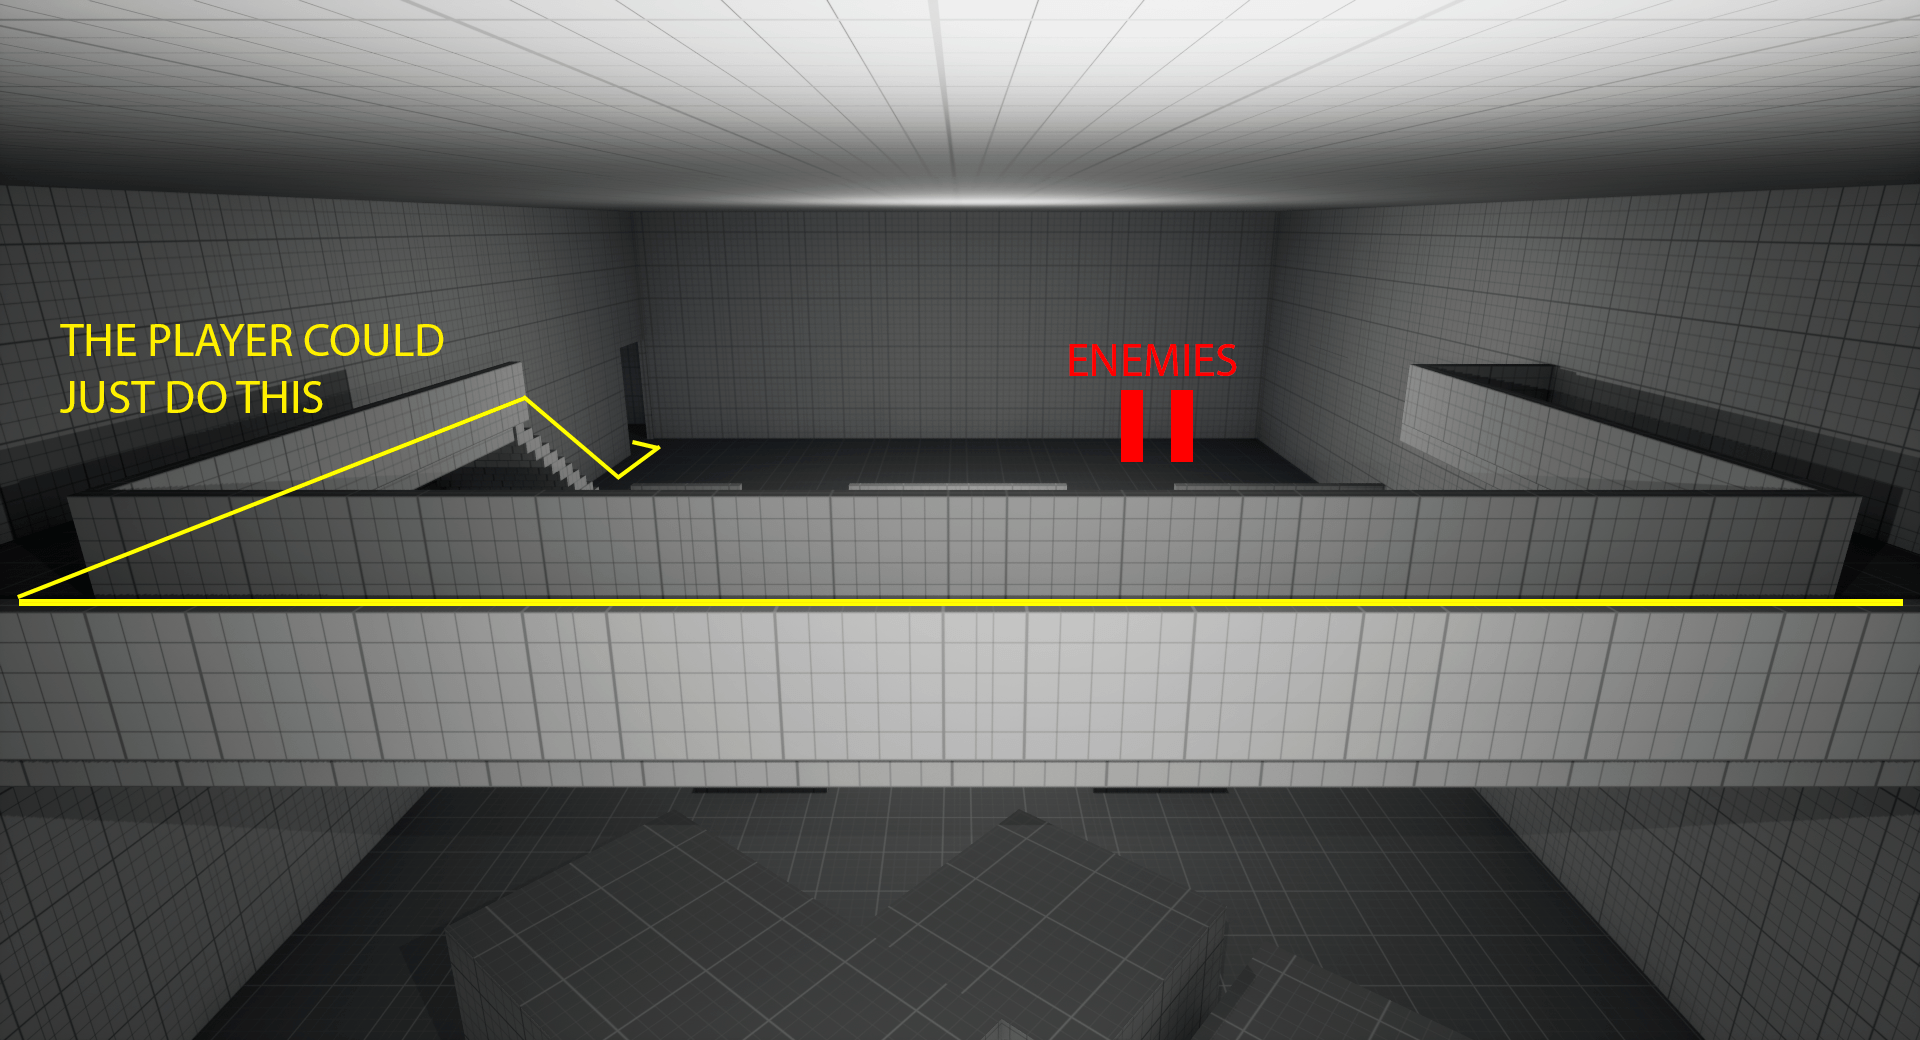
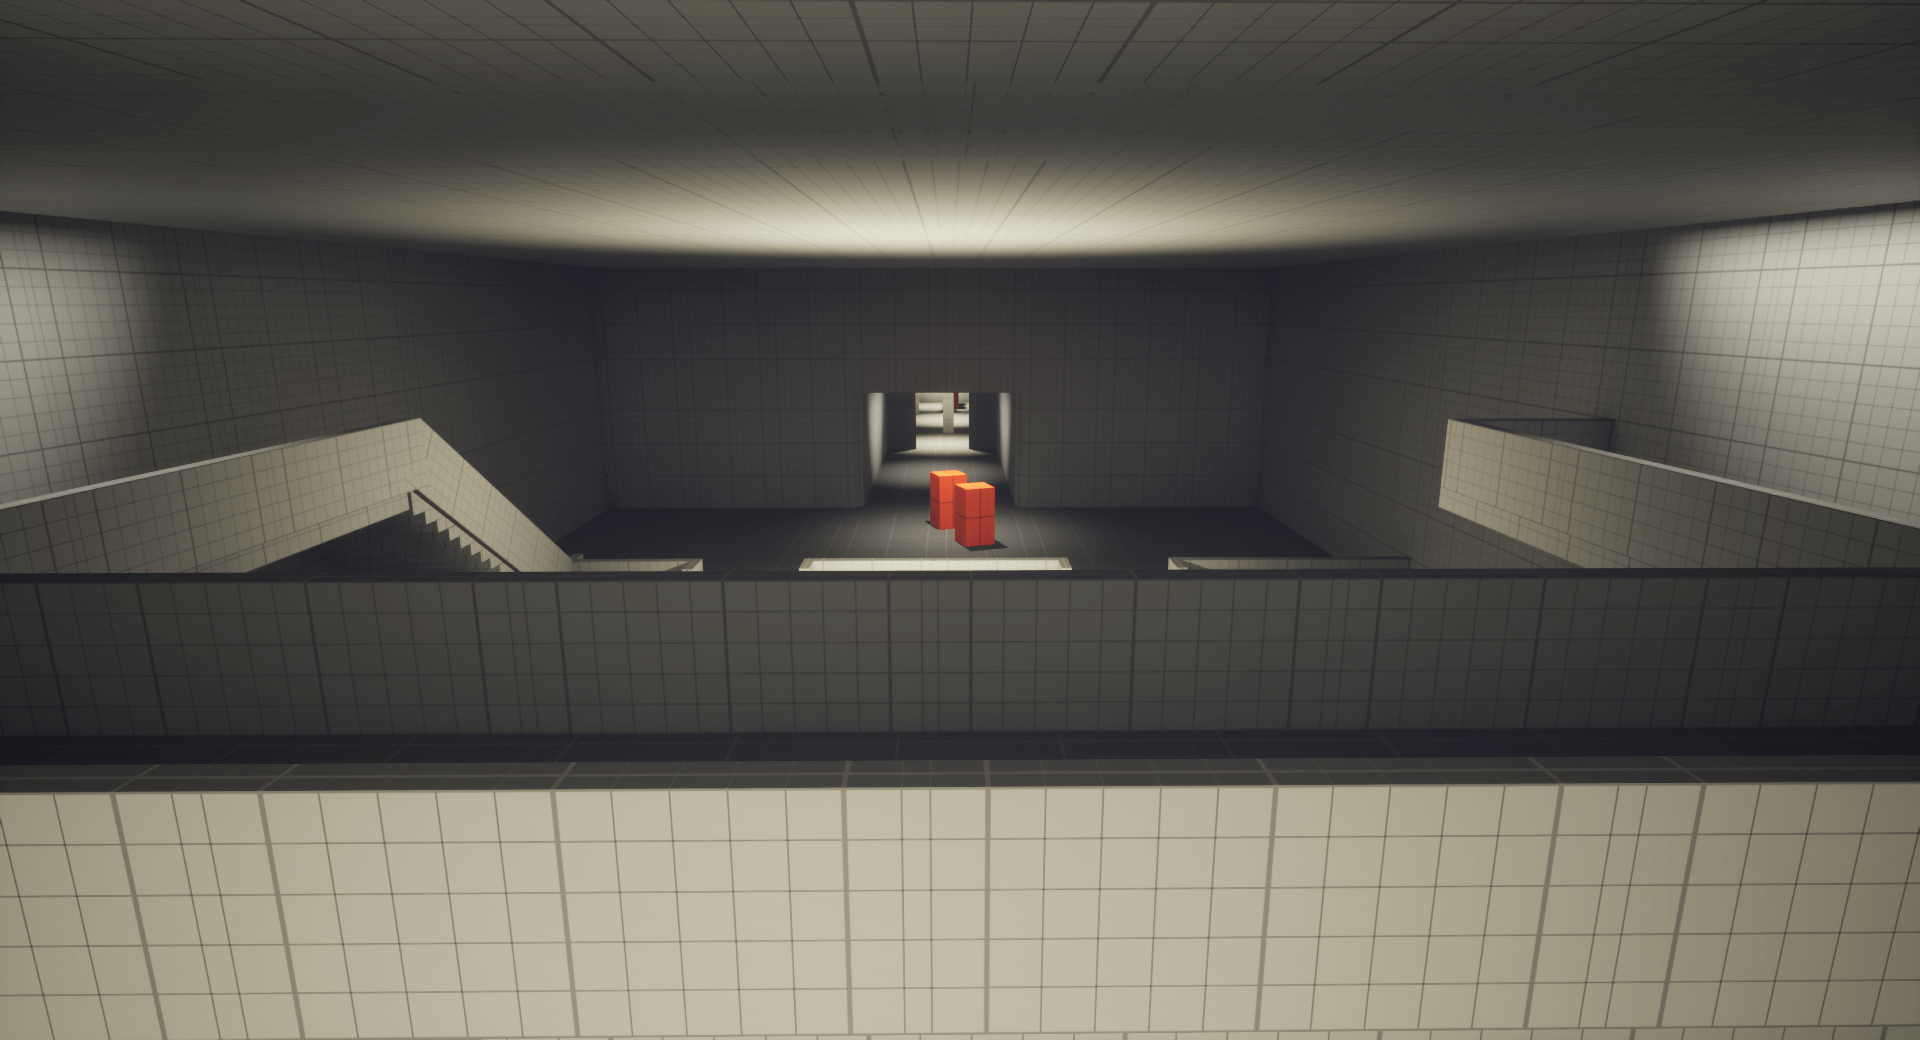
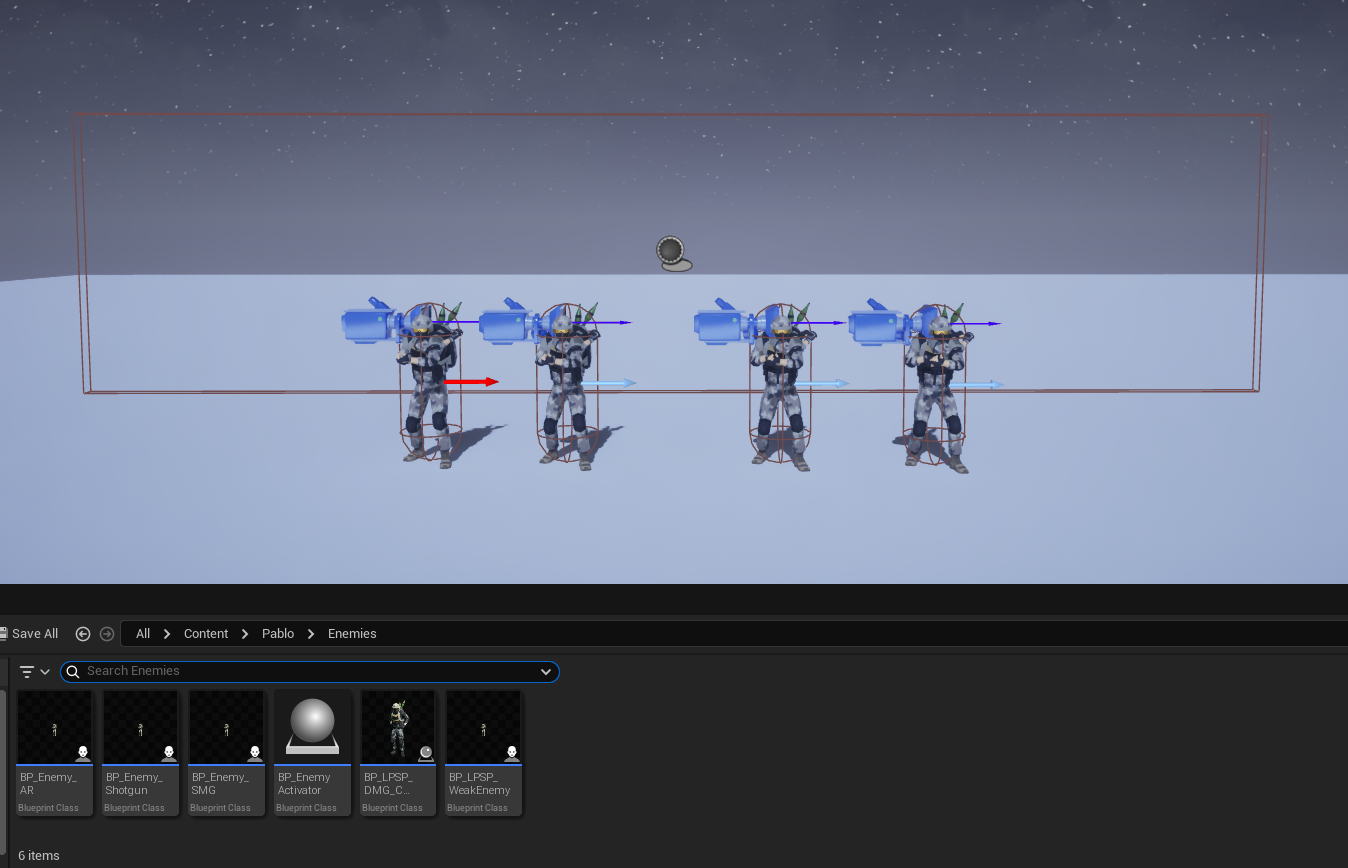
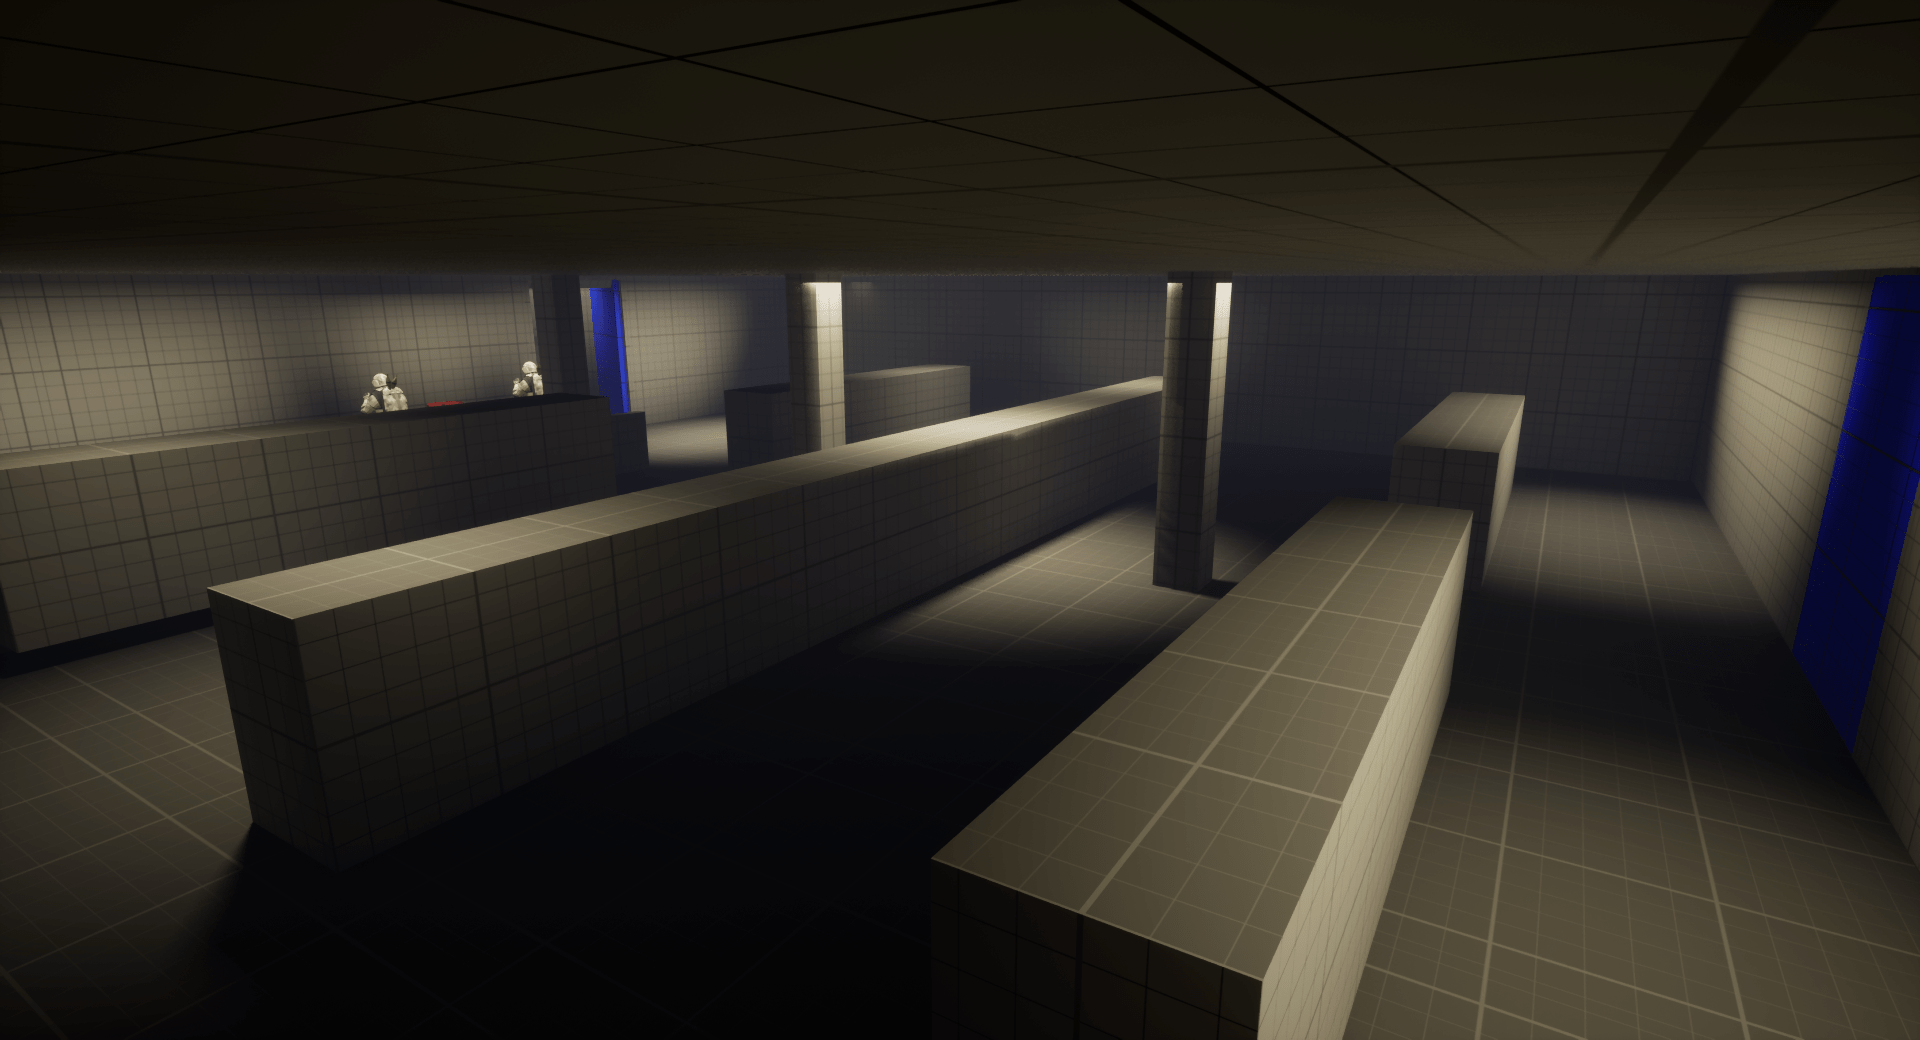
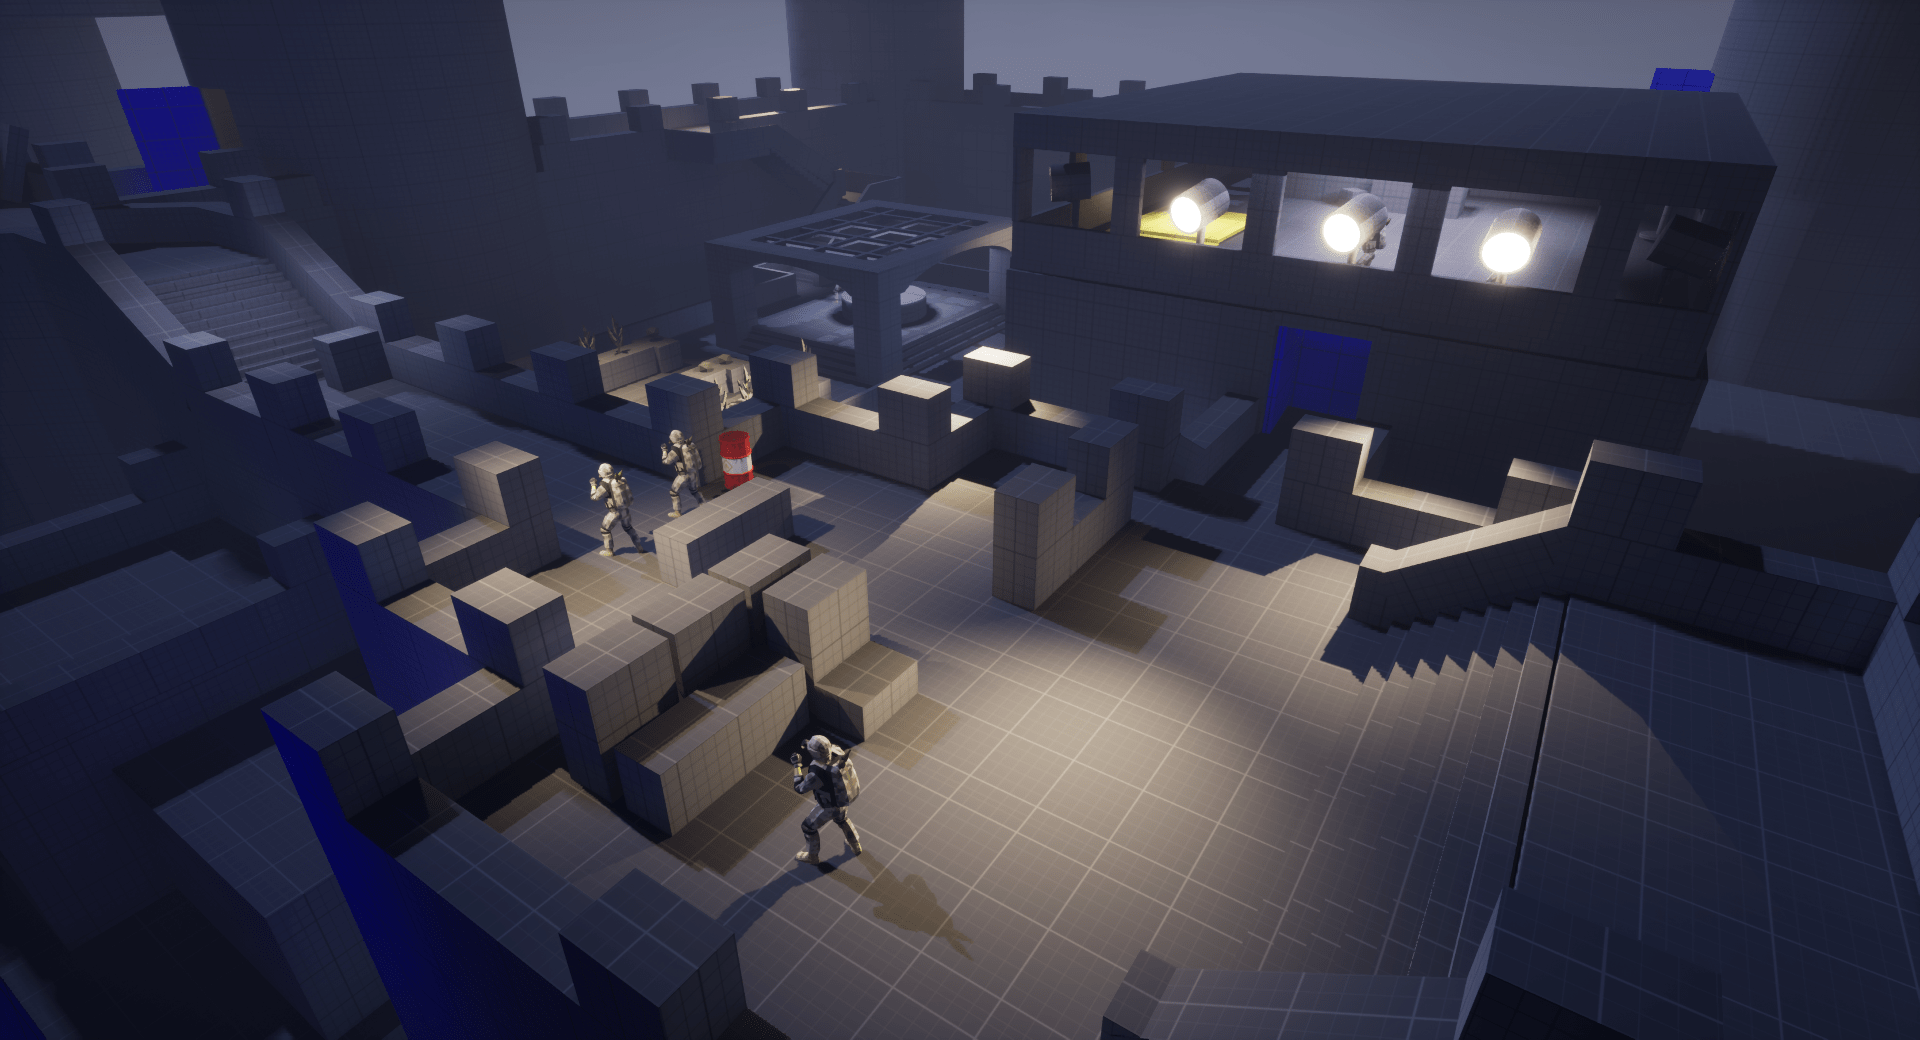
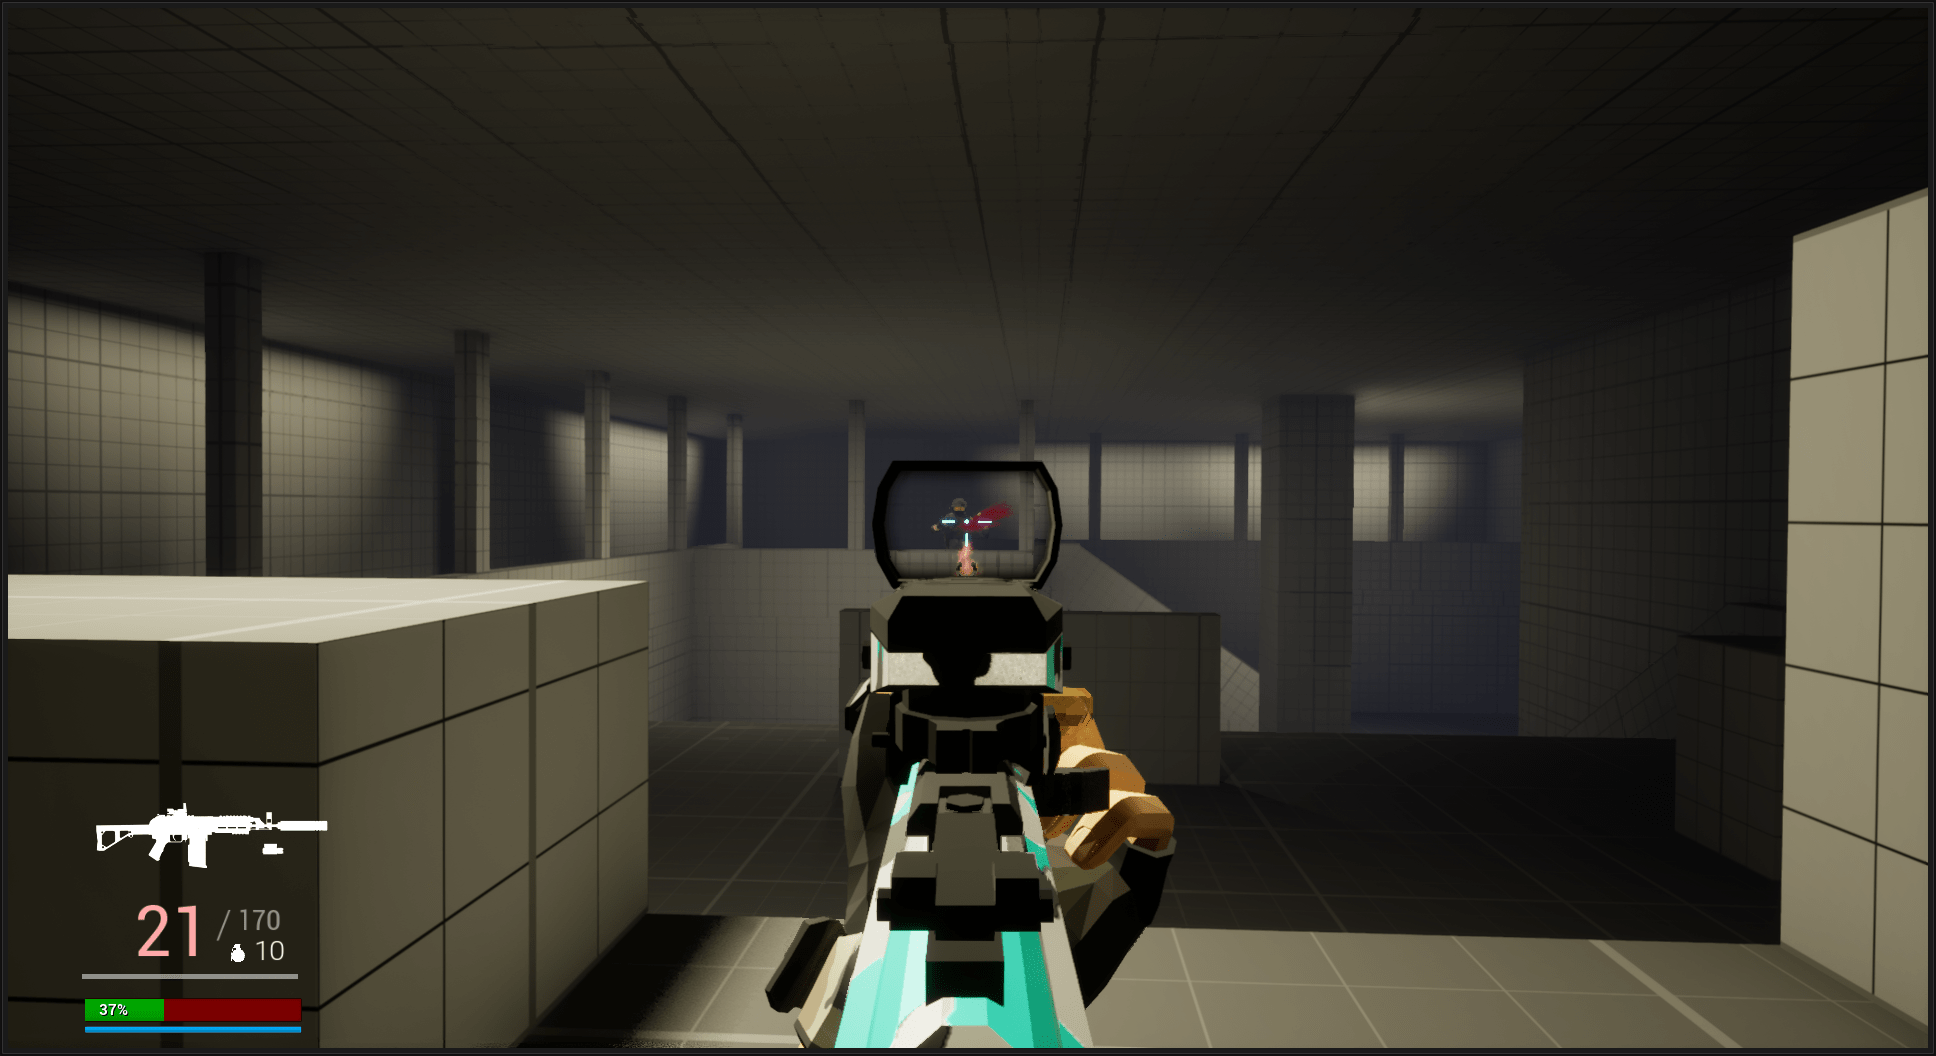
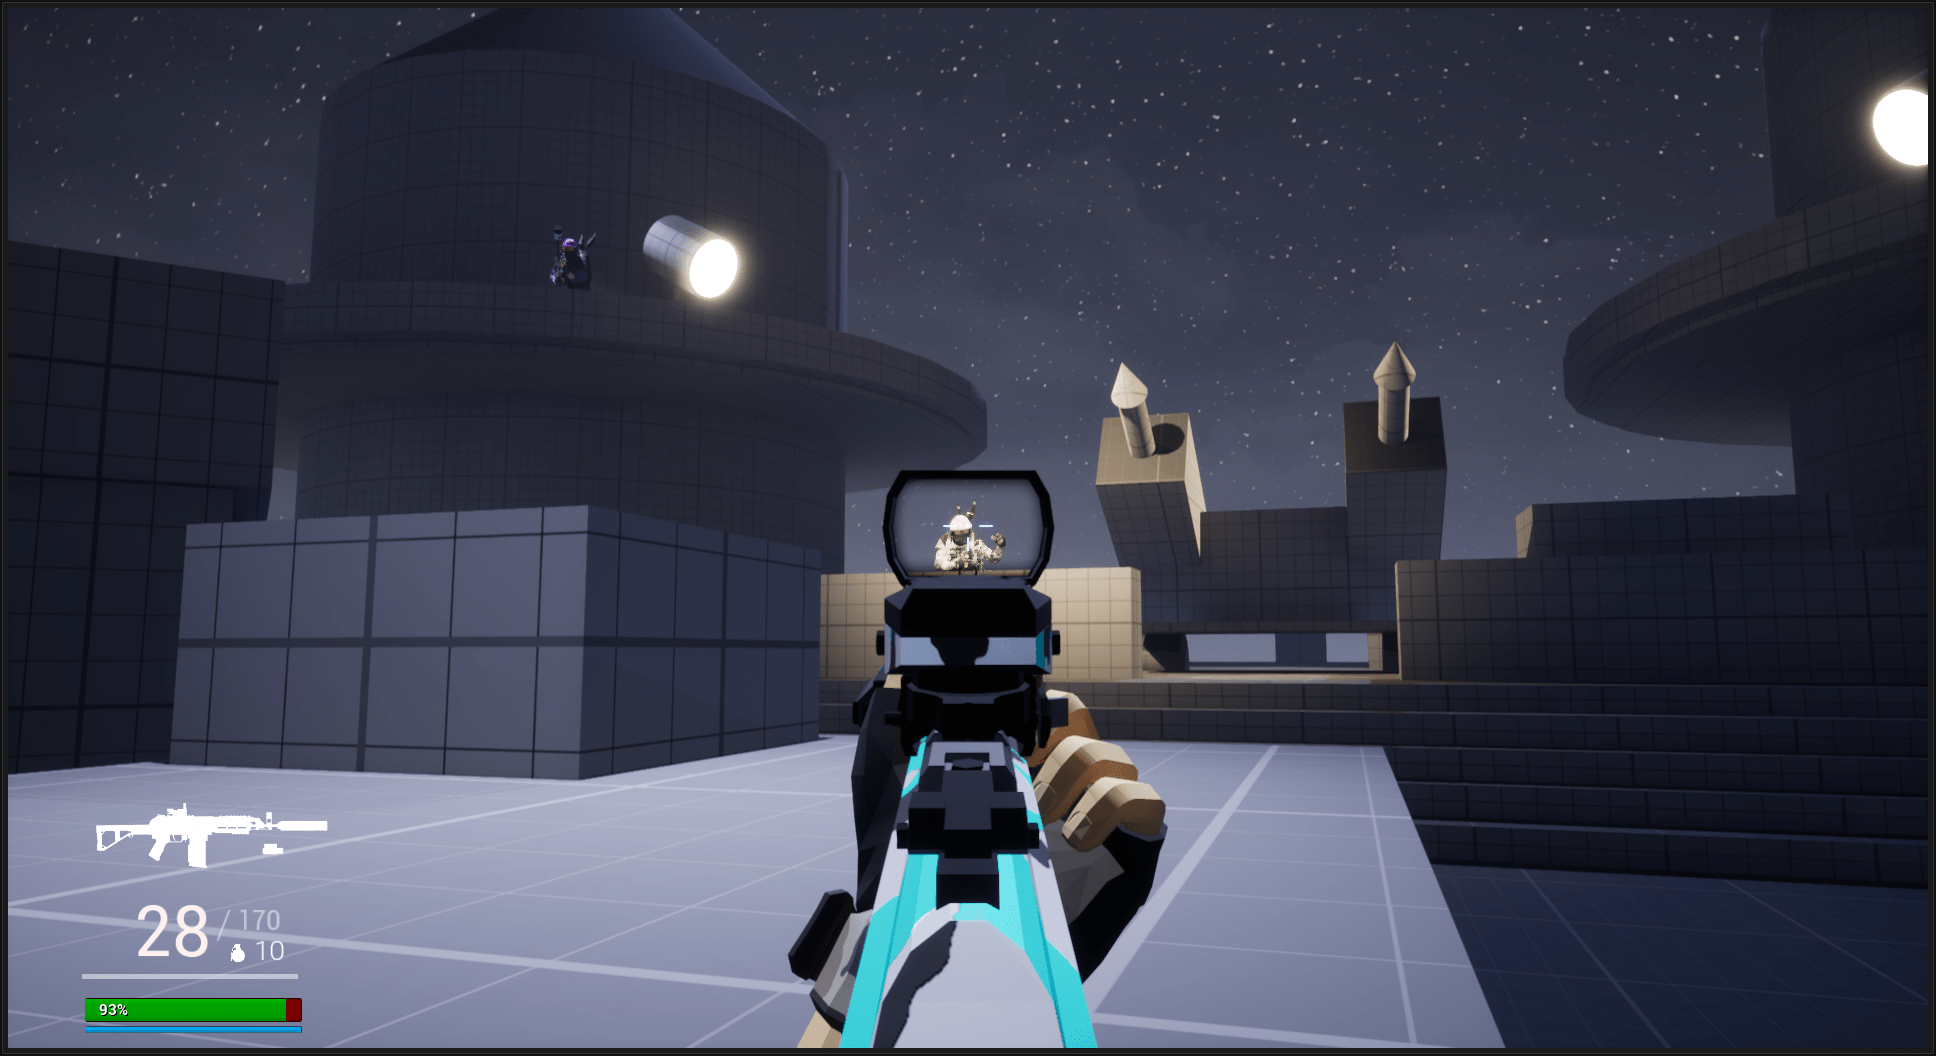
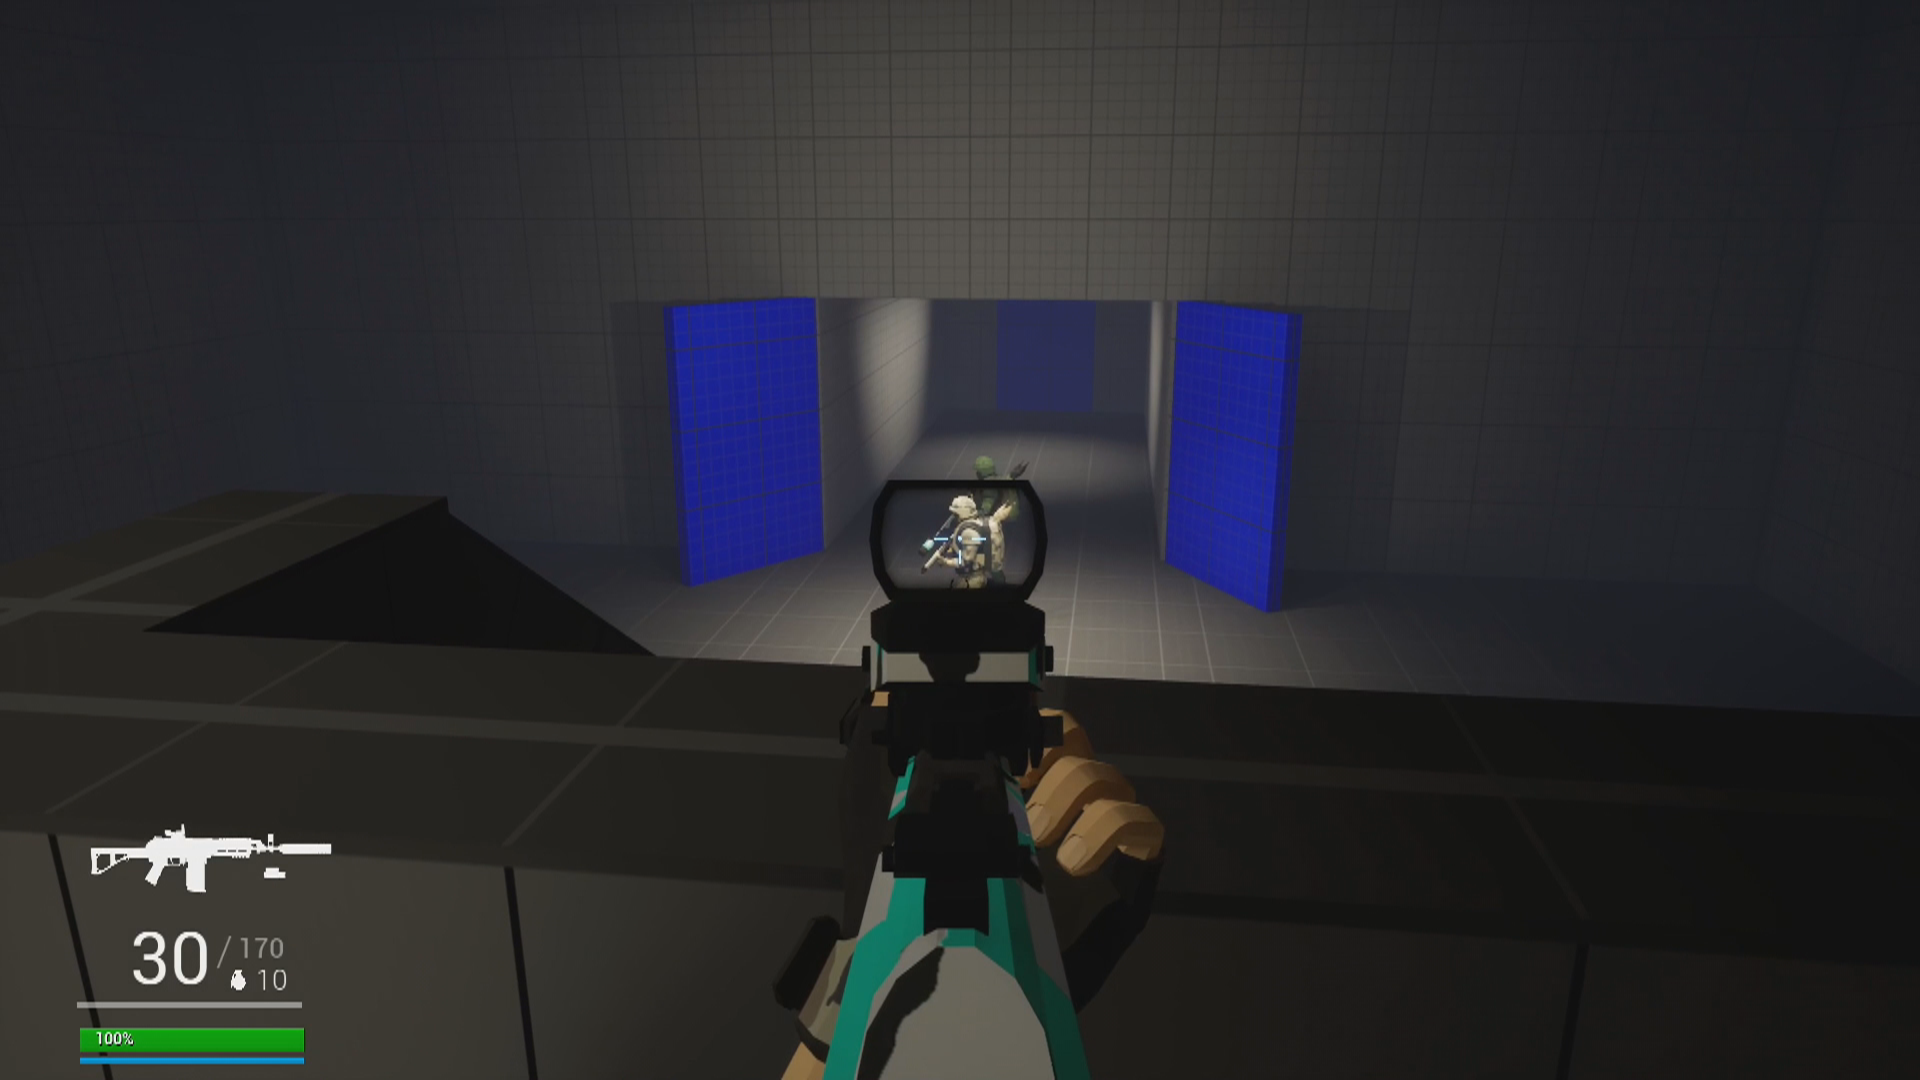
Beat 3: First encounter
The first couple of enemies appear. Thankfully, they are not aware of the player’s presence in the room, who also has the high ground, turning the enemies into easy kills.
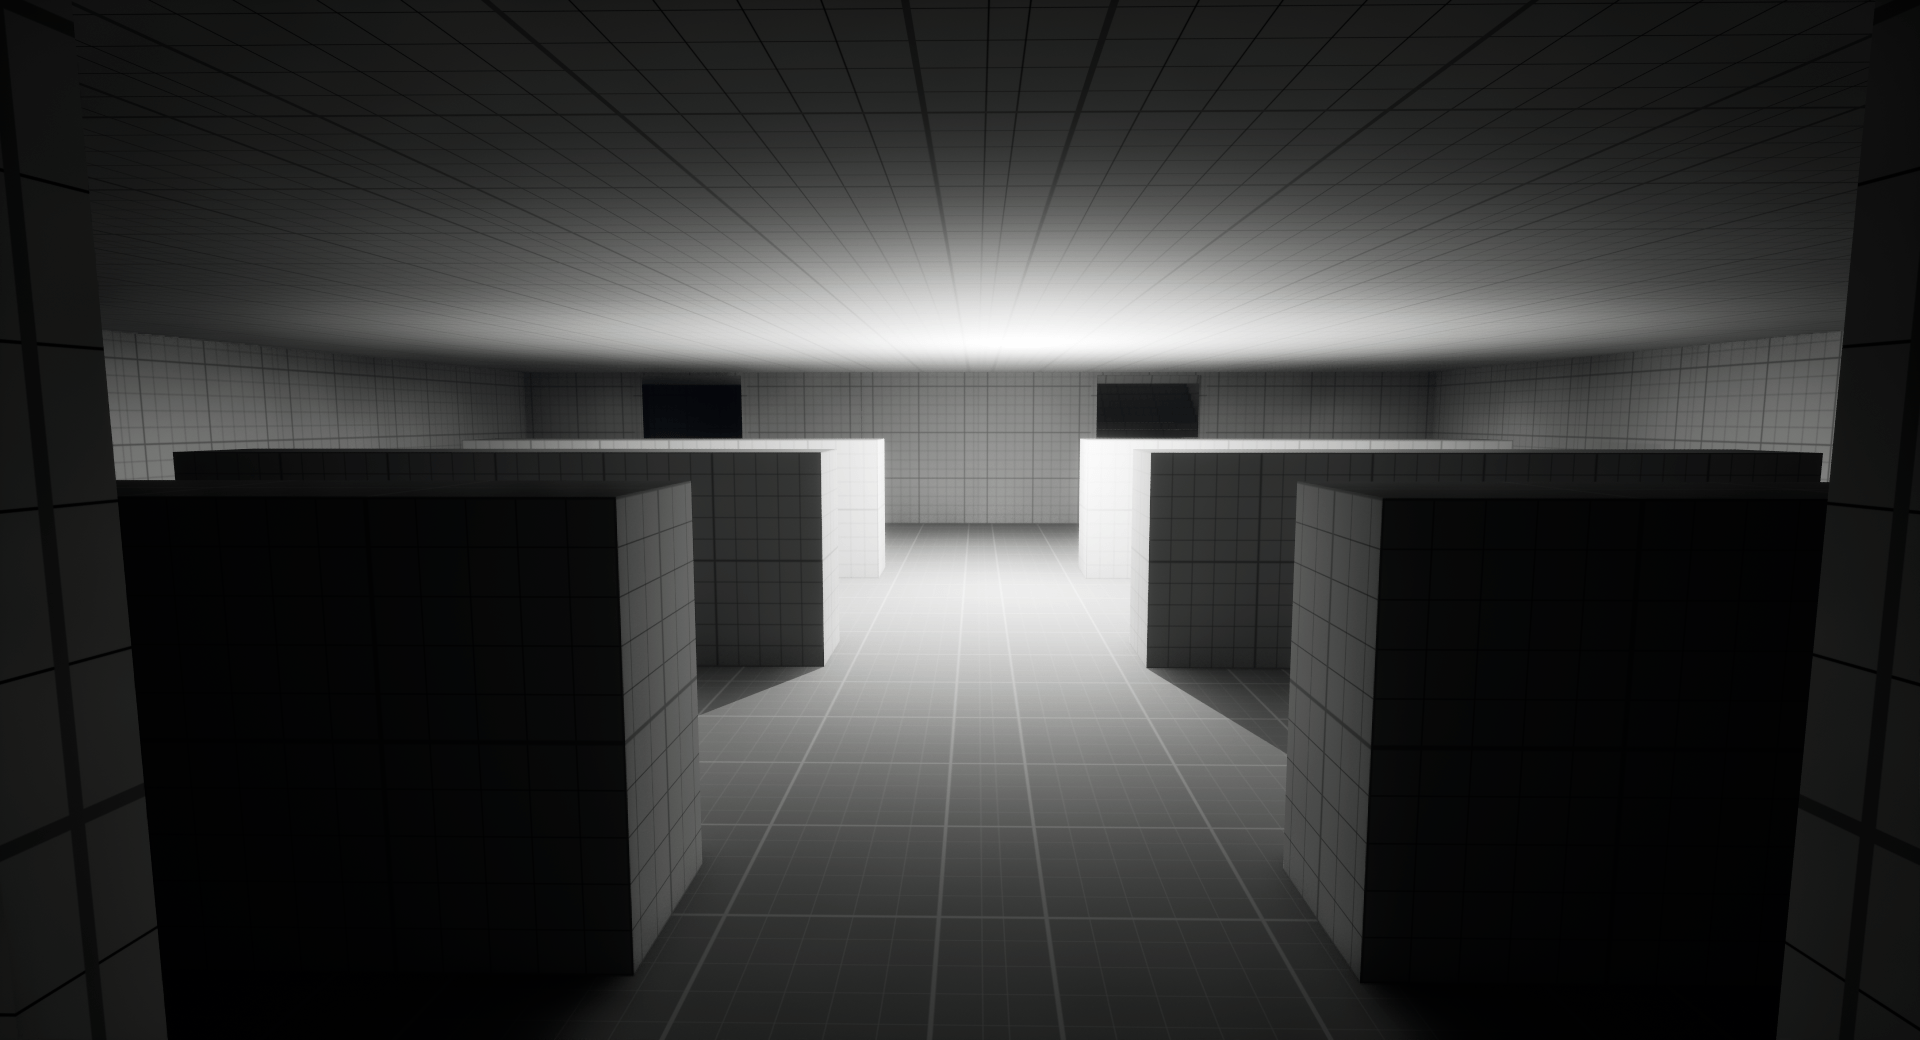
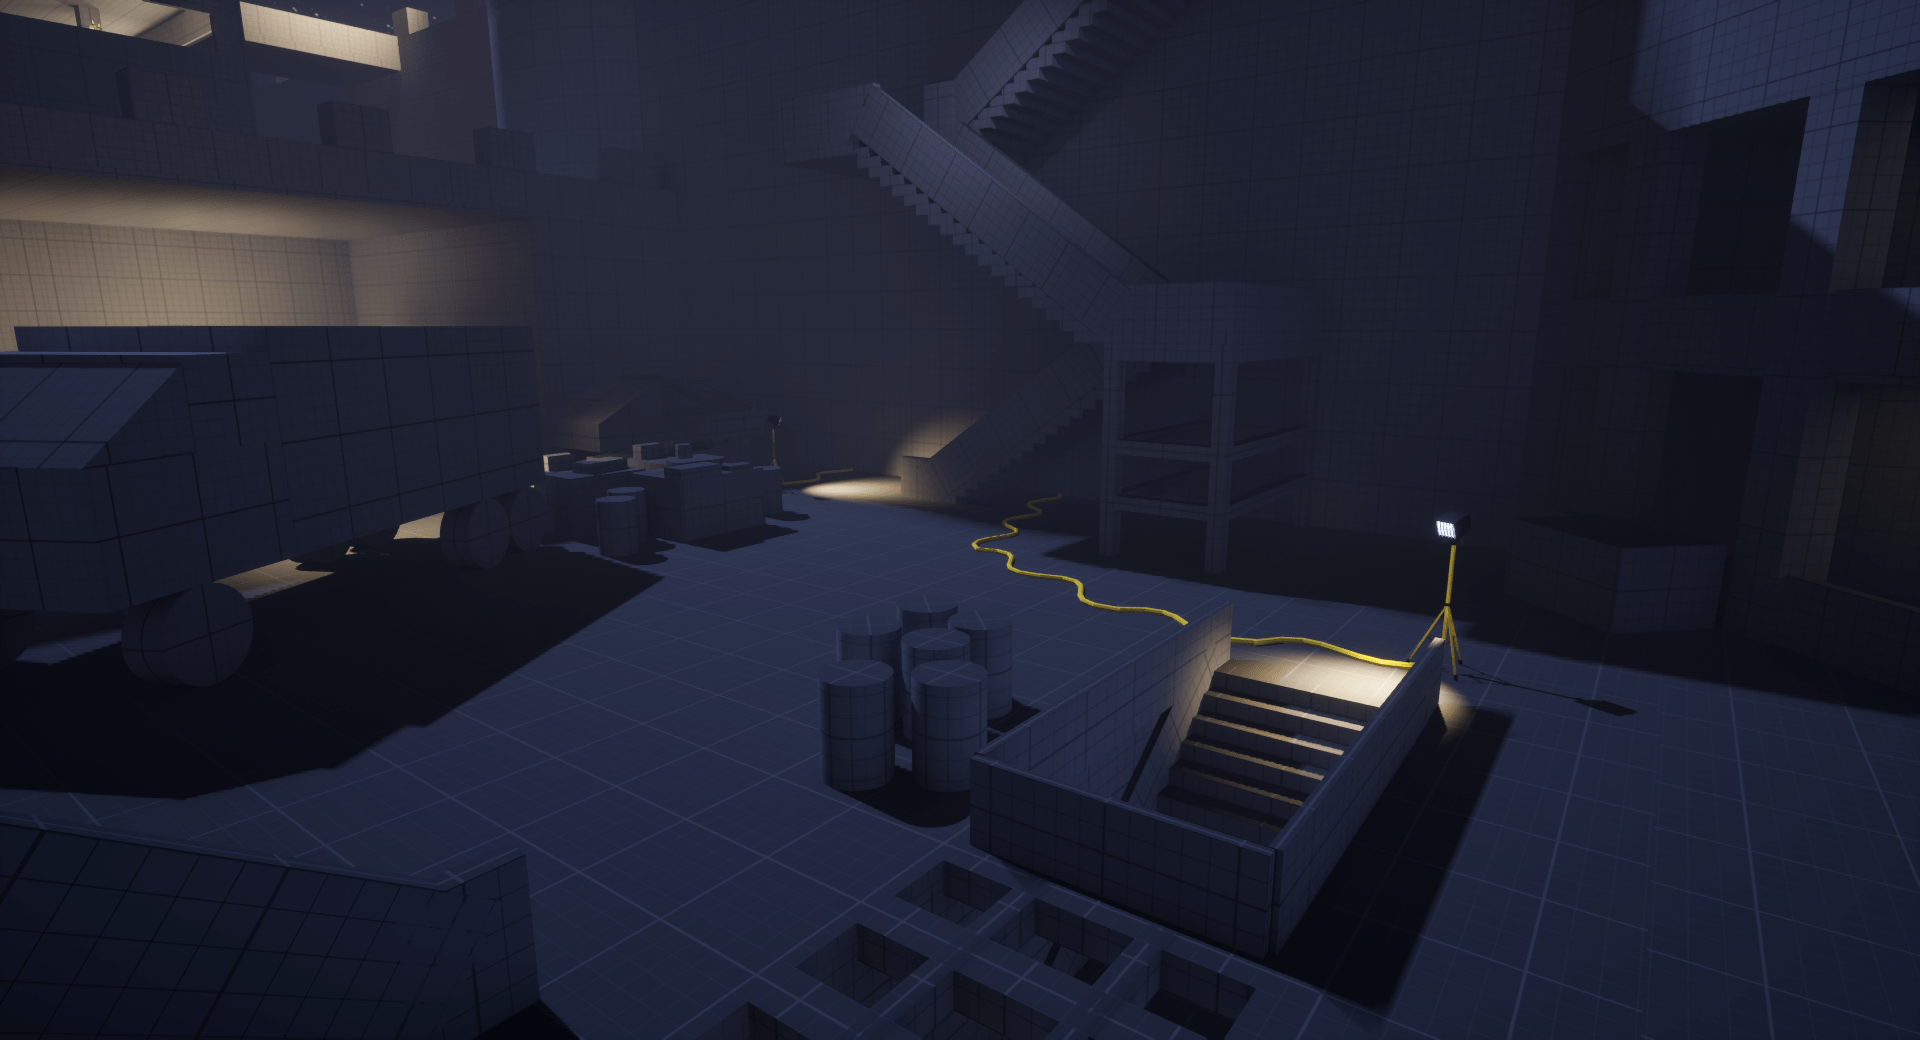
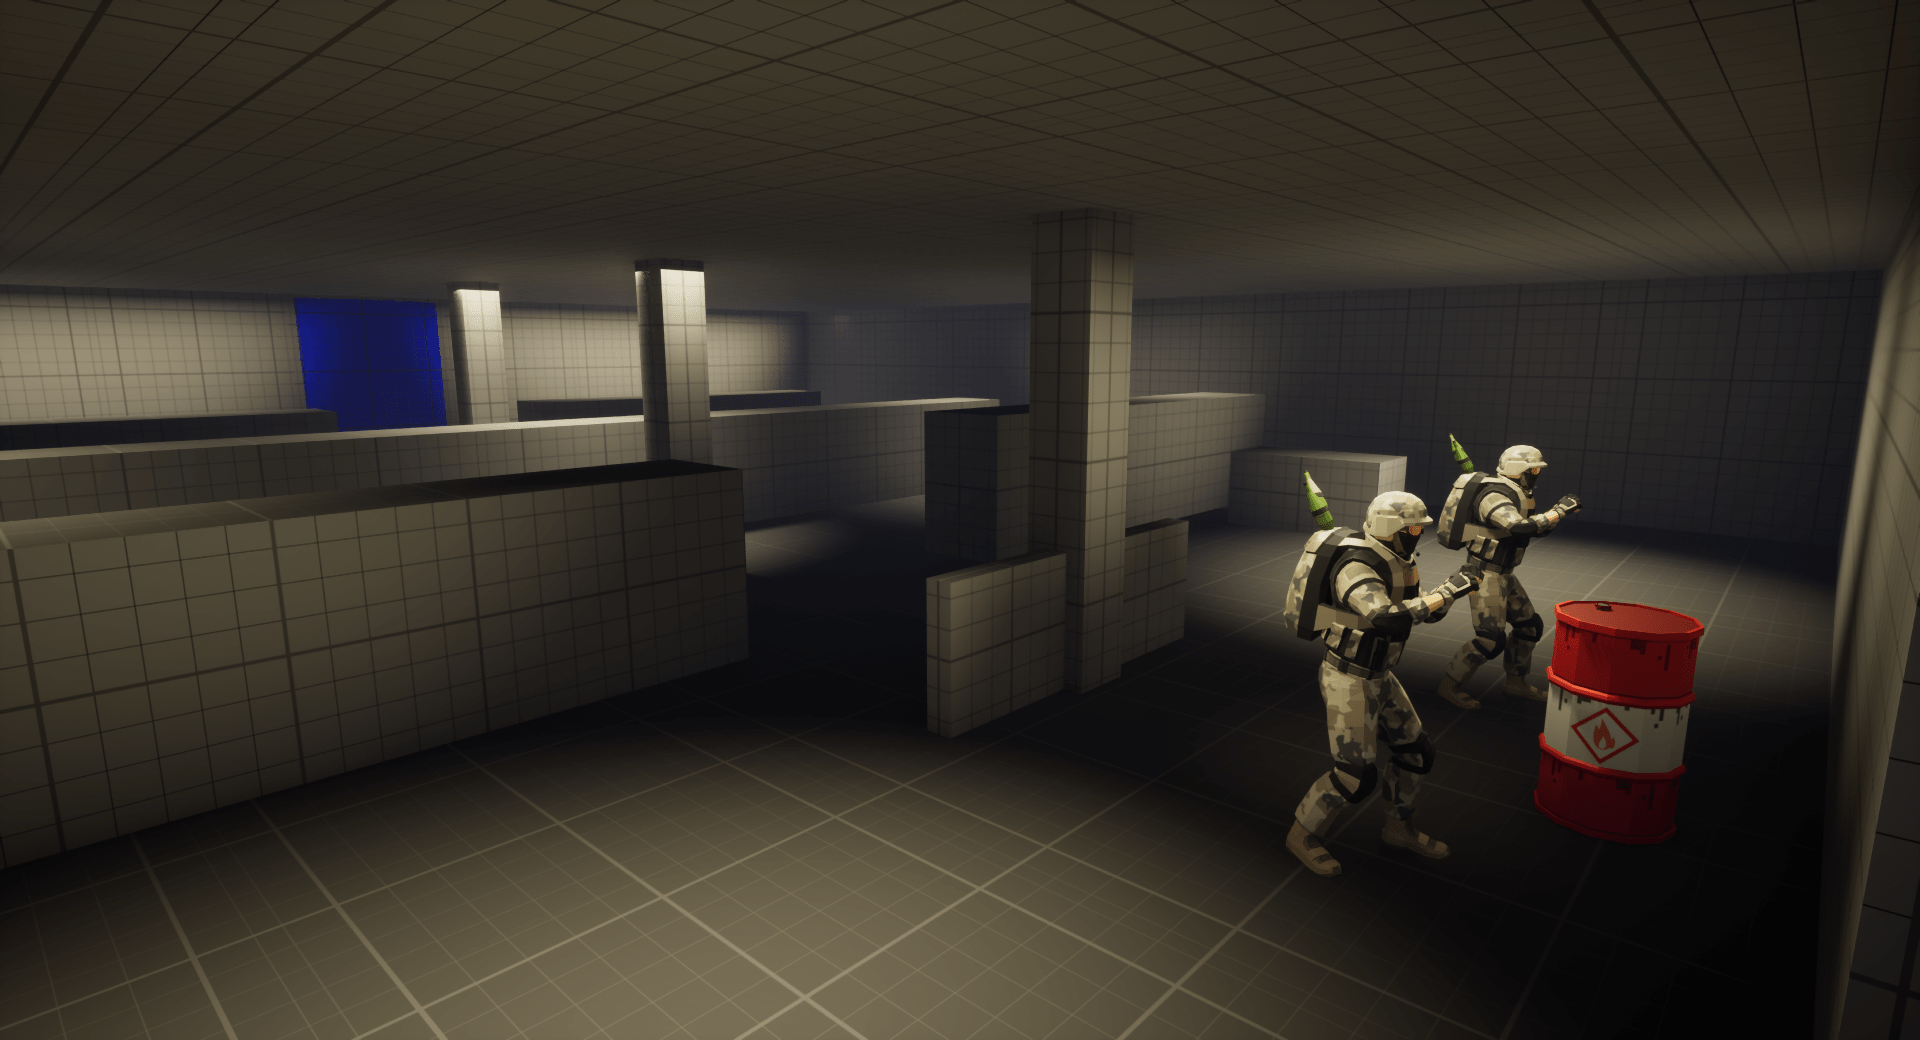
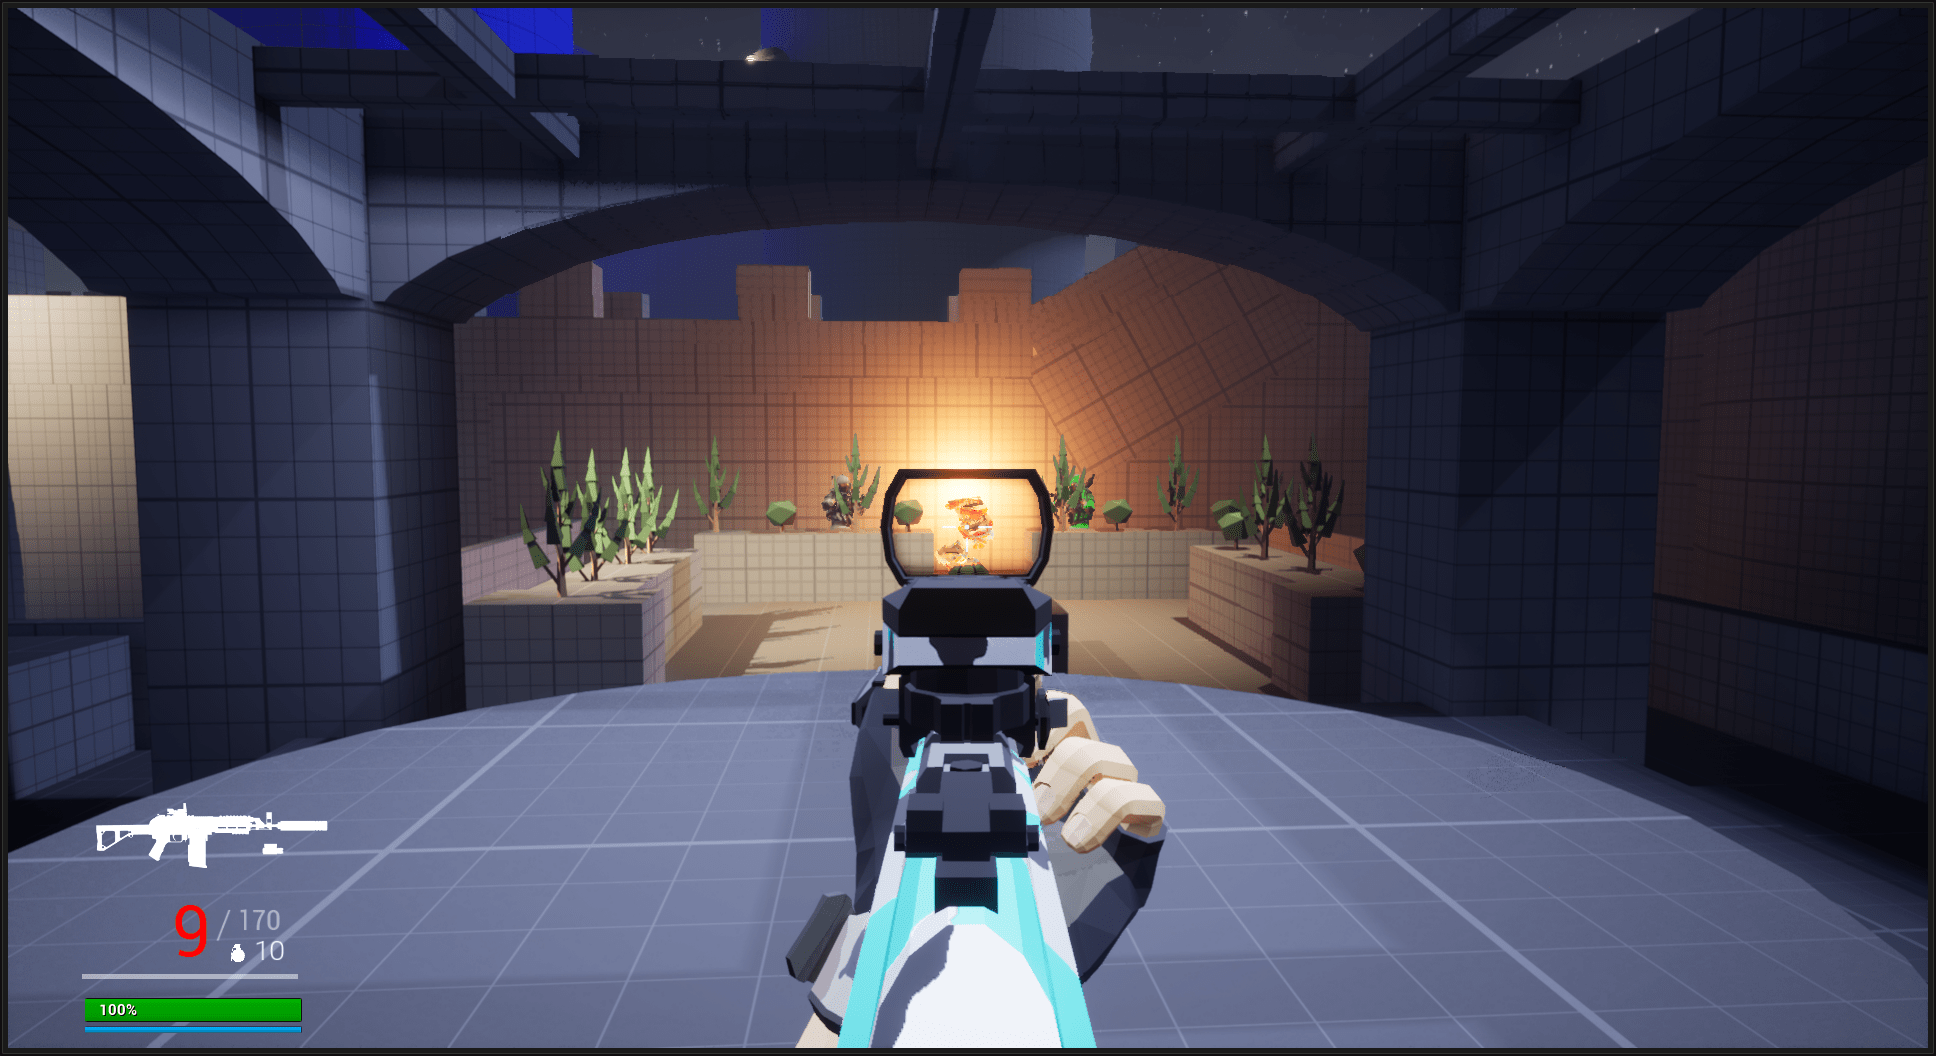
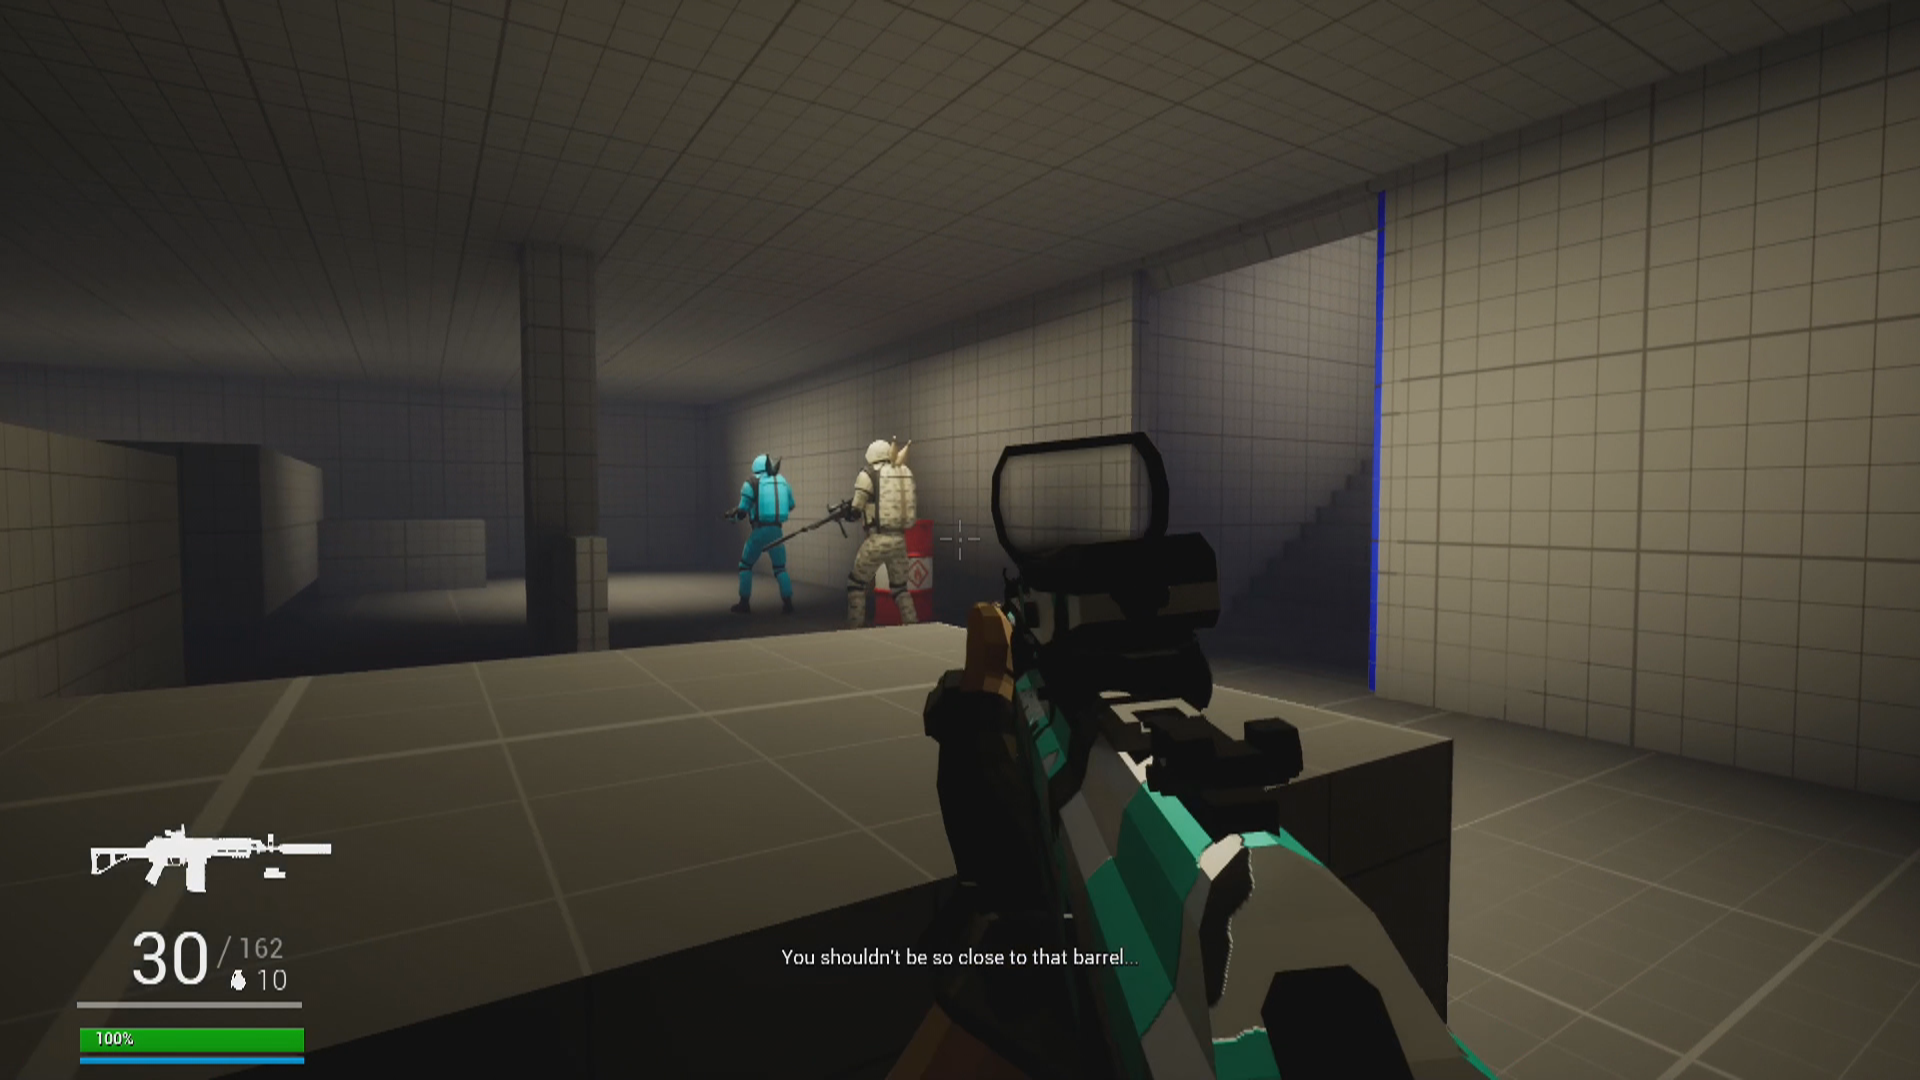
Beat 4: Second encounter
The player ambushes another couple of enemies. This time, they will be conveniently close to an explosive barrel that the player can explode to kill them easily.
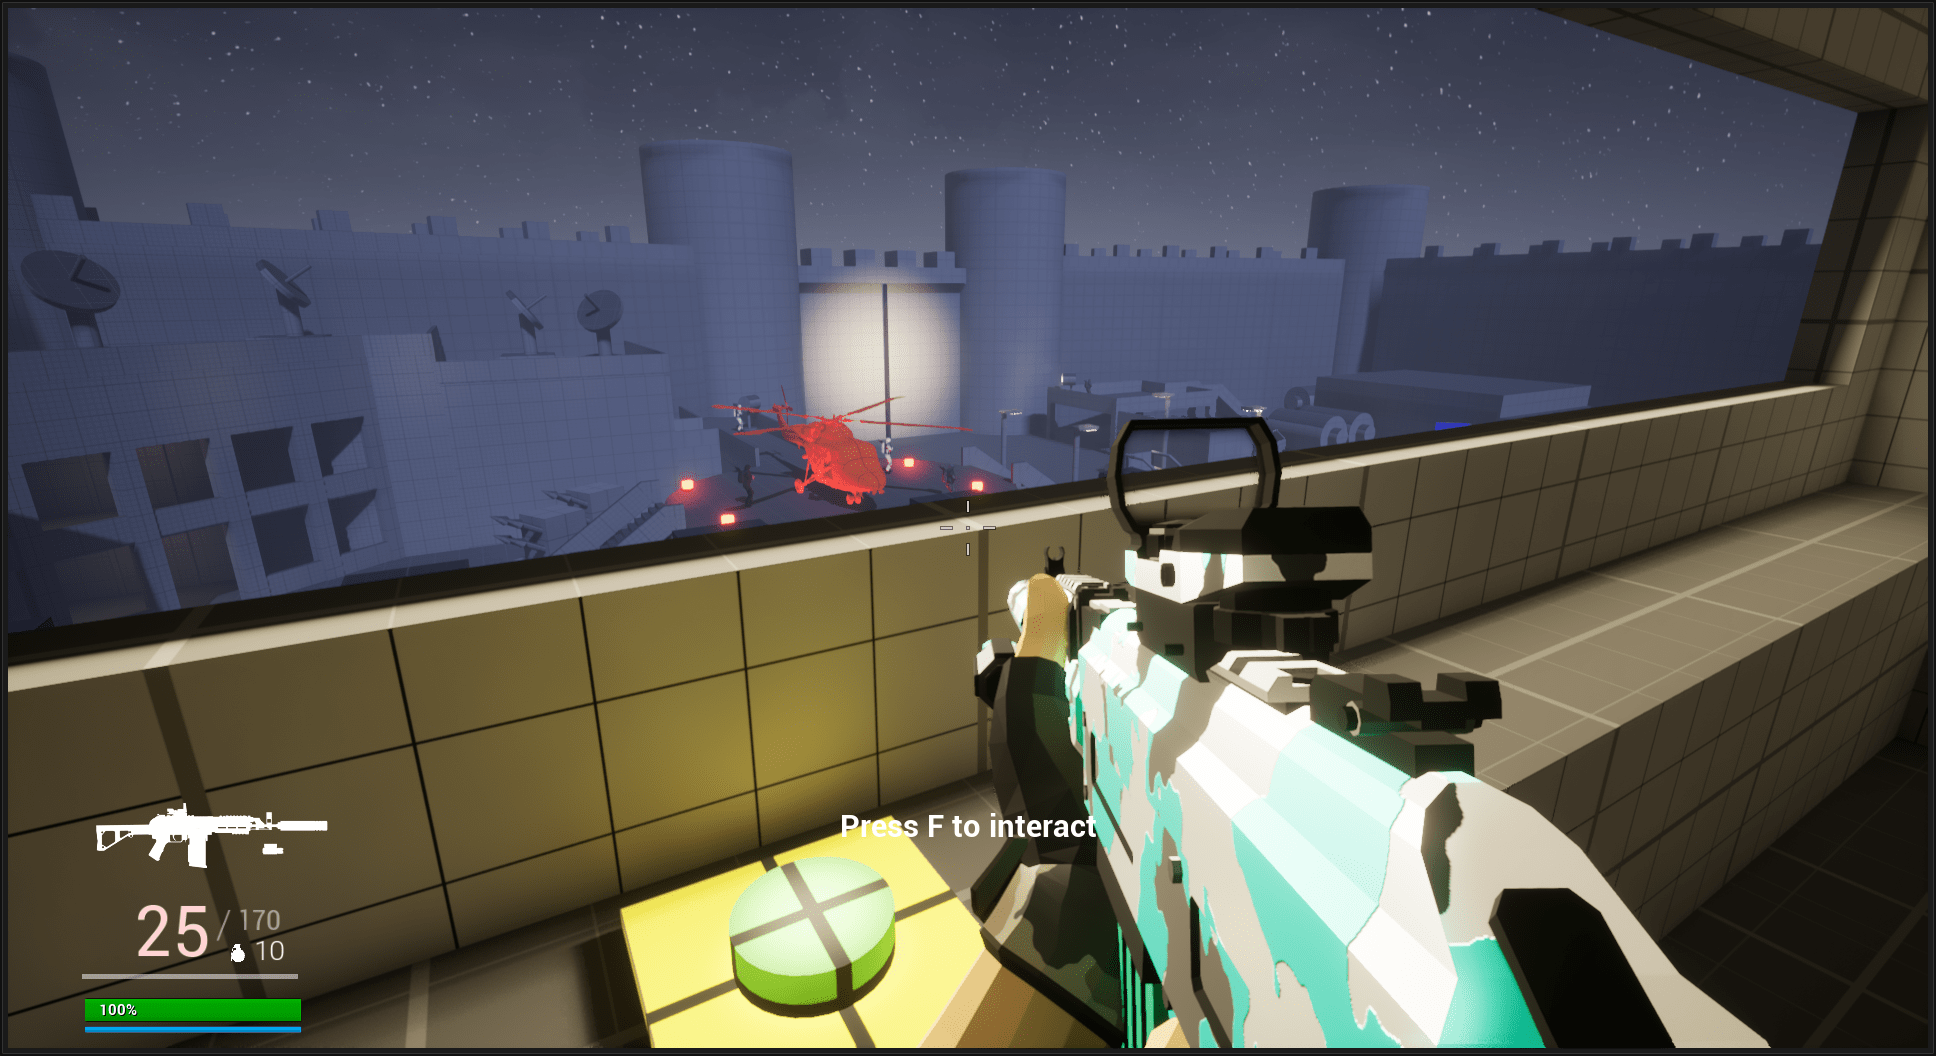
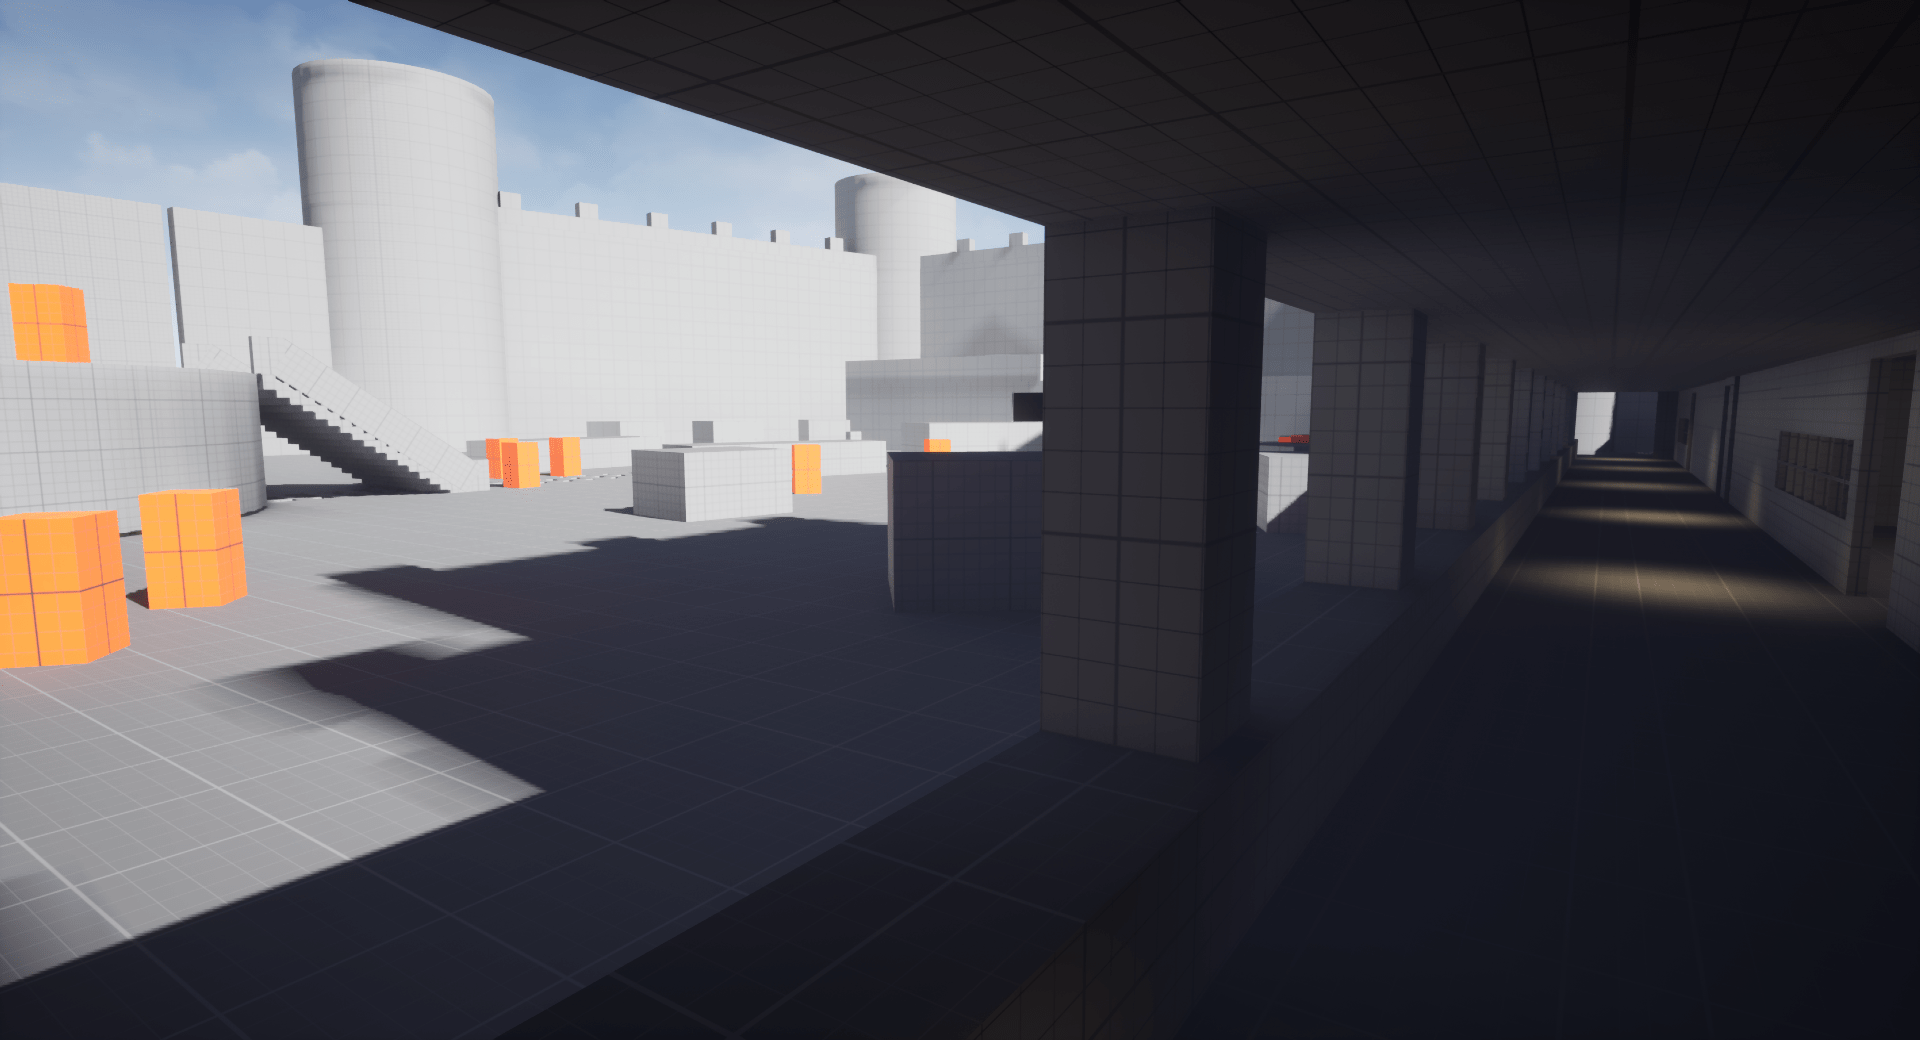
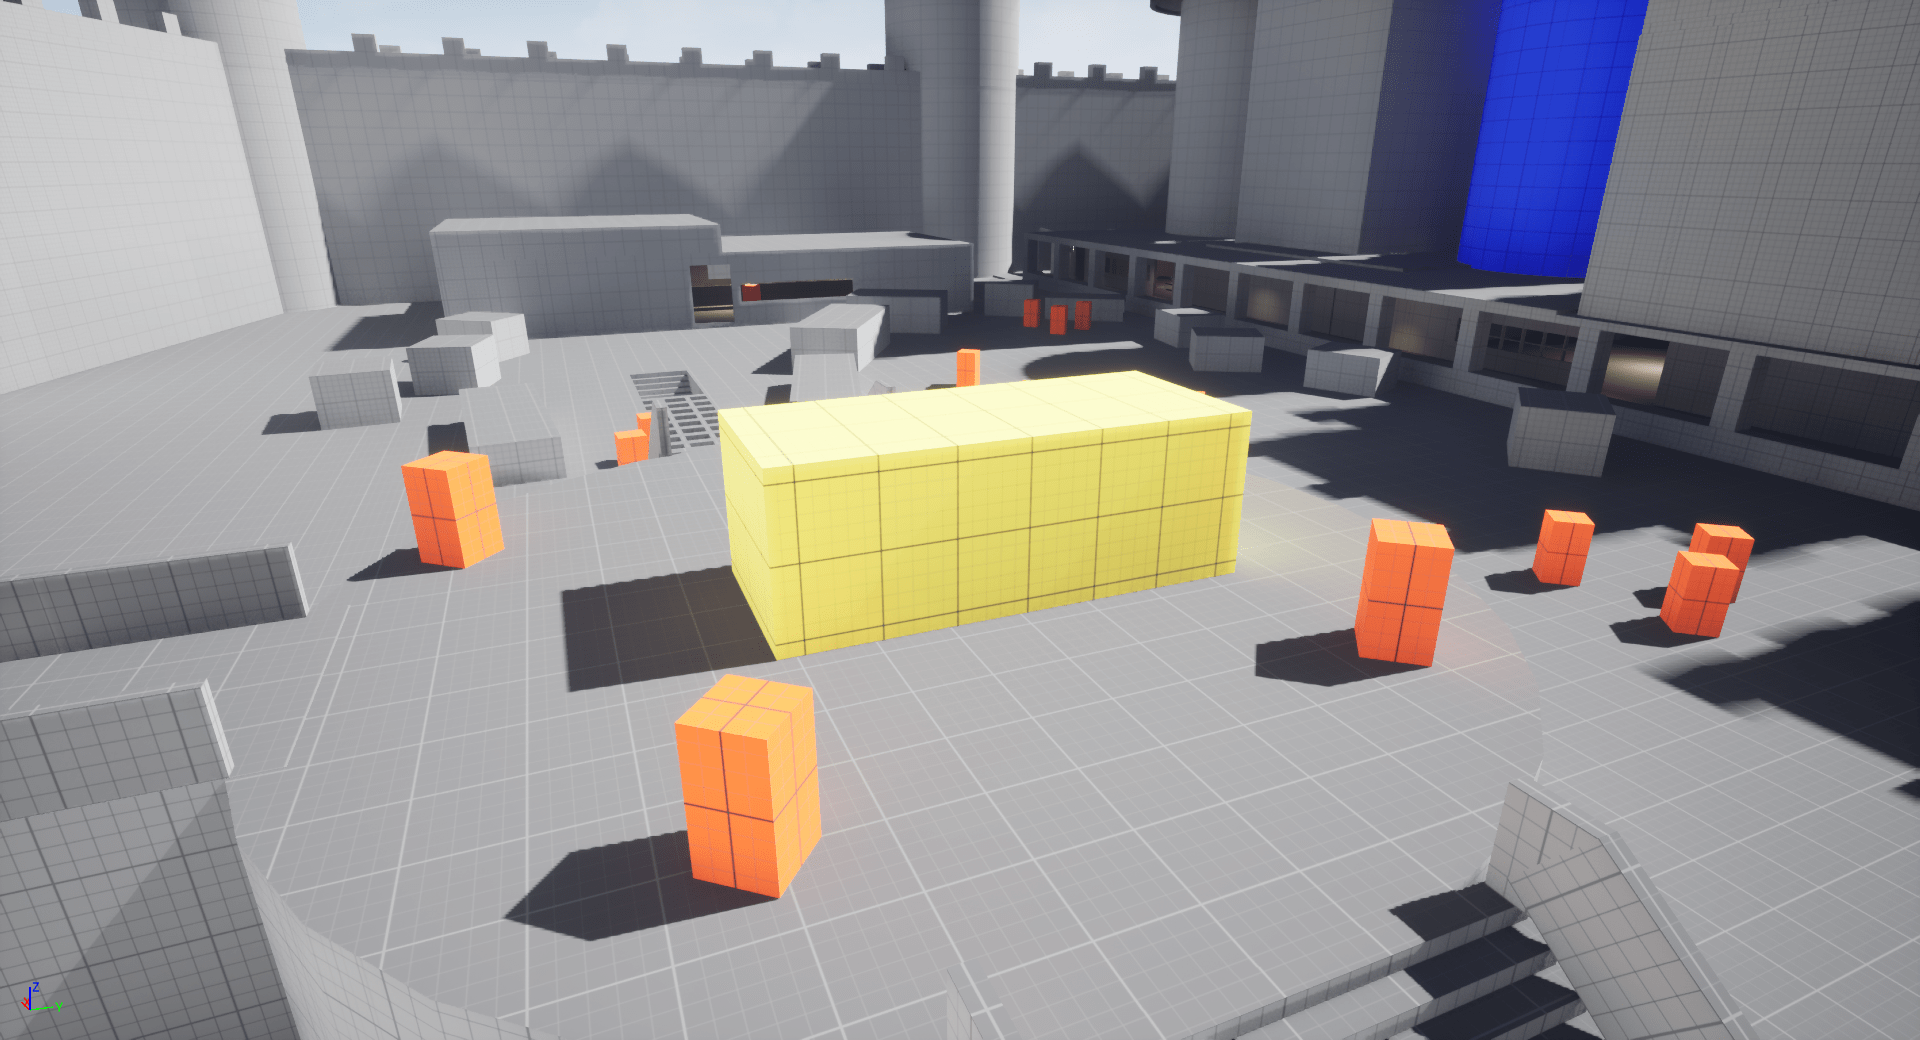
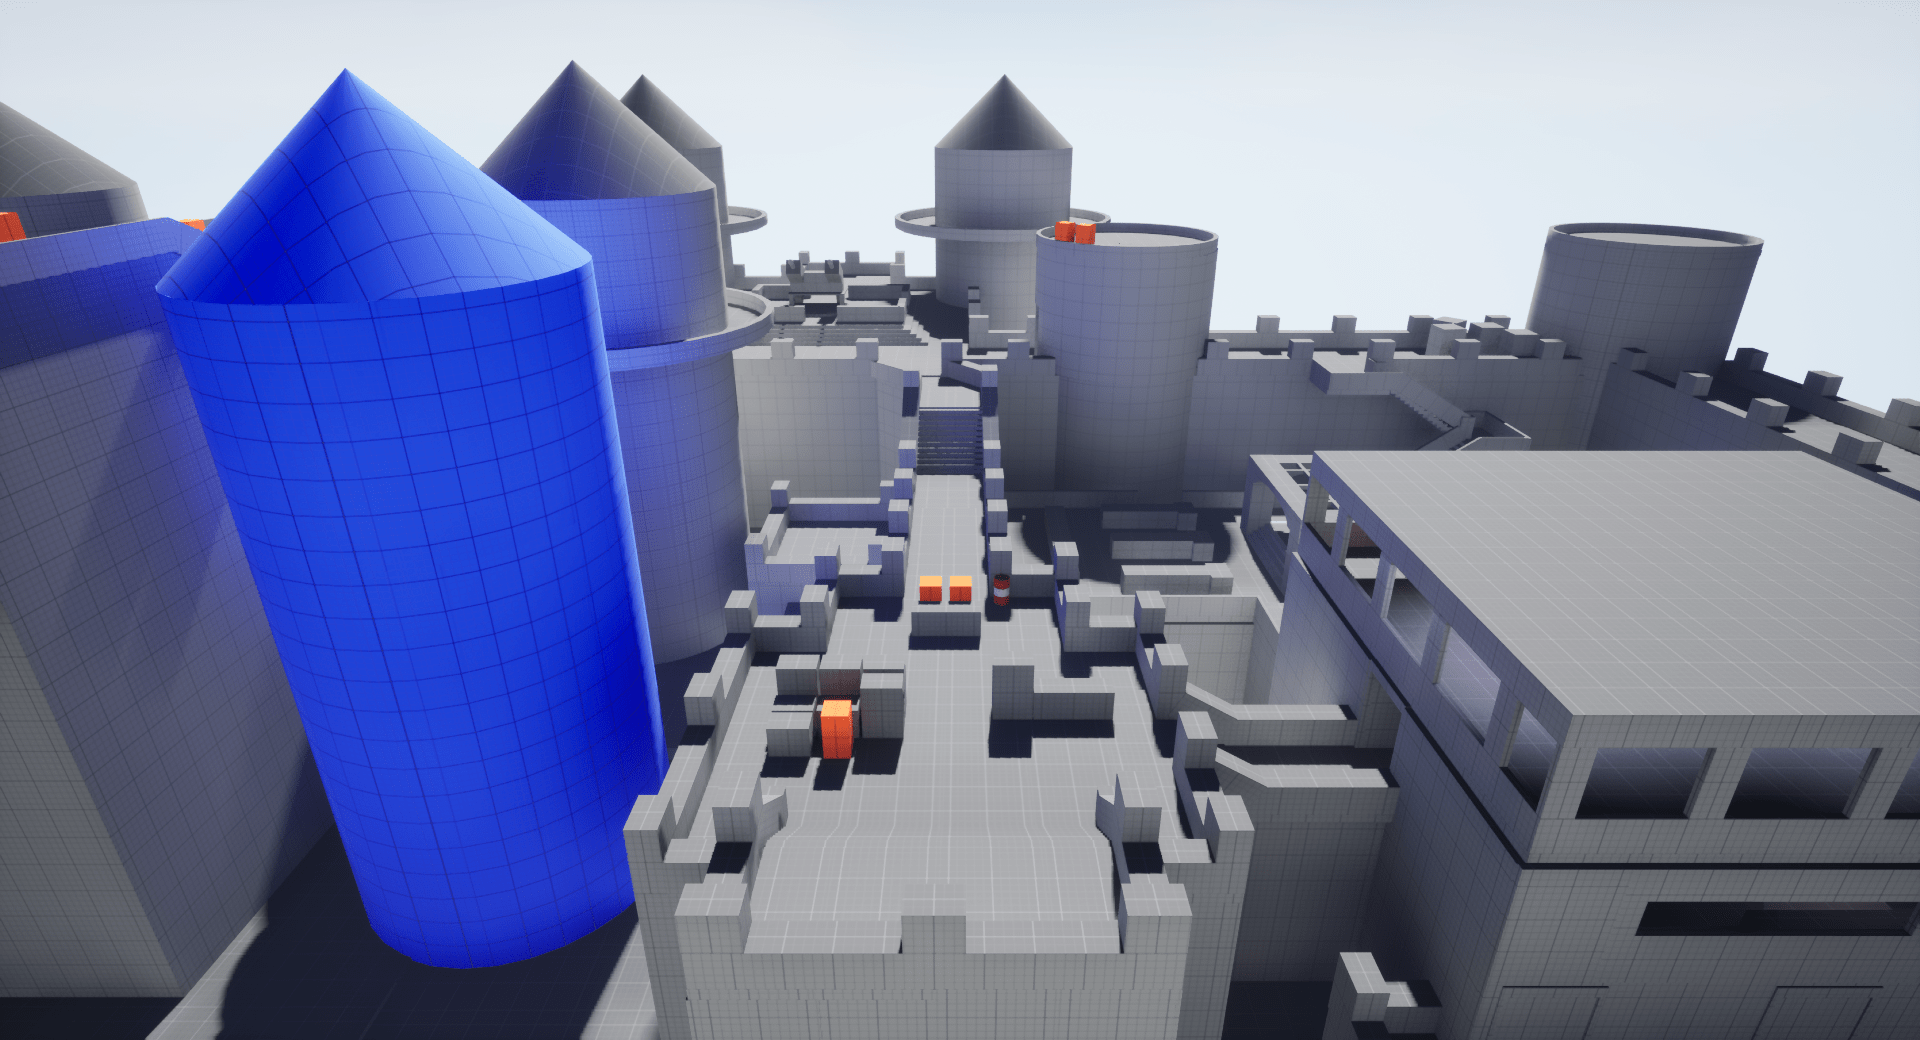
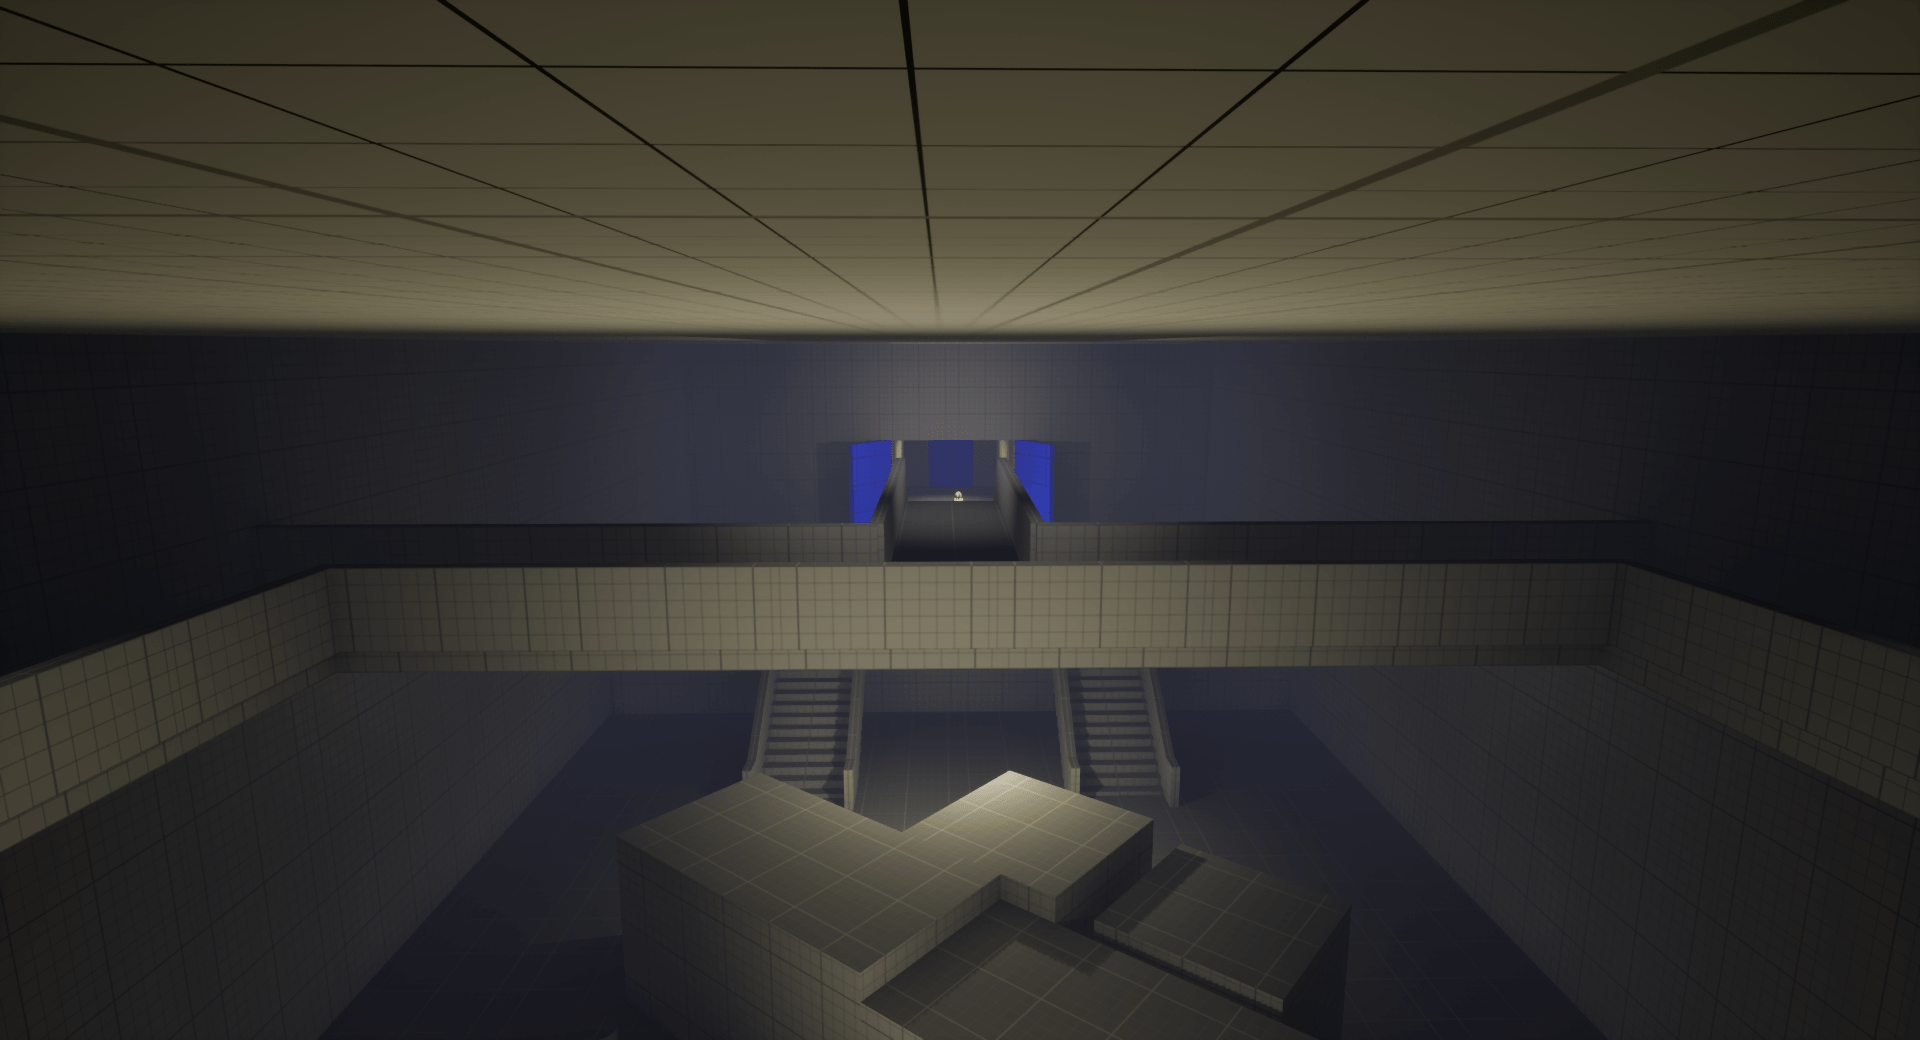
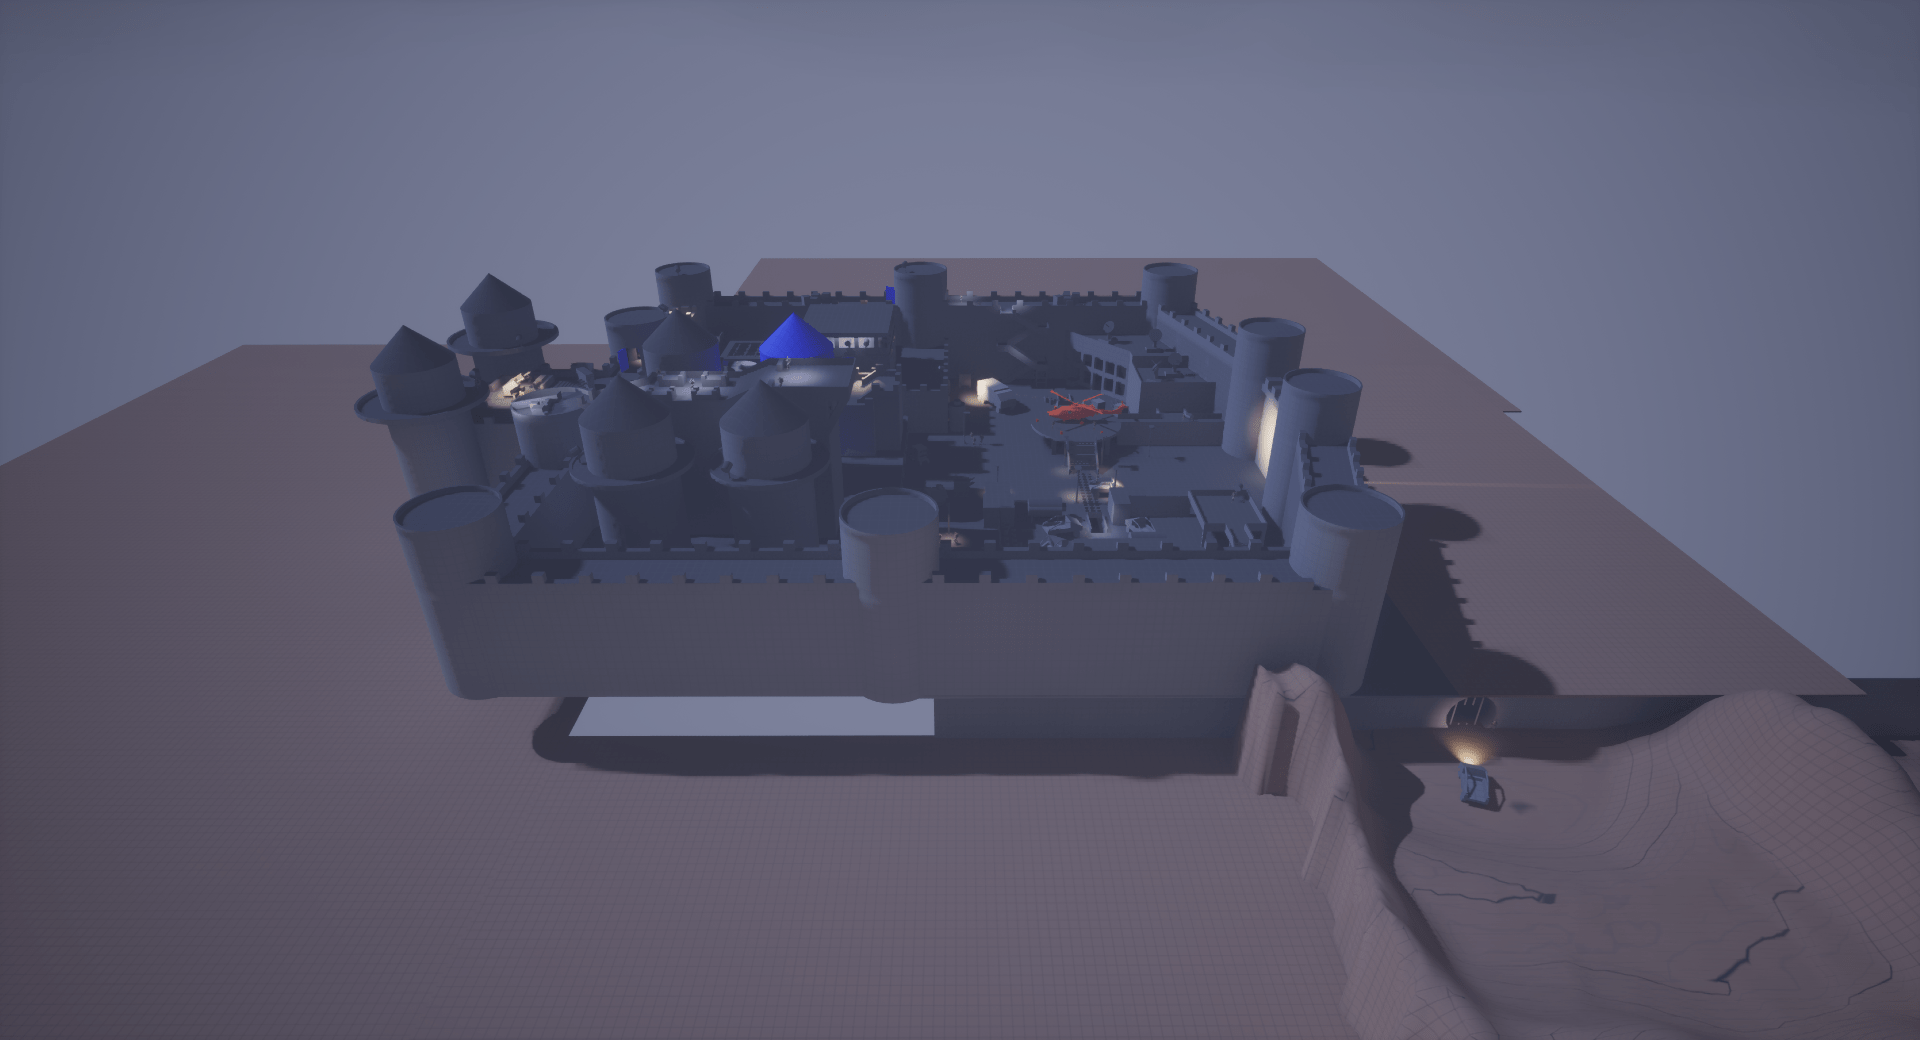
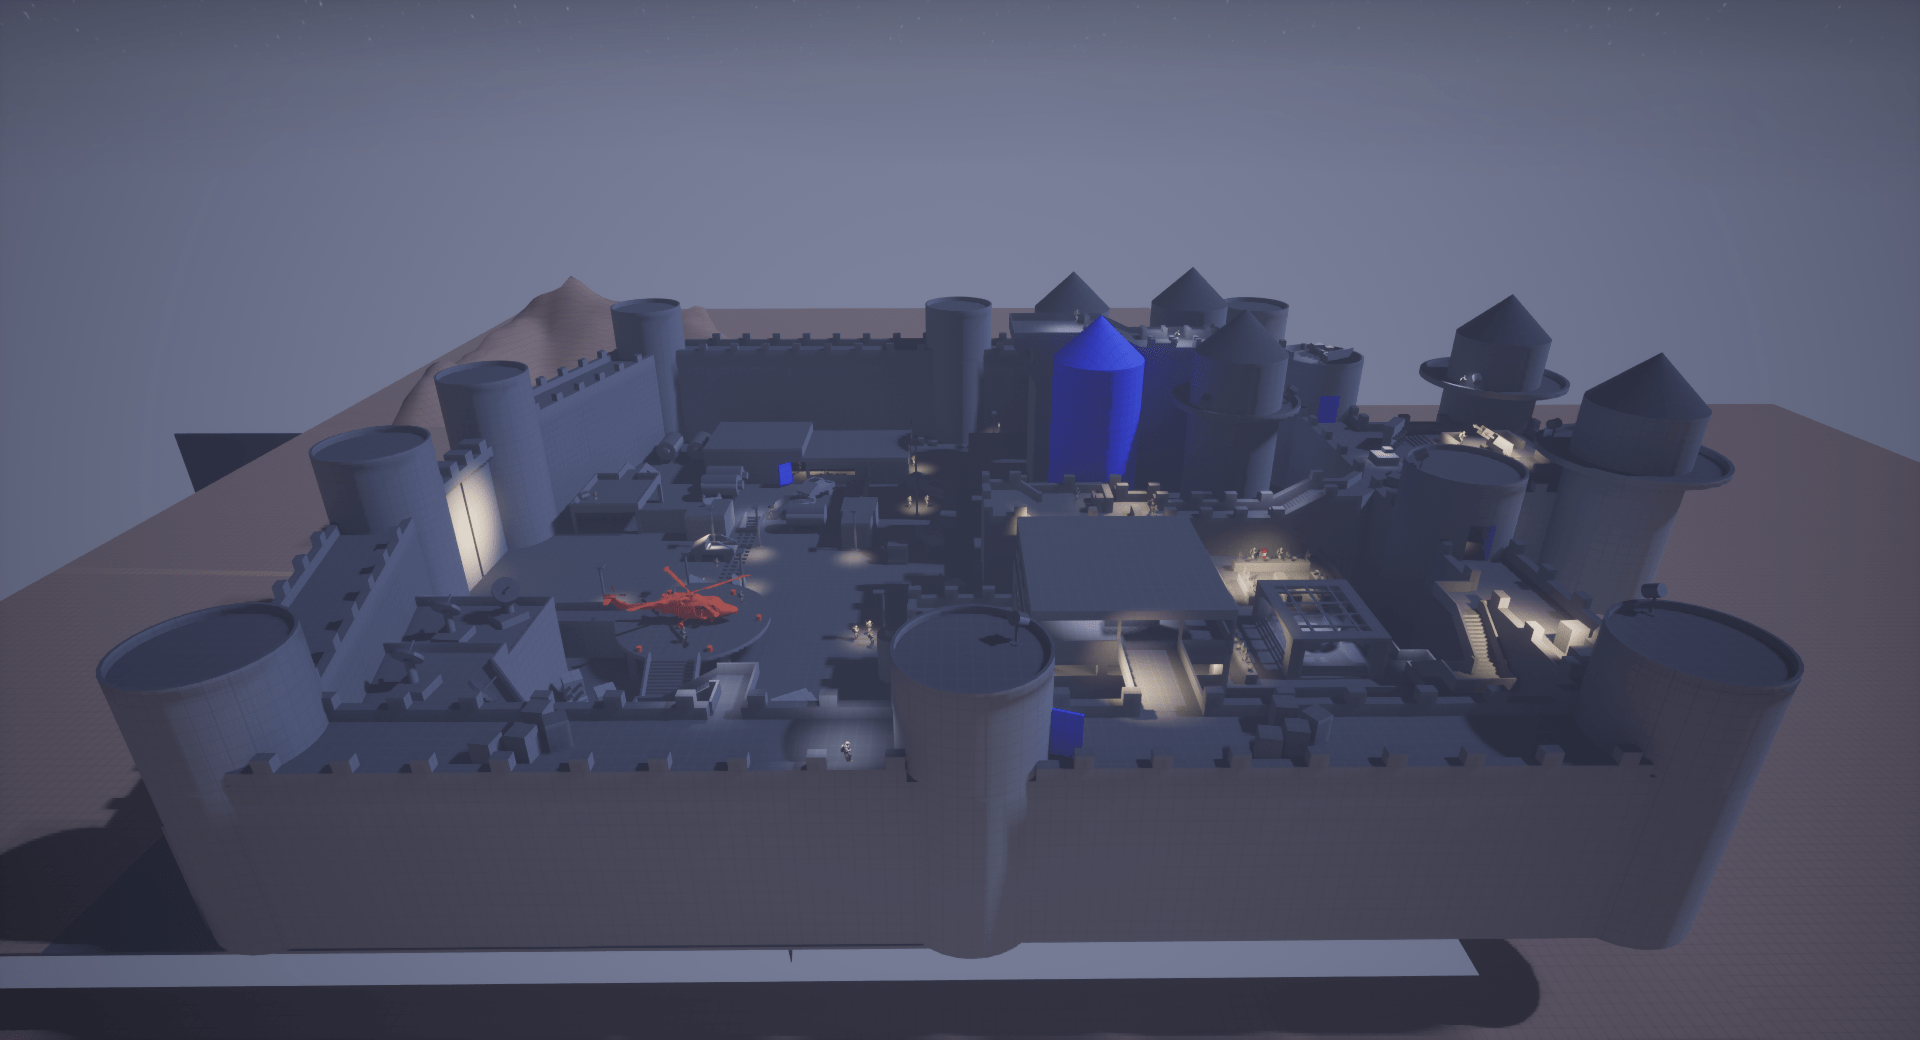
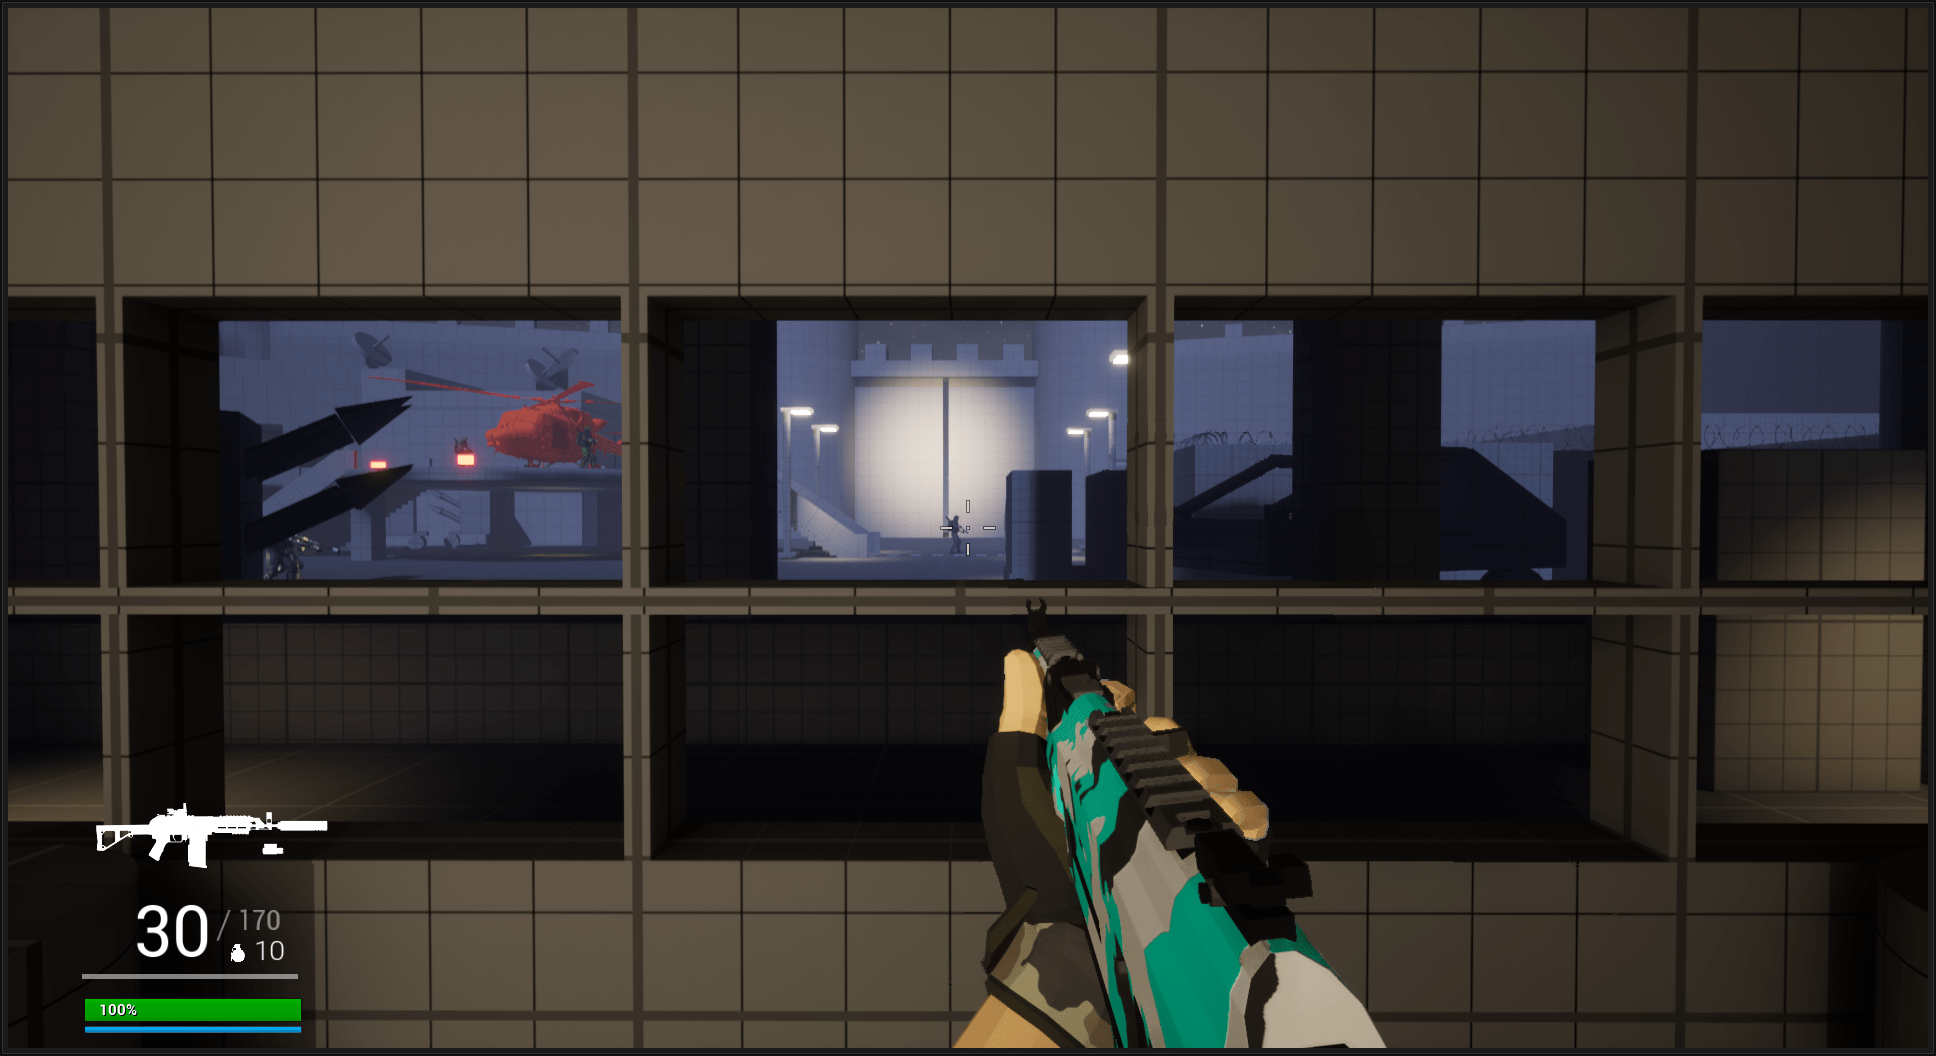
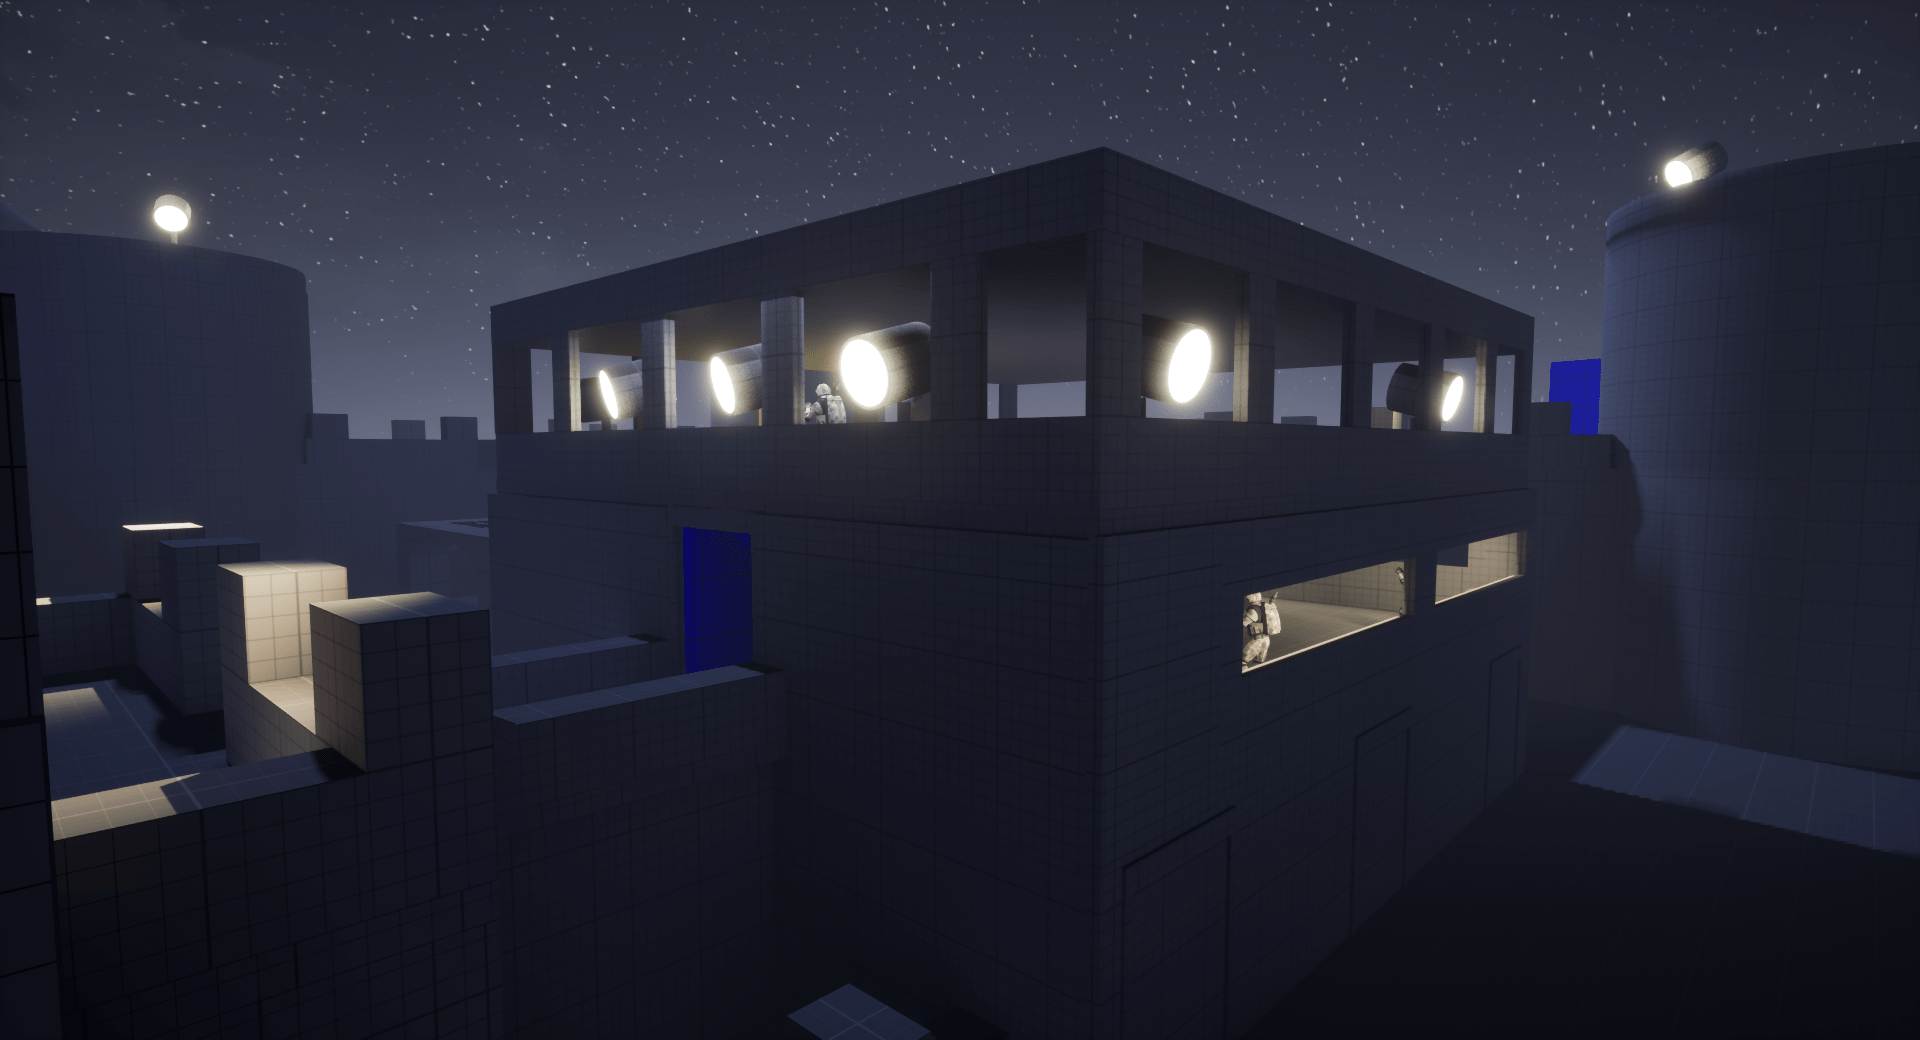
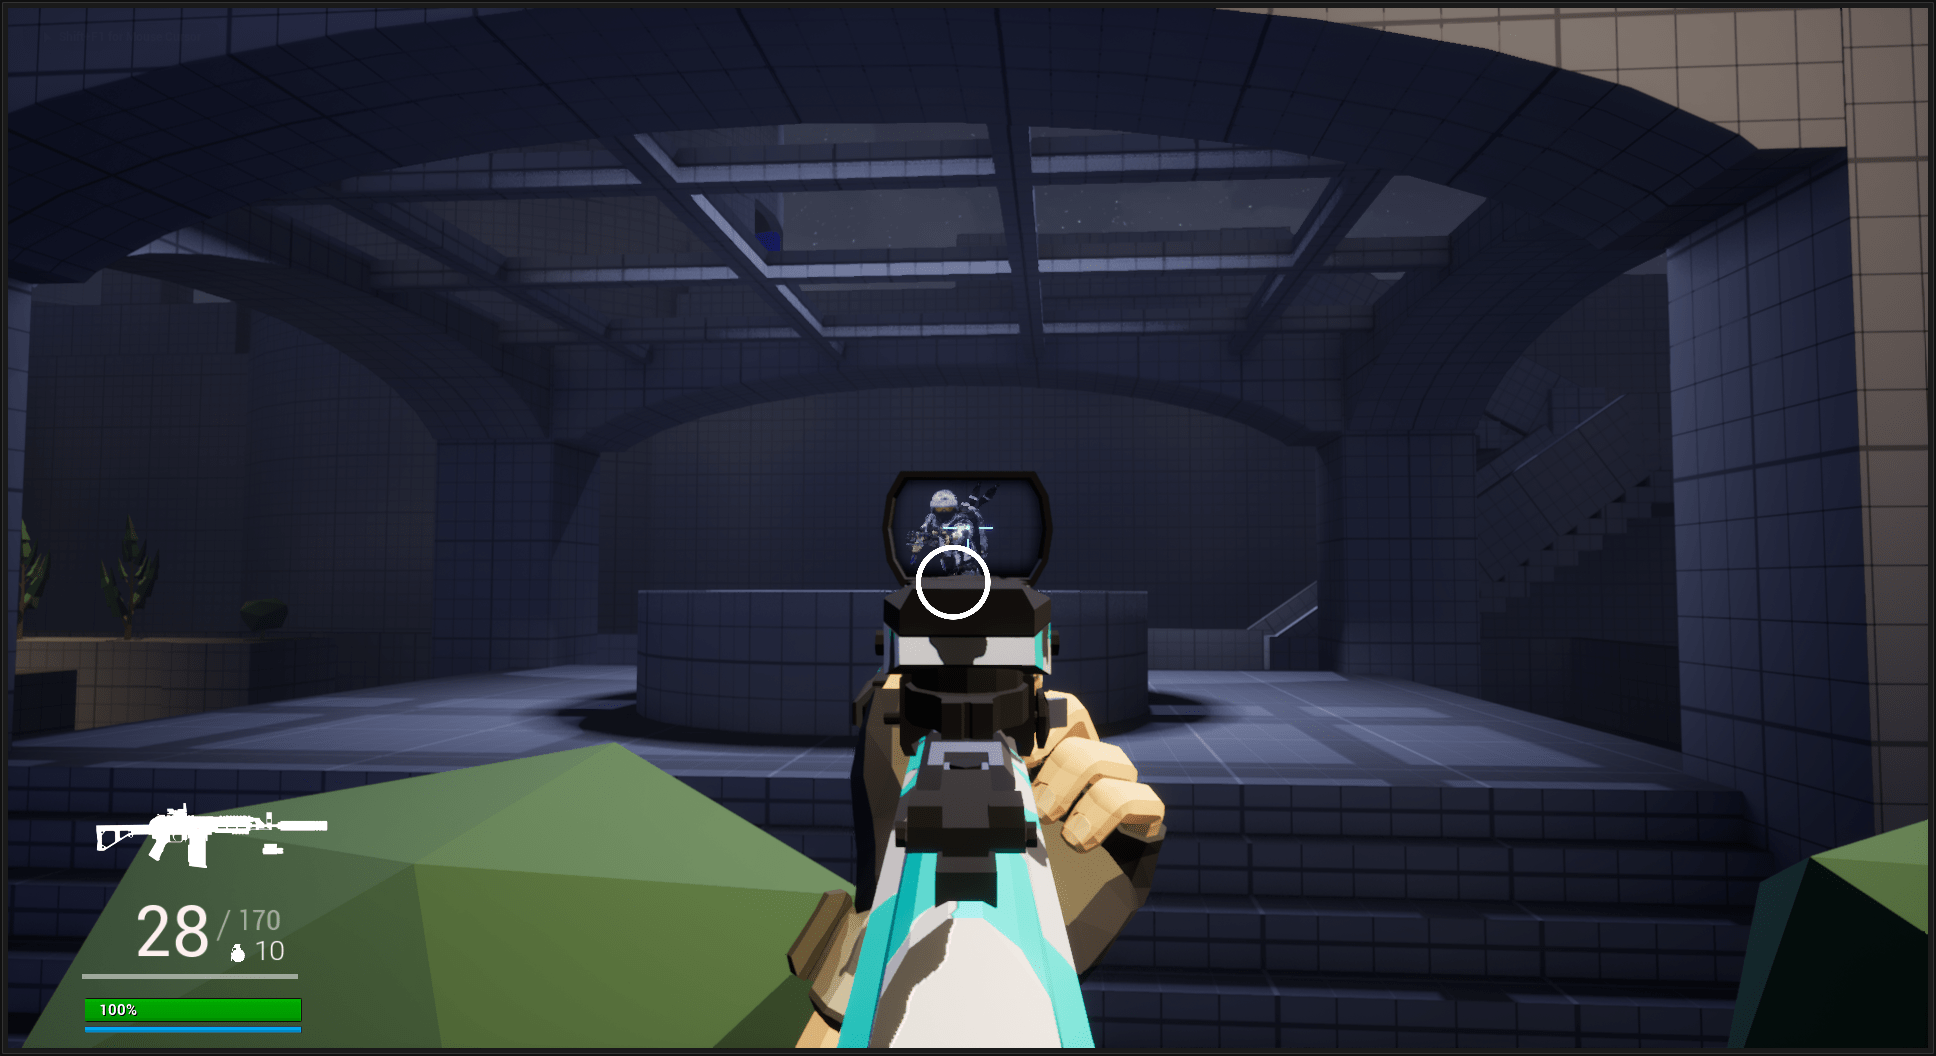
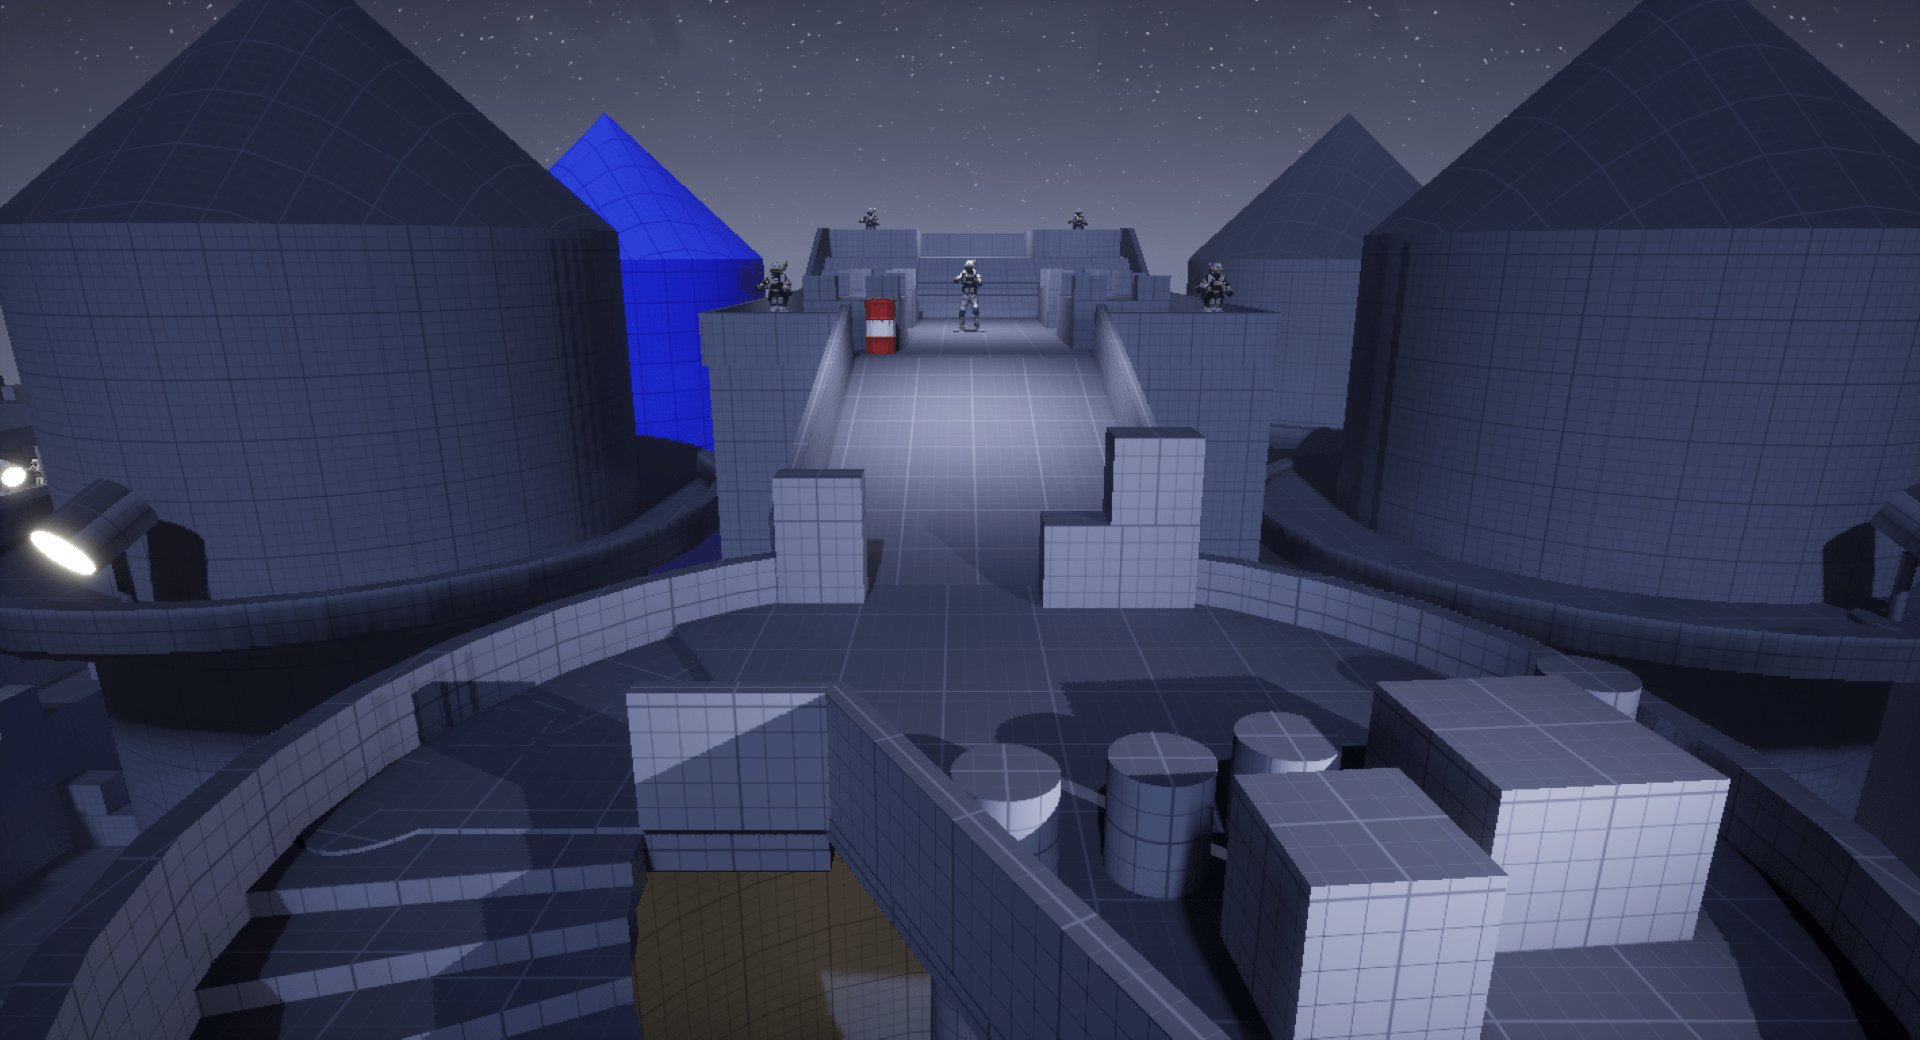
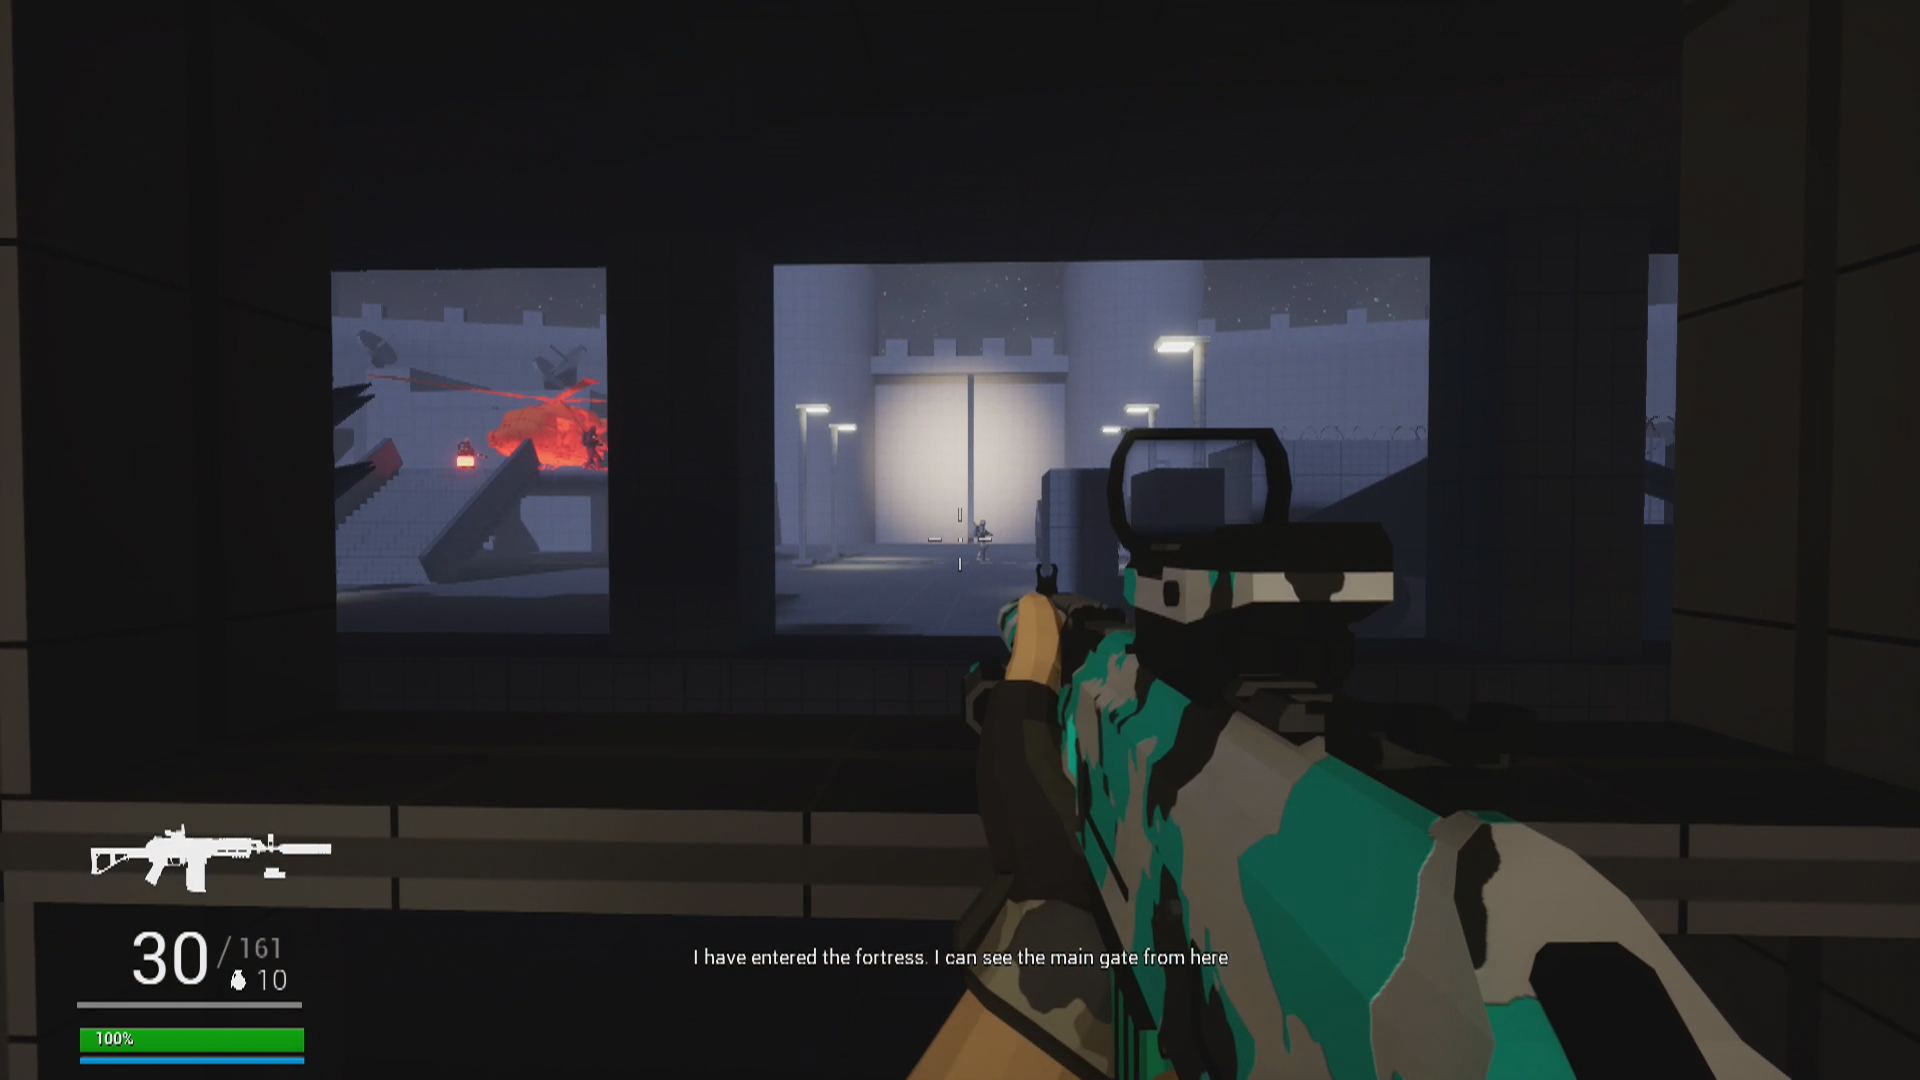
Beat 5: Fortress entry
The player arrives at the fortress. Before starting to explore, he can look through the window of the room to see of the most important points of interest in the level.
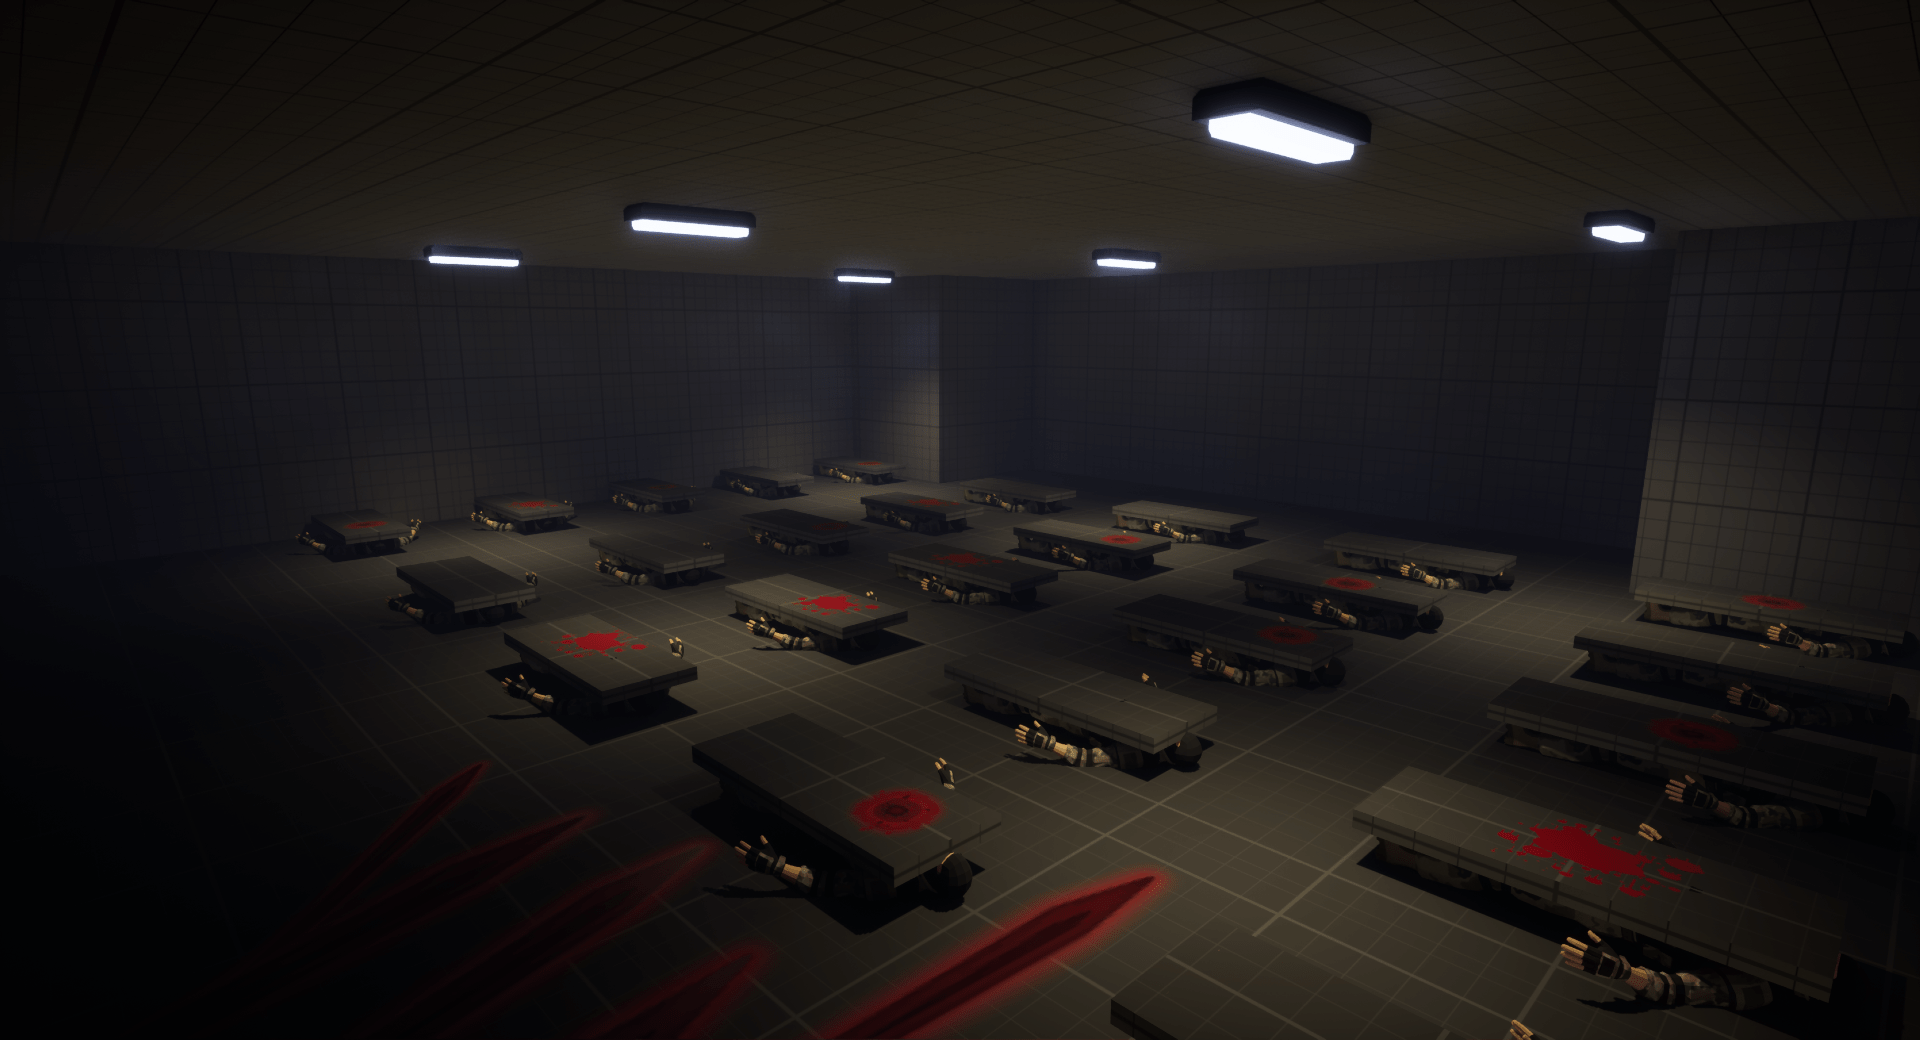
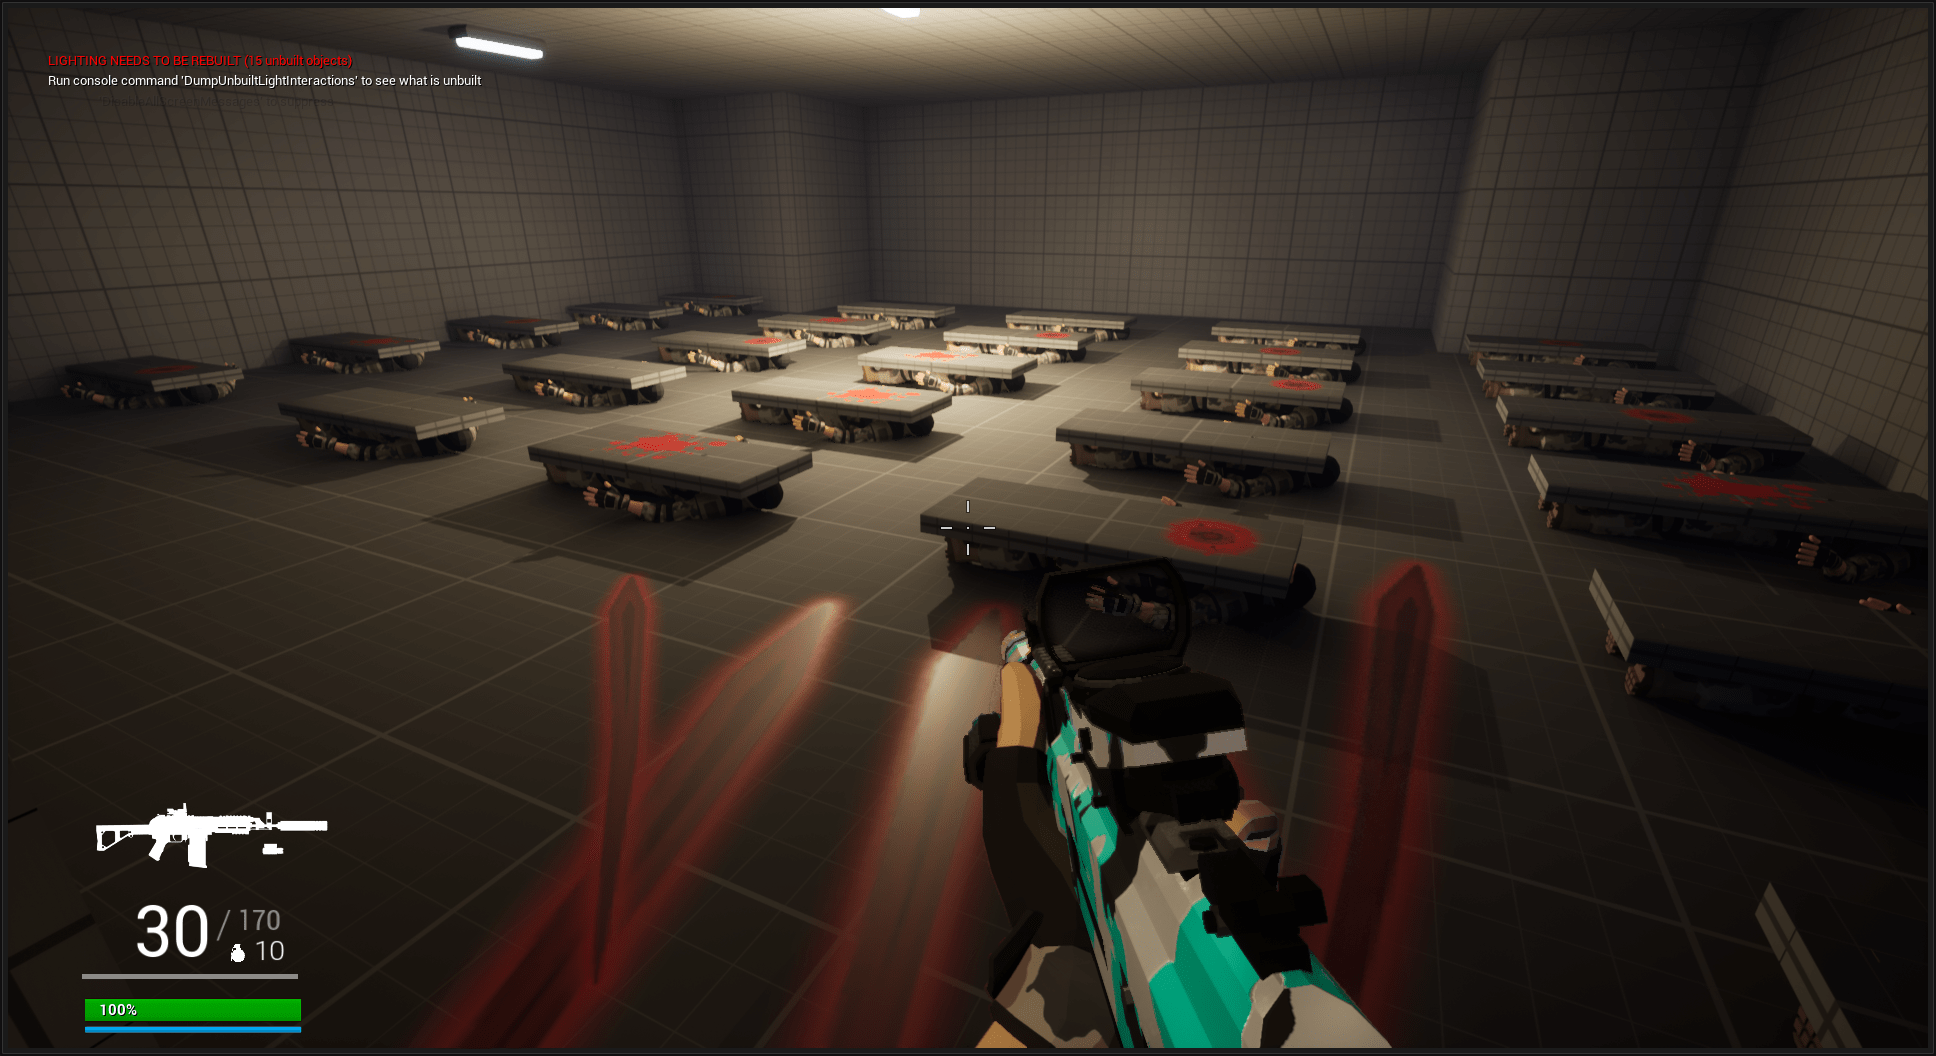
Beat 6: Morgue
The player finds the missing unit, which has been slaughtered by the enemies.
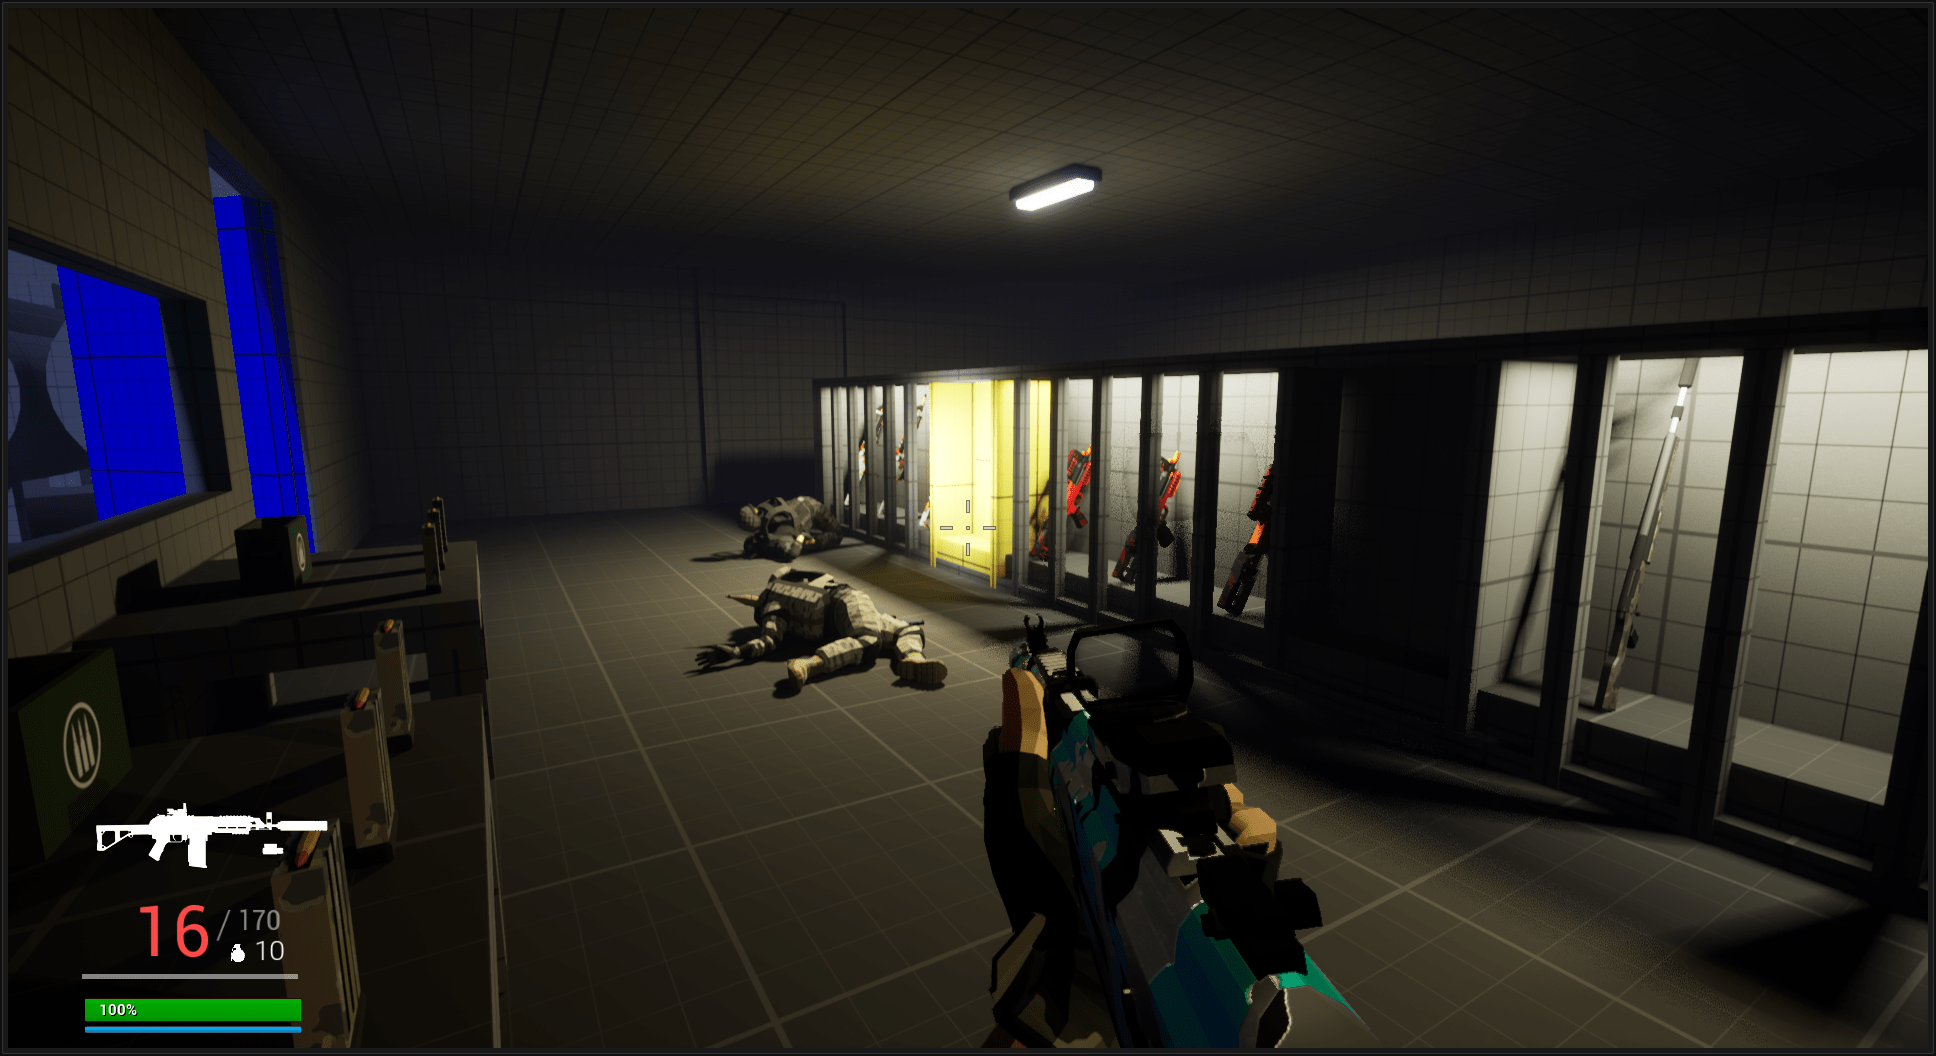
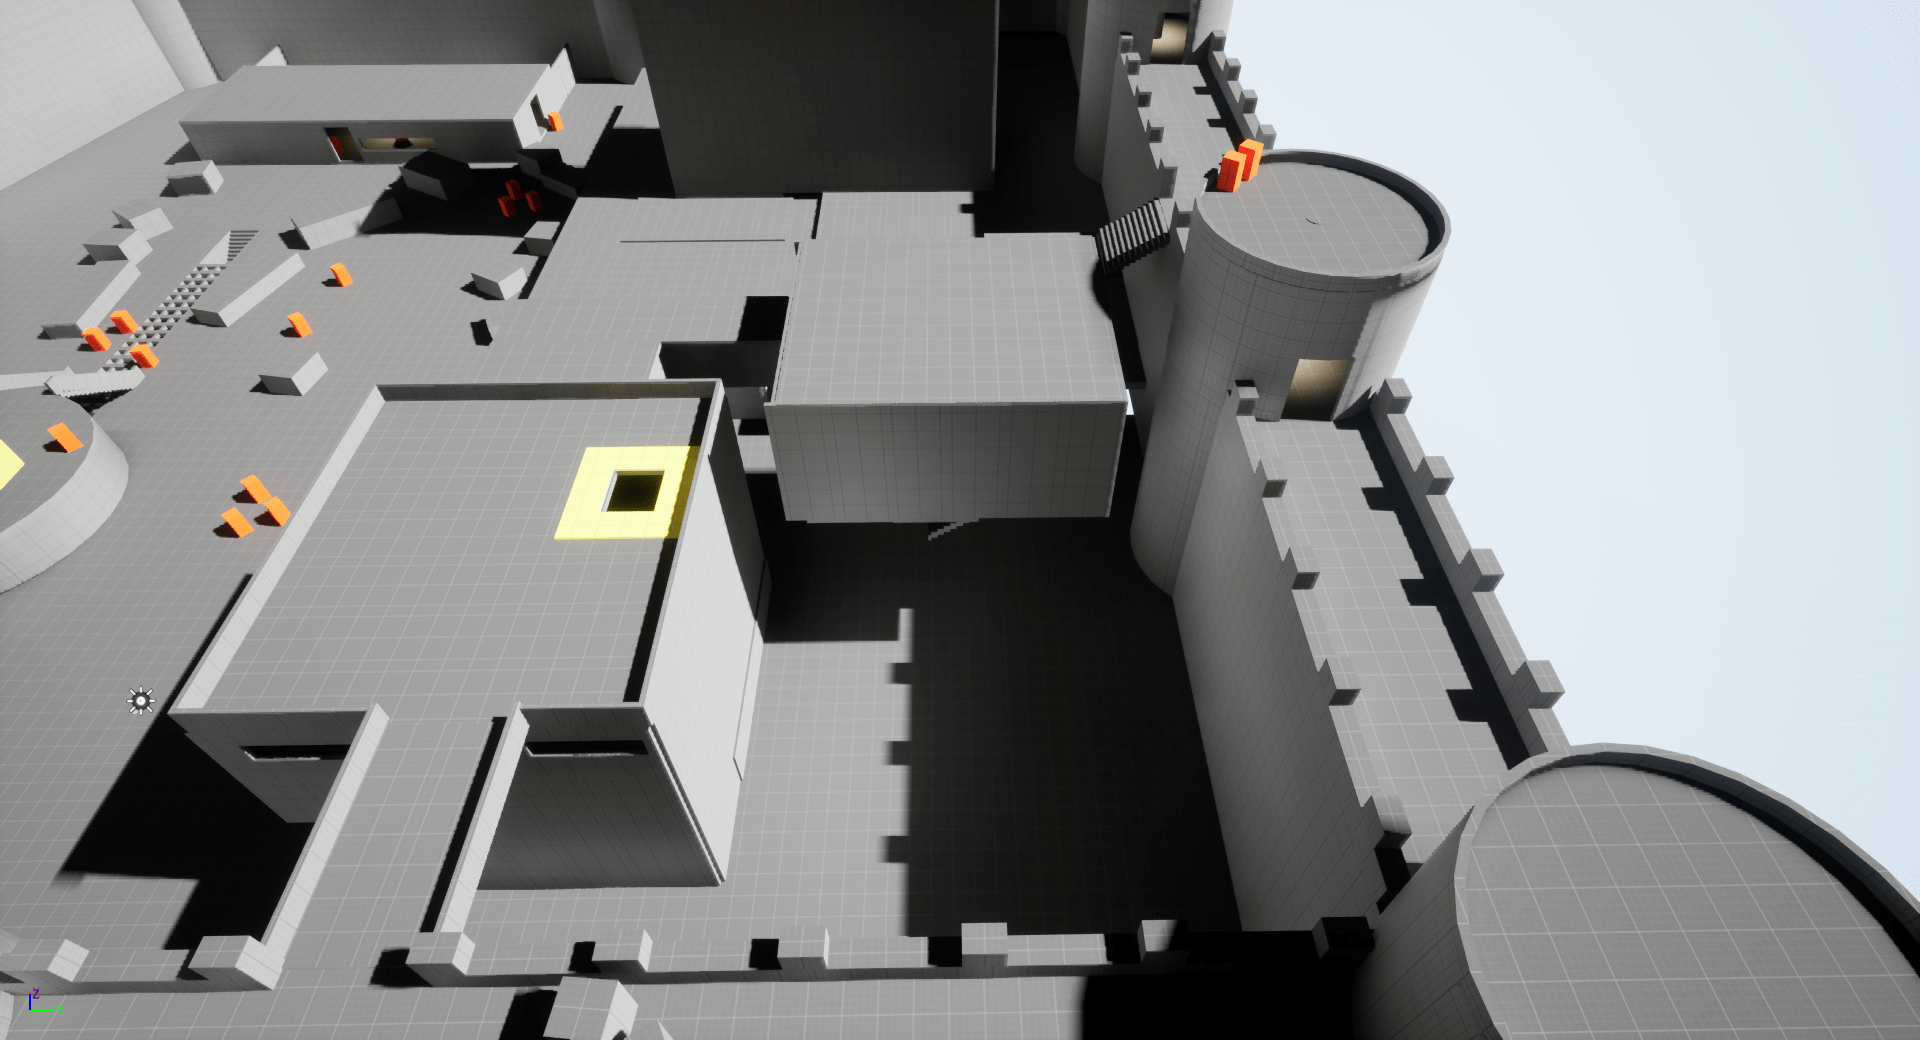
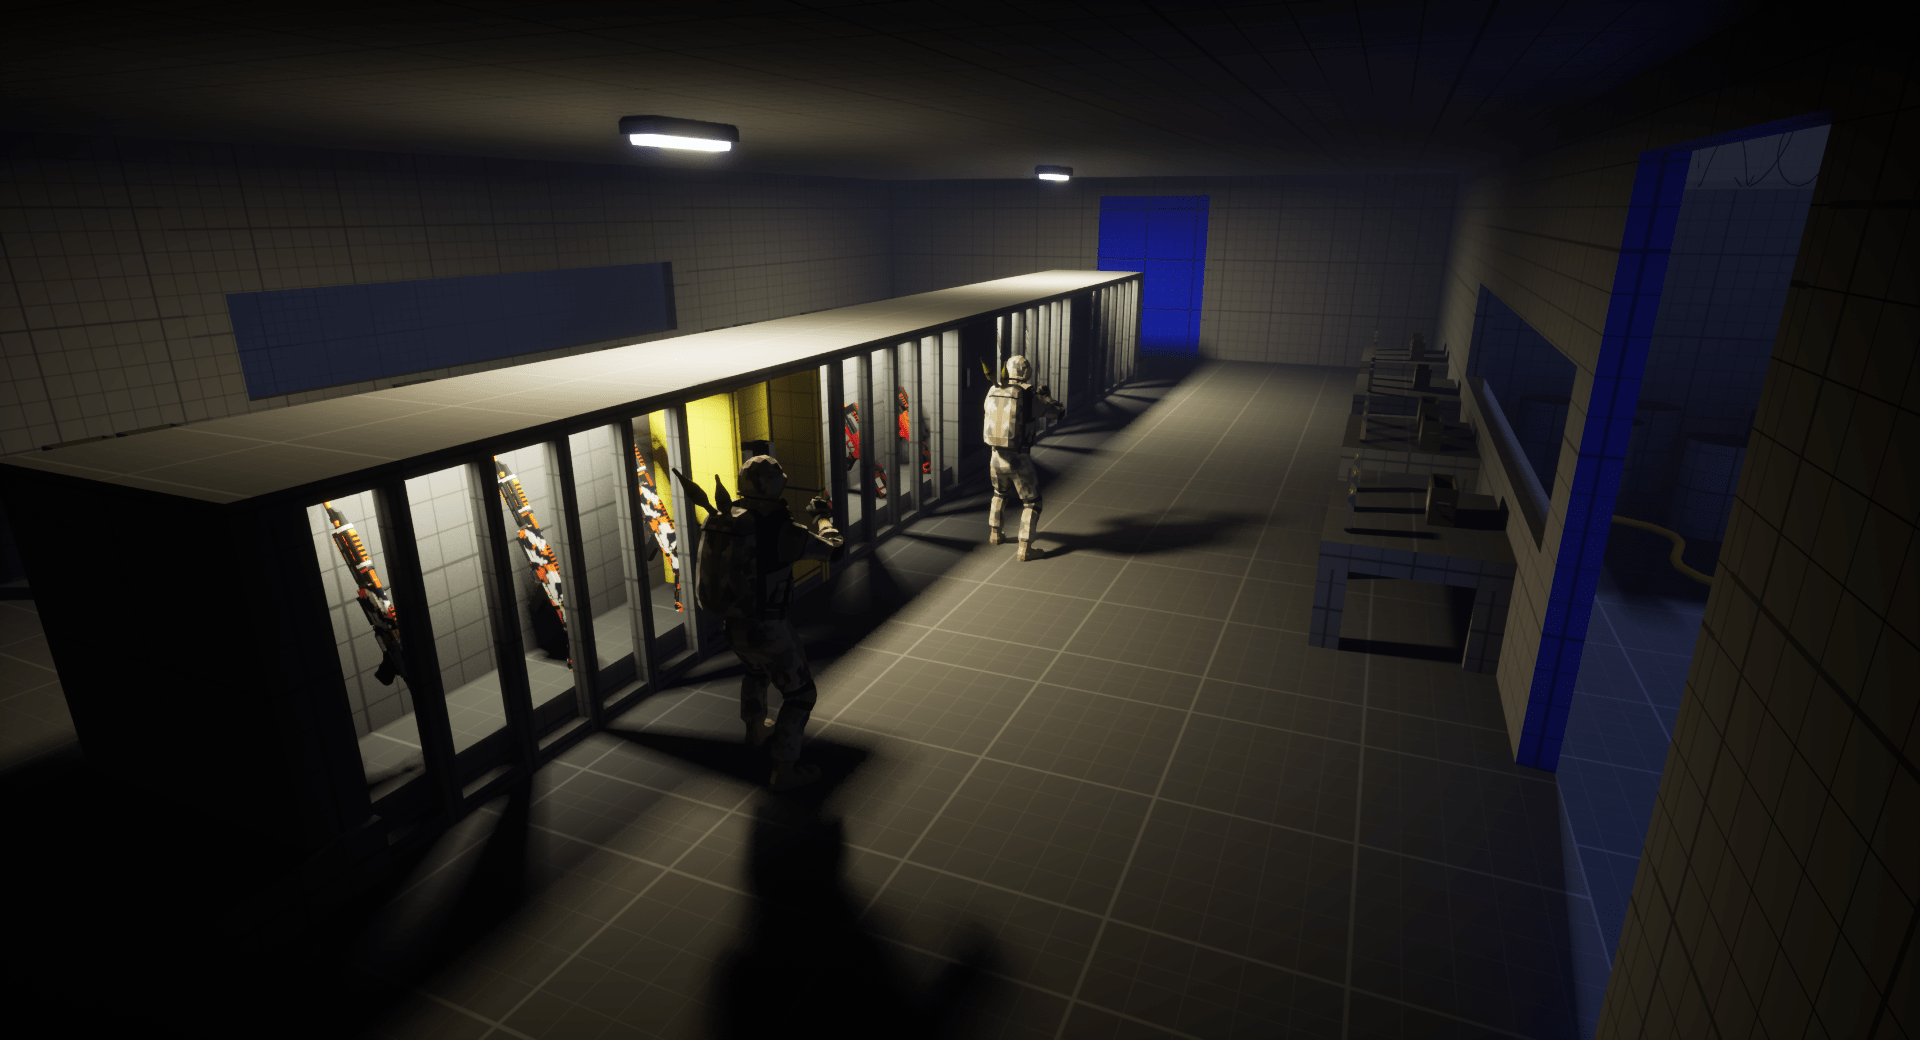
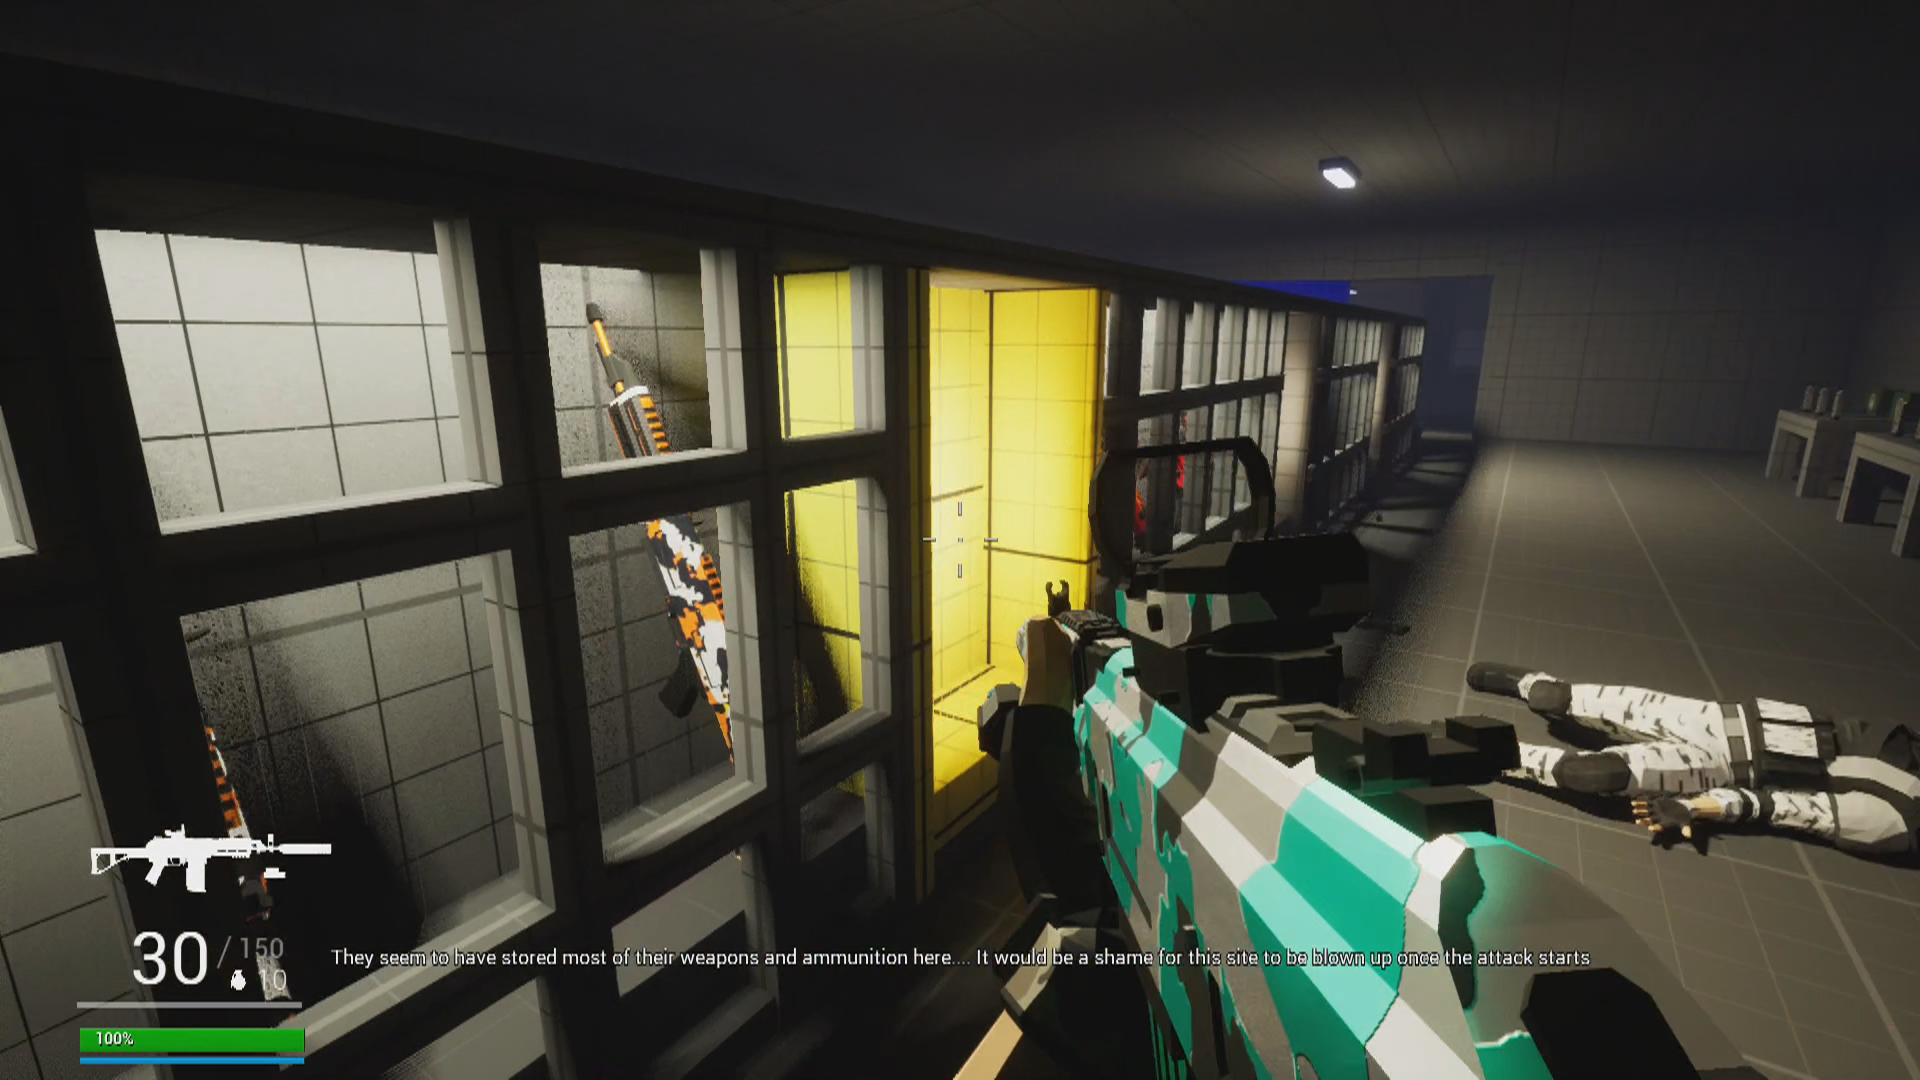
Beat 7: Armory
The player finds a room that the enemies are using as an armory. He finds the perfect opportunity to start sabotaging the fortress.
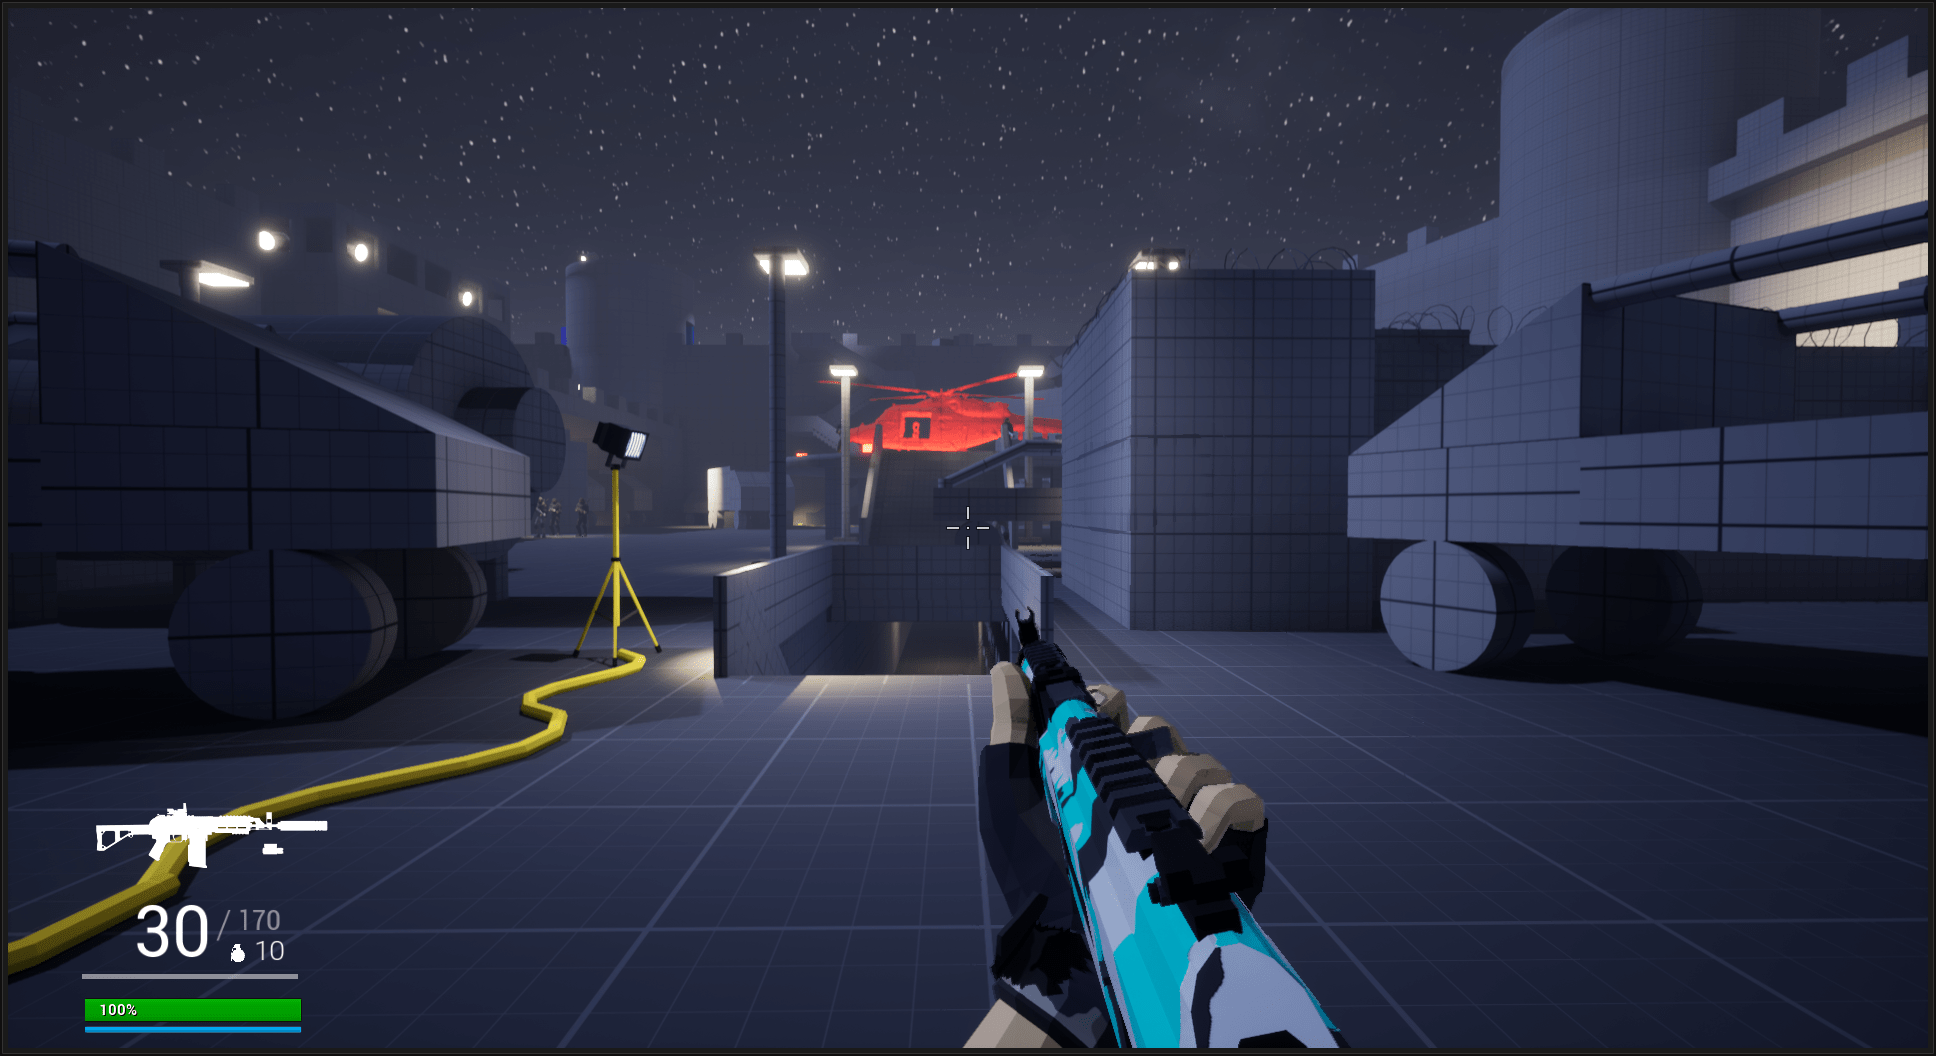
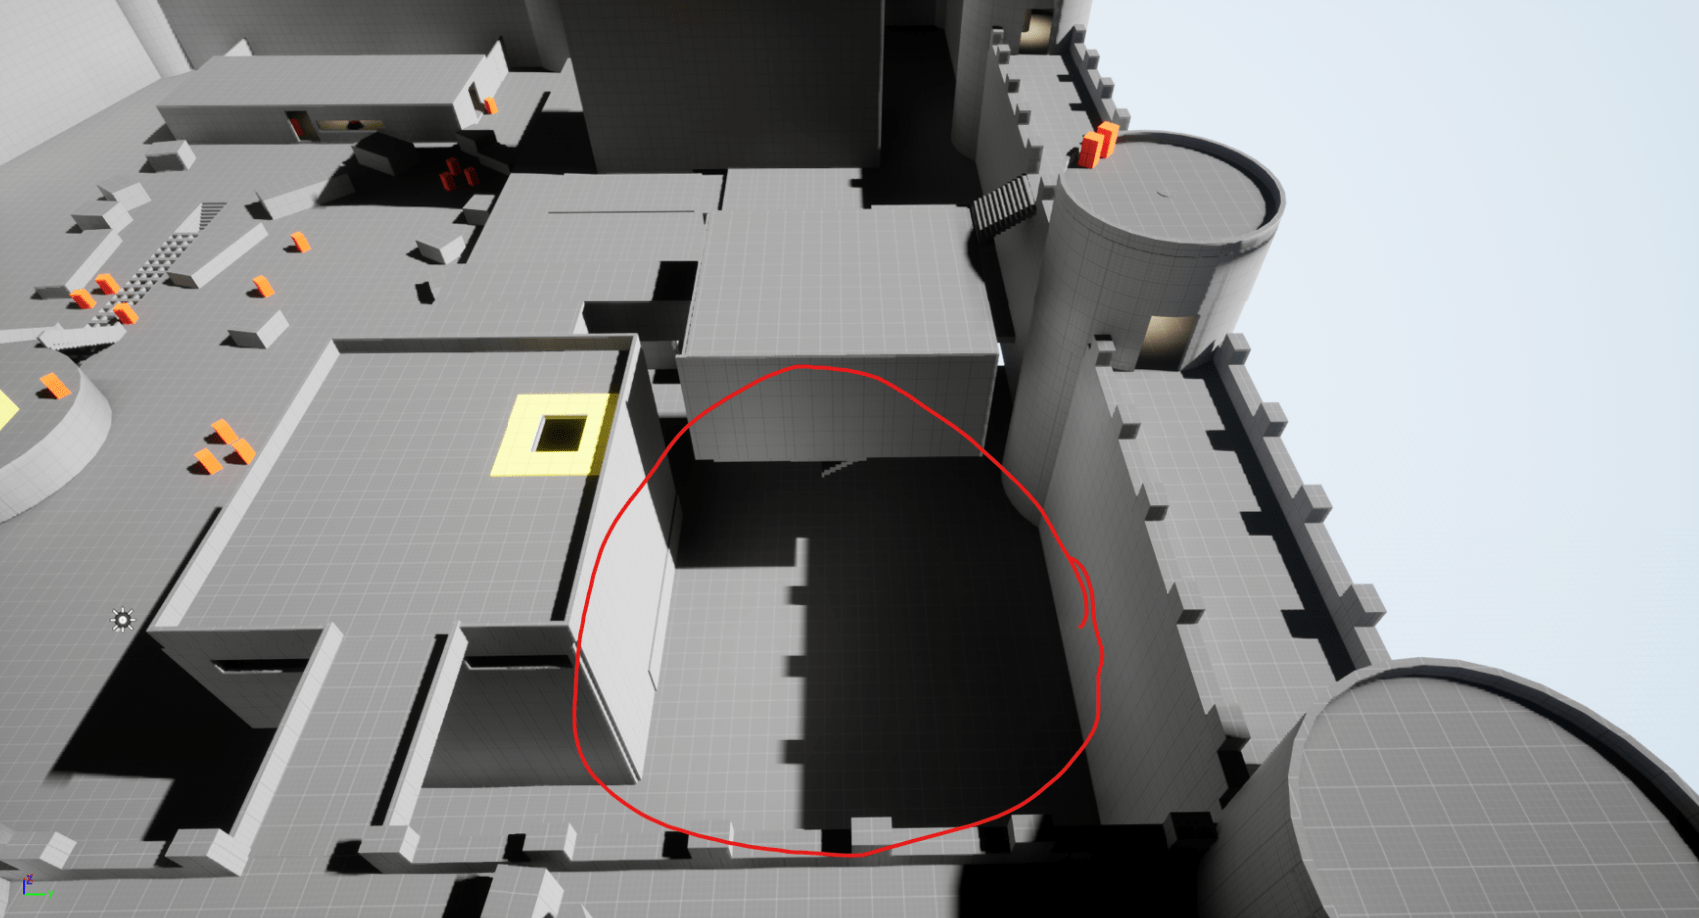
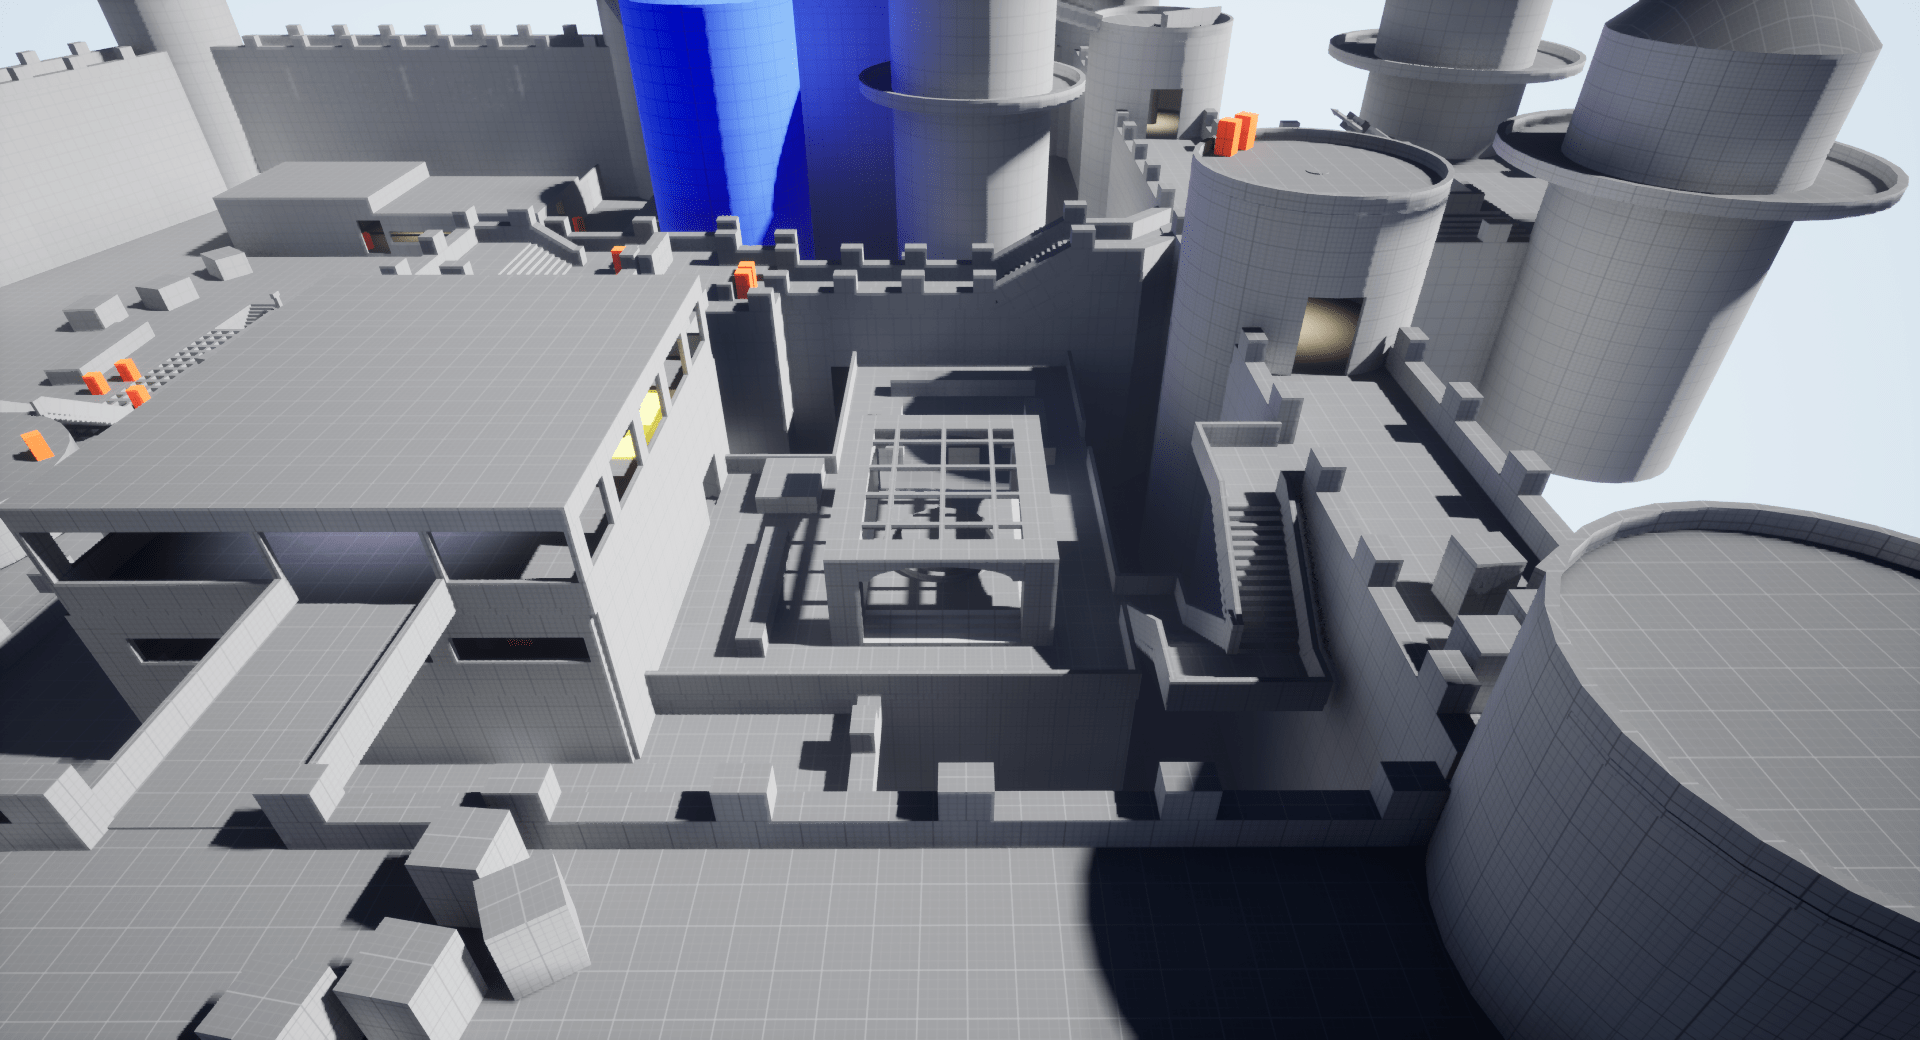
Beat 8: Helipad
The player finds an underground passage that allows him to plant another explosive charge under the helipad.
Now It’s time to get to the control room to finish sabotaging the fortress, but first he has to climb to the top of the walls.
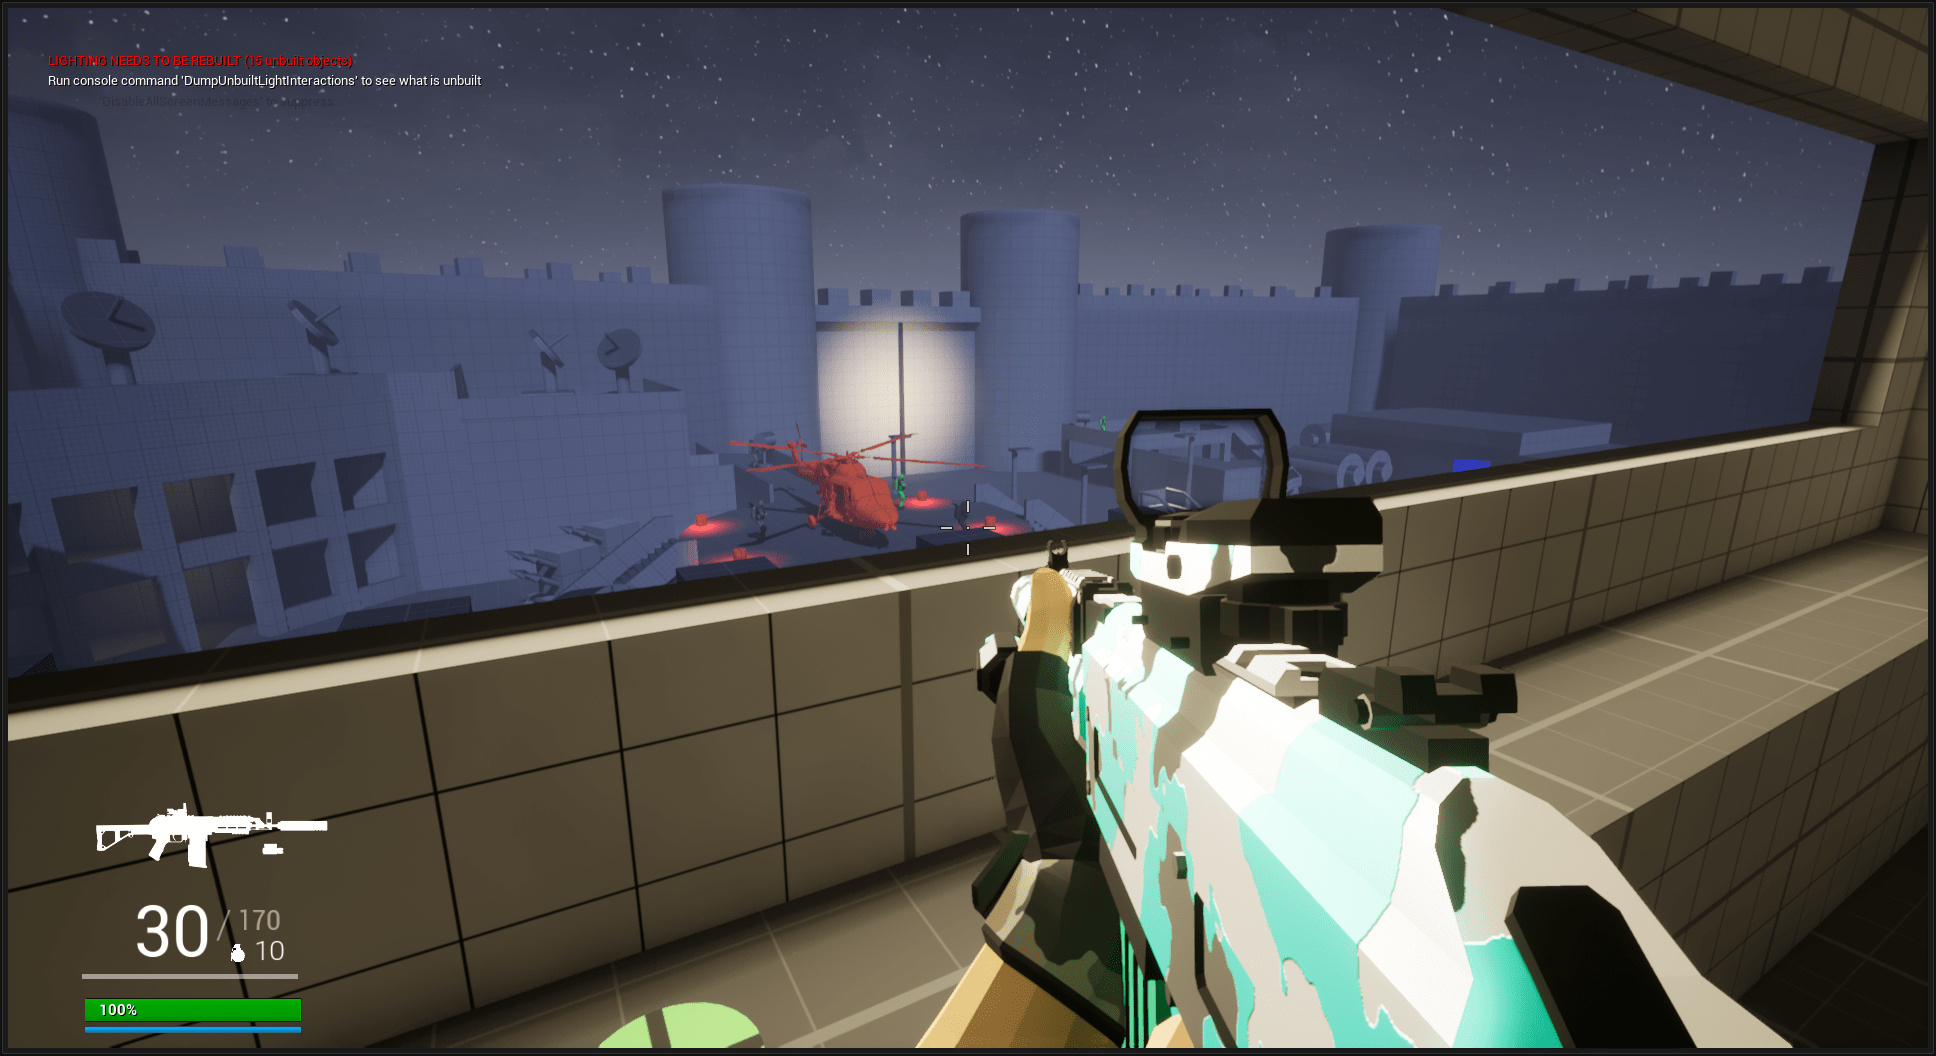
Beat 9: Control room & helicopter crash
The player finally arrives at the control room, where he can sabotages all the defenses of the fortress.
The allies launch their attack as soon as they get the green light from the player’s character.
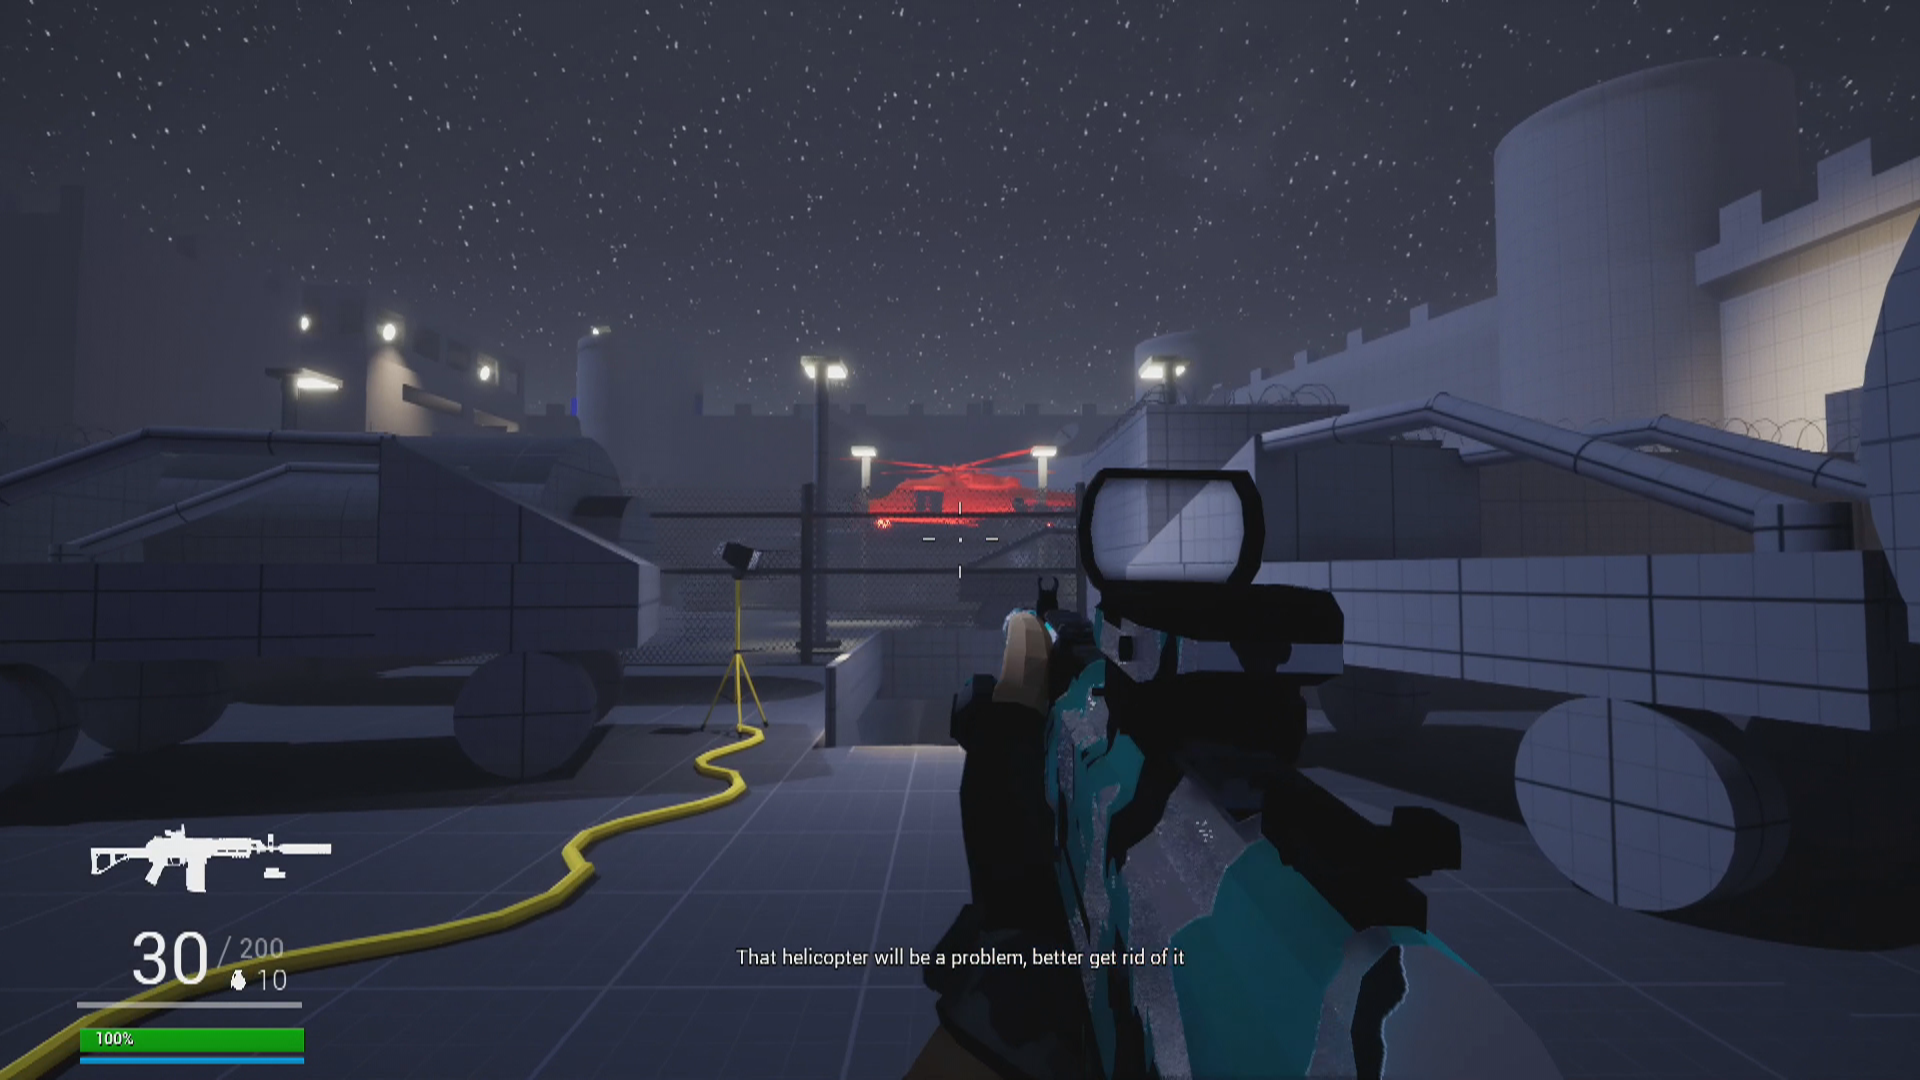
The player is about to get on an helicopter to provide air support… But something unexpected happens.
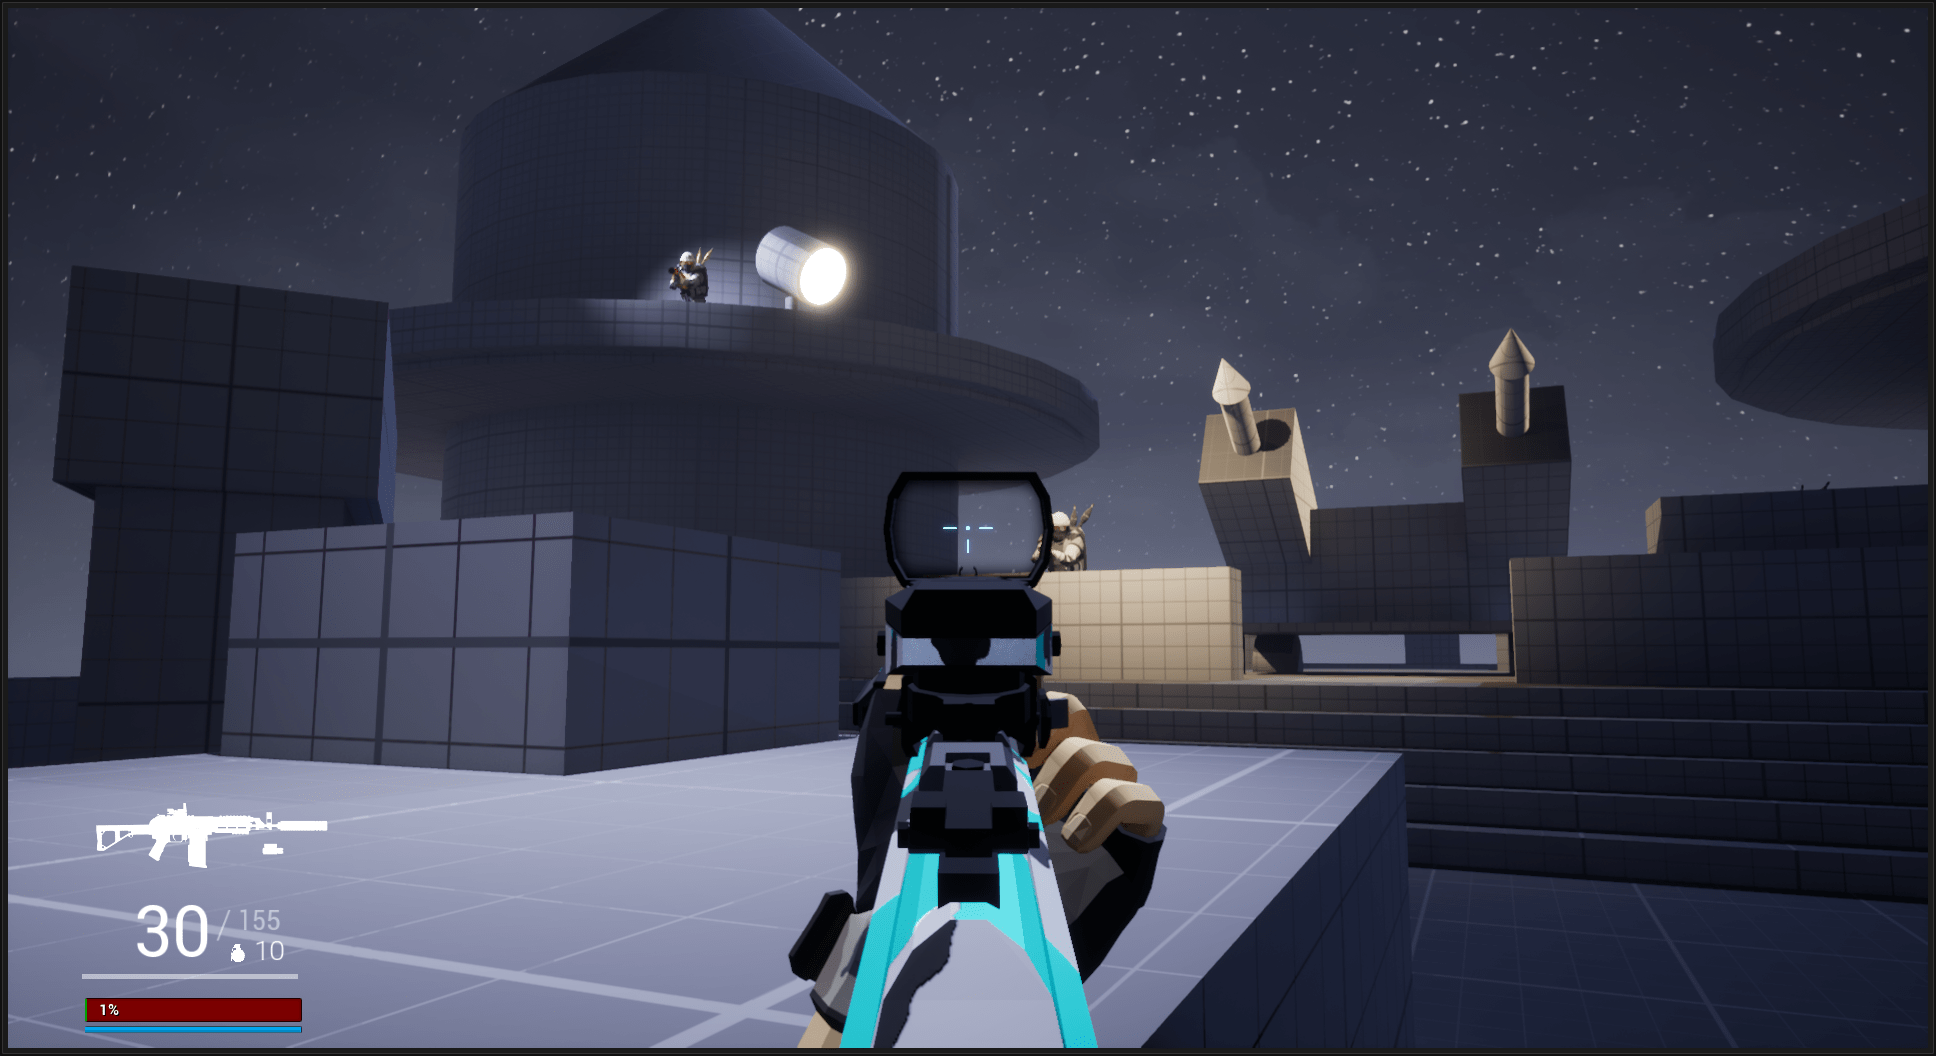
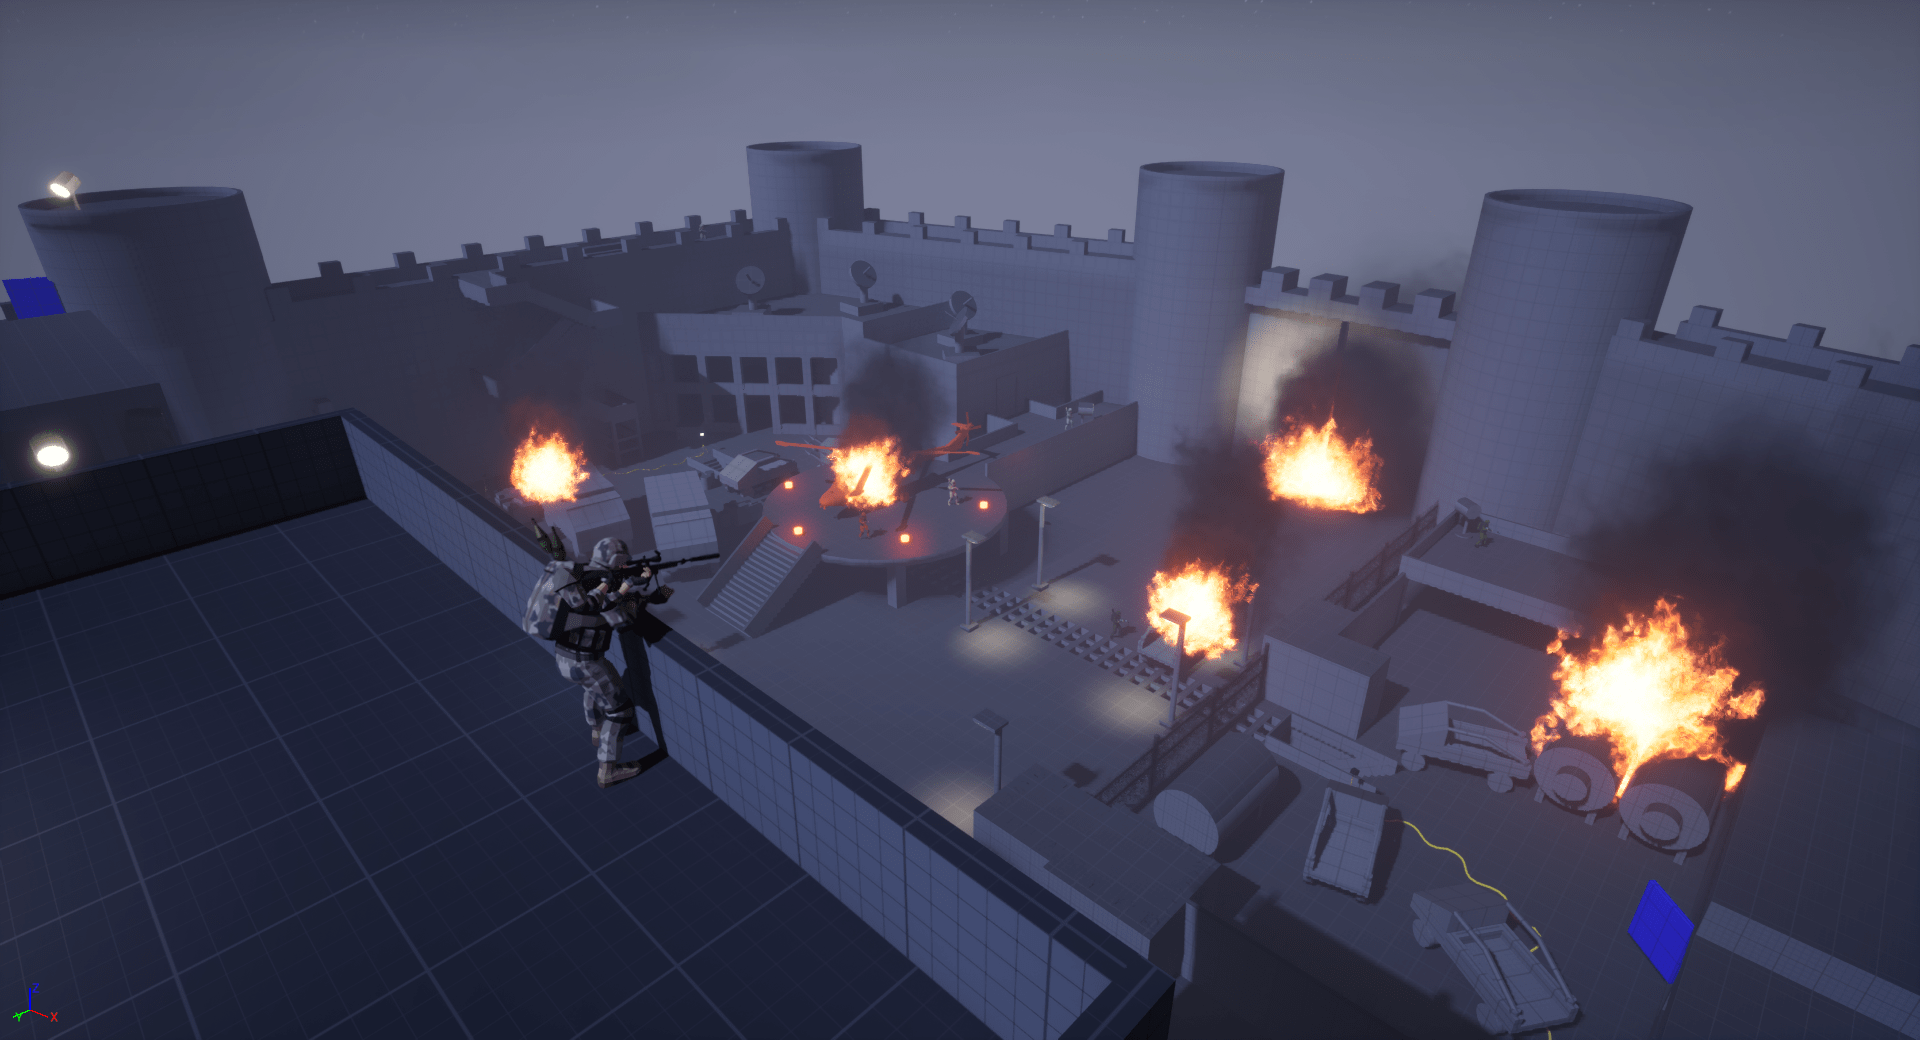
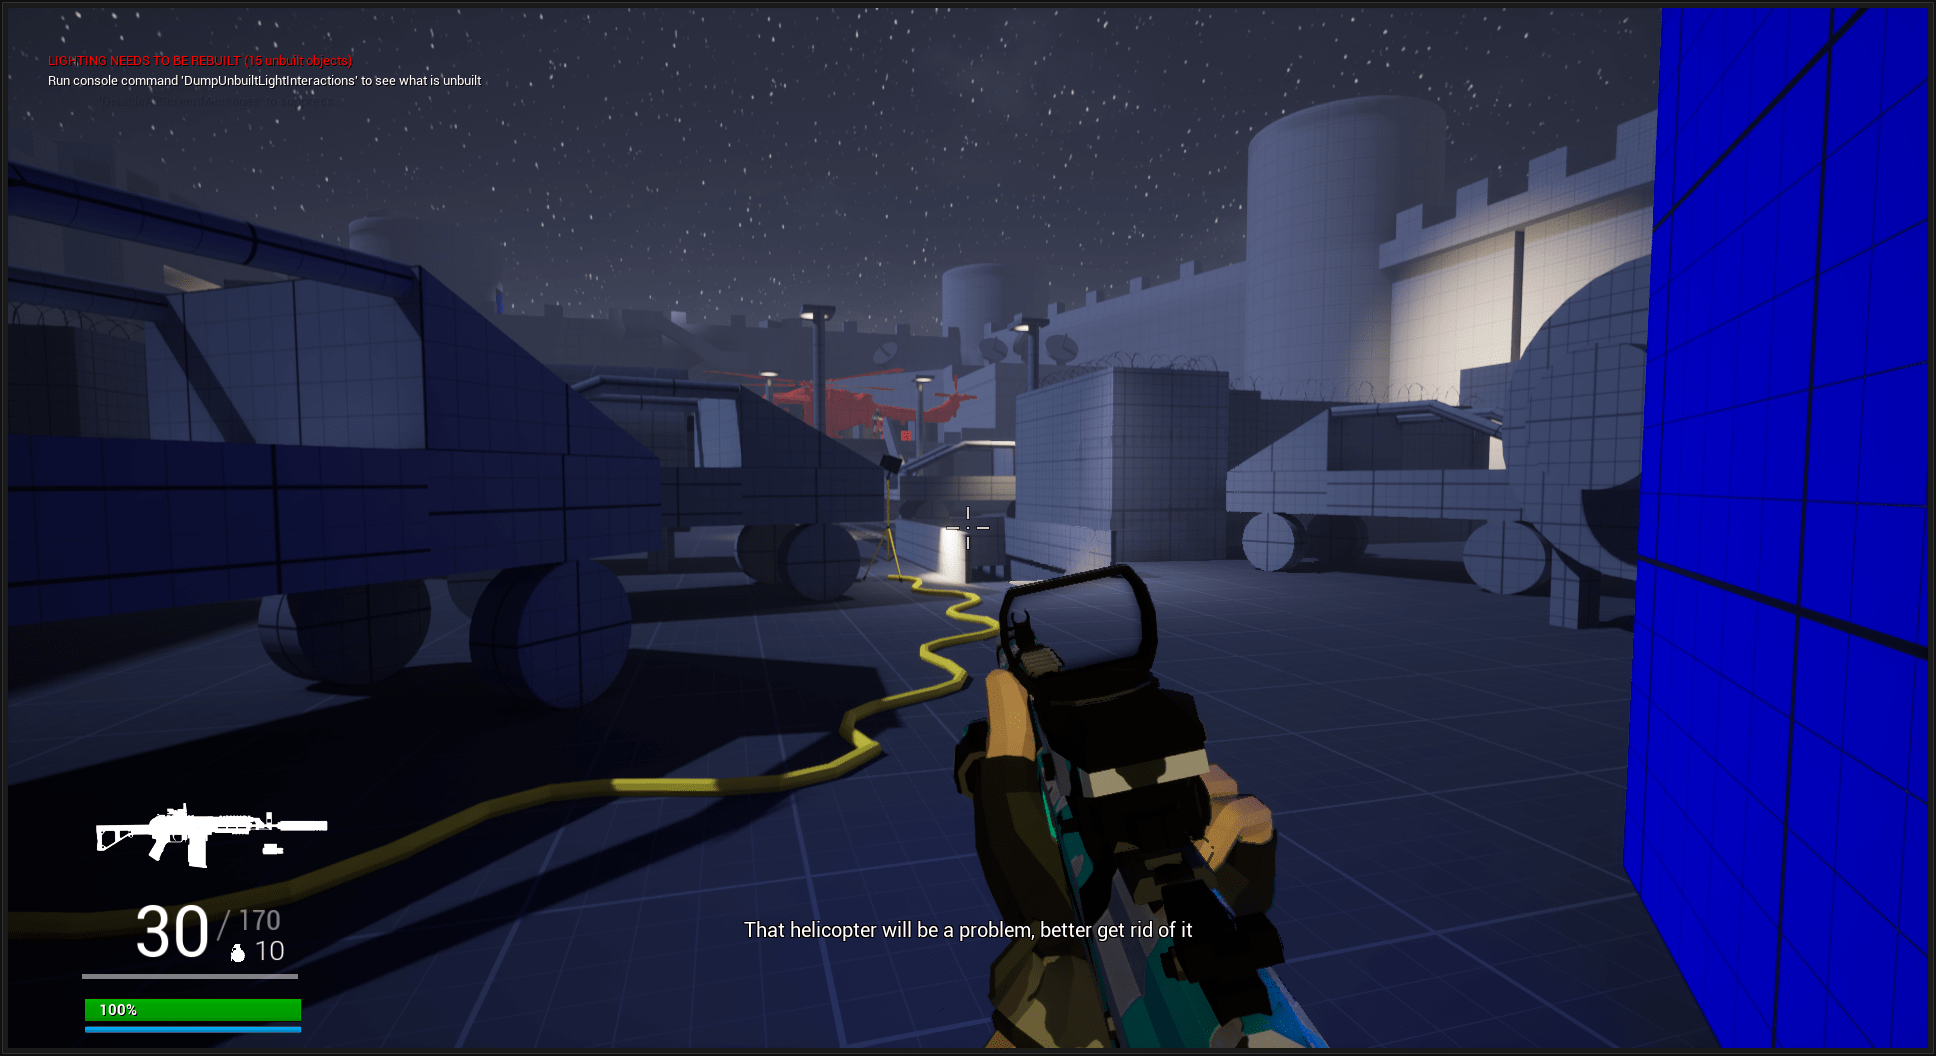
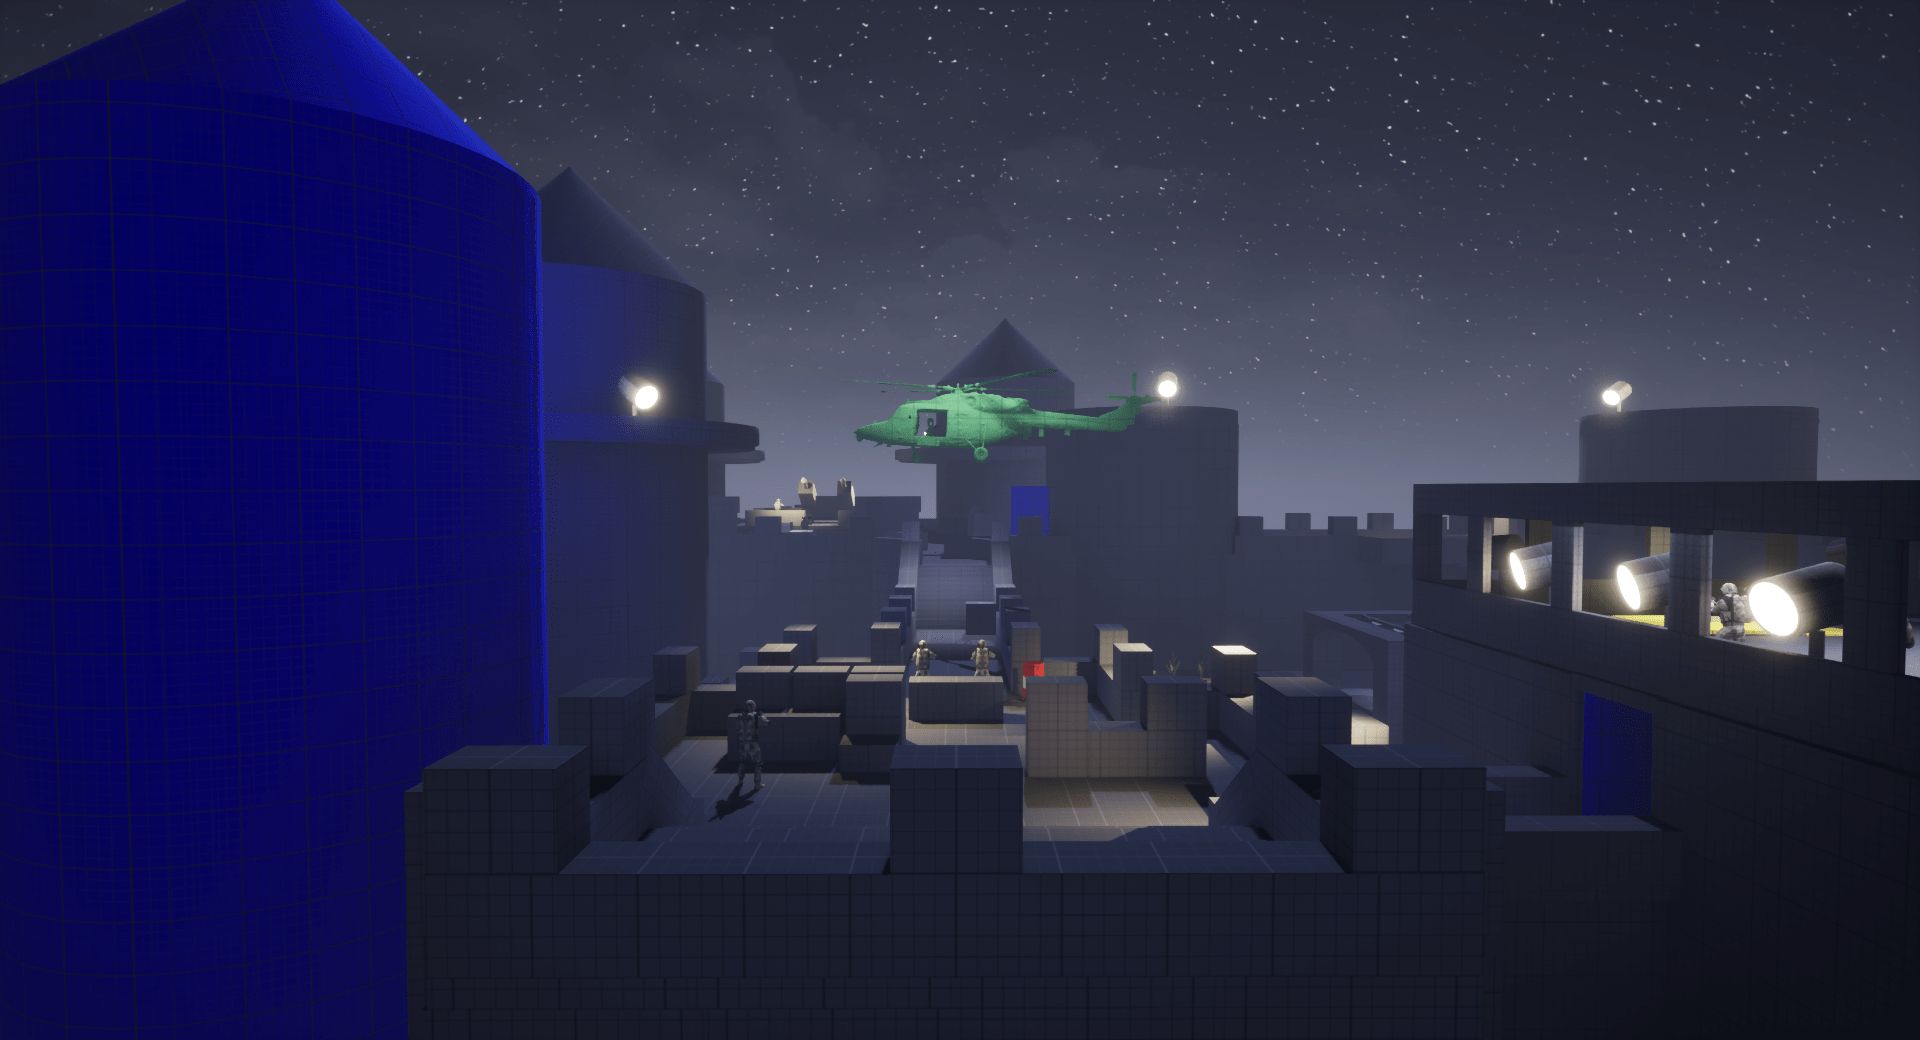
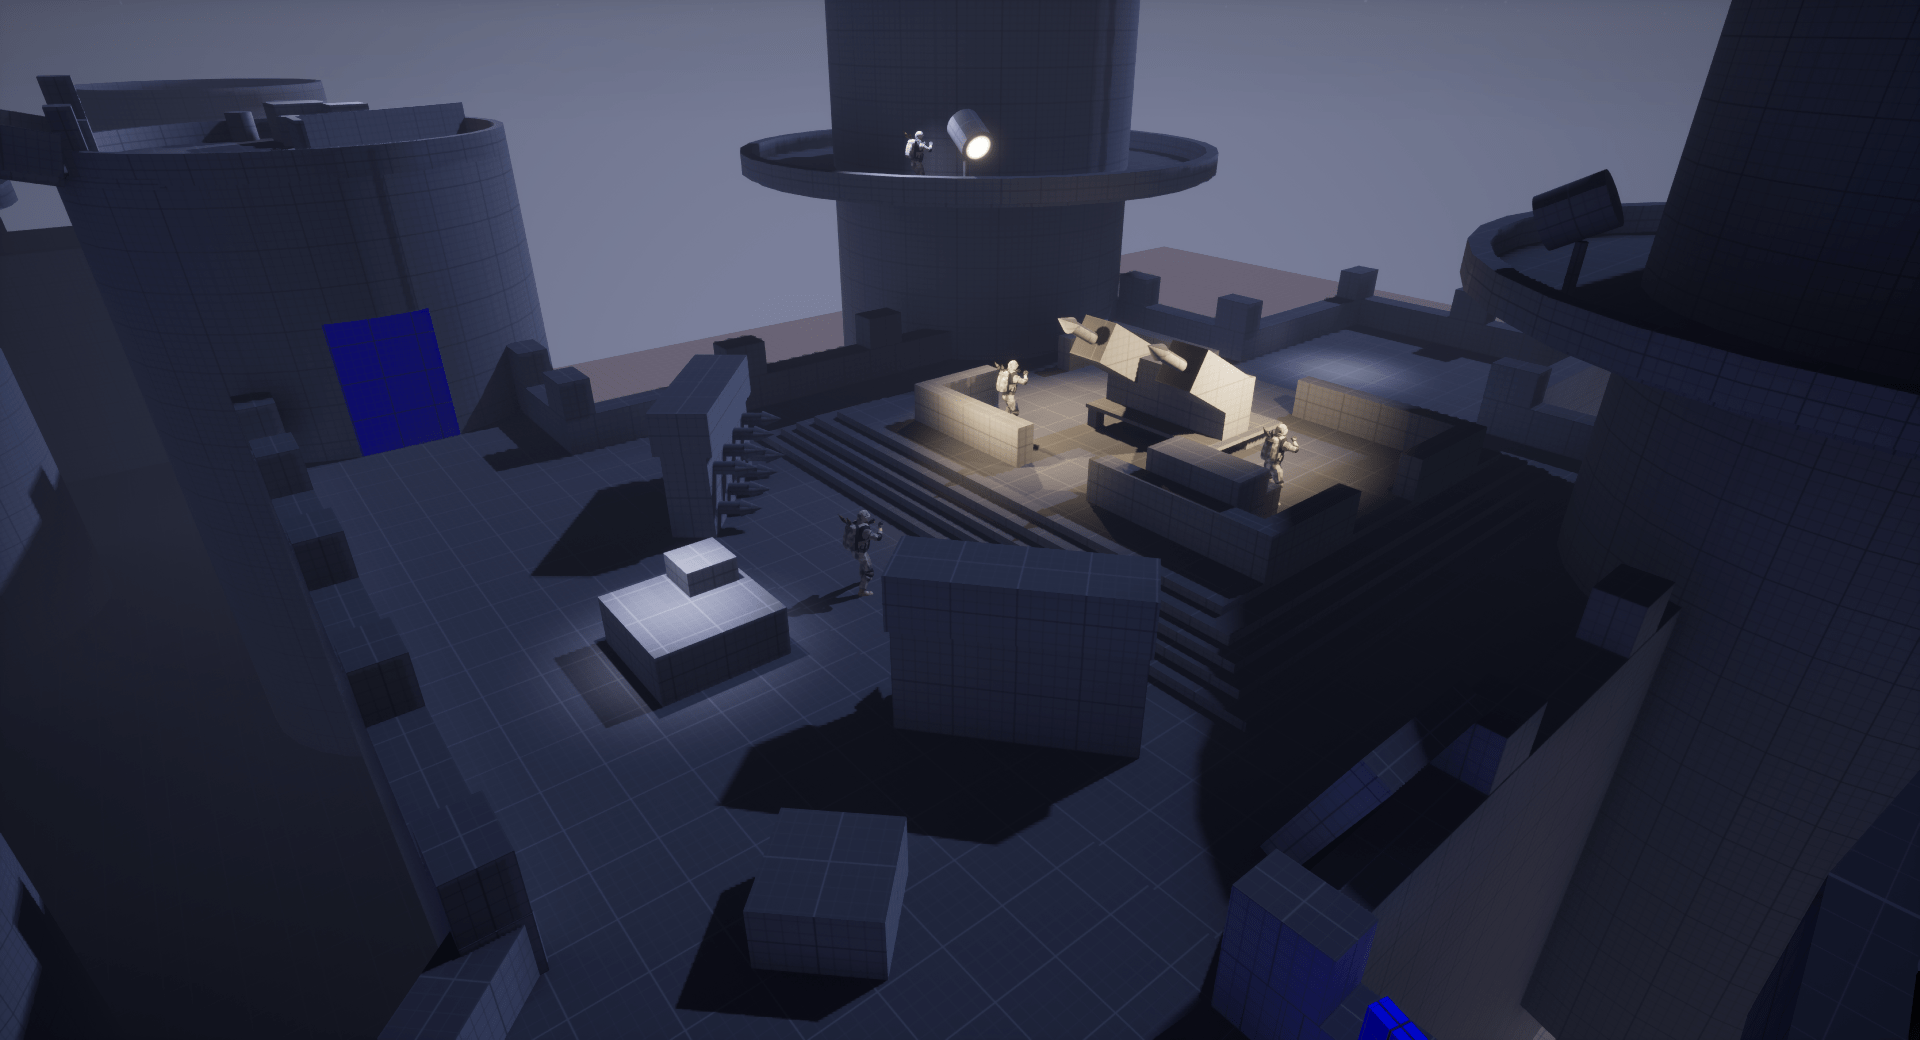
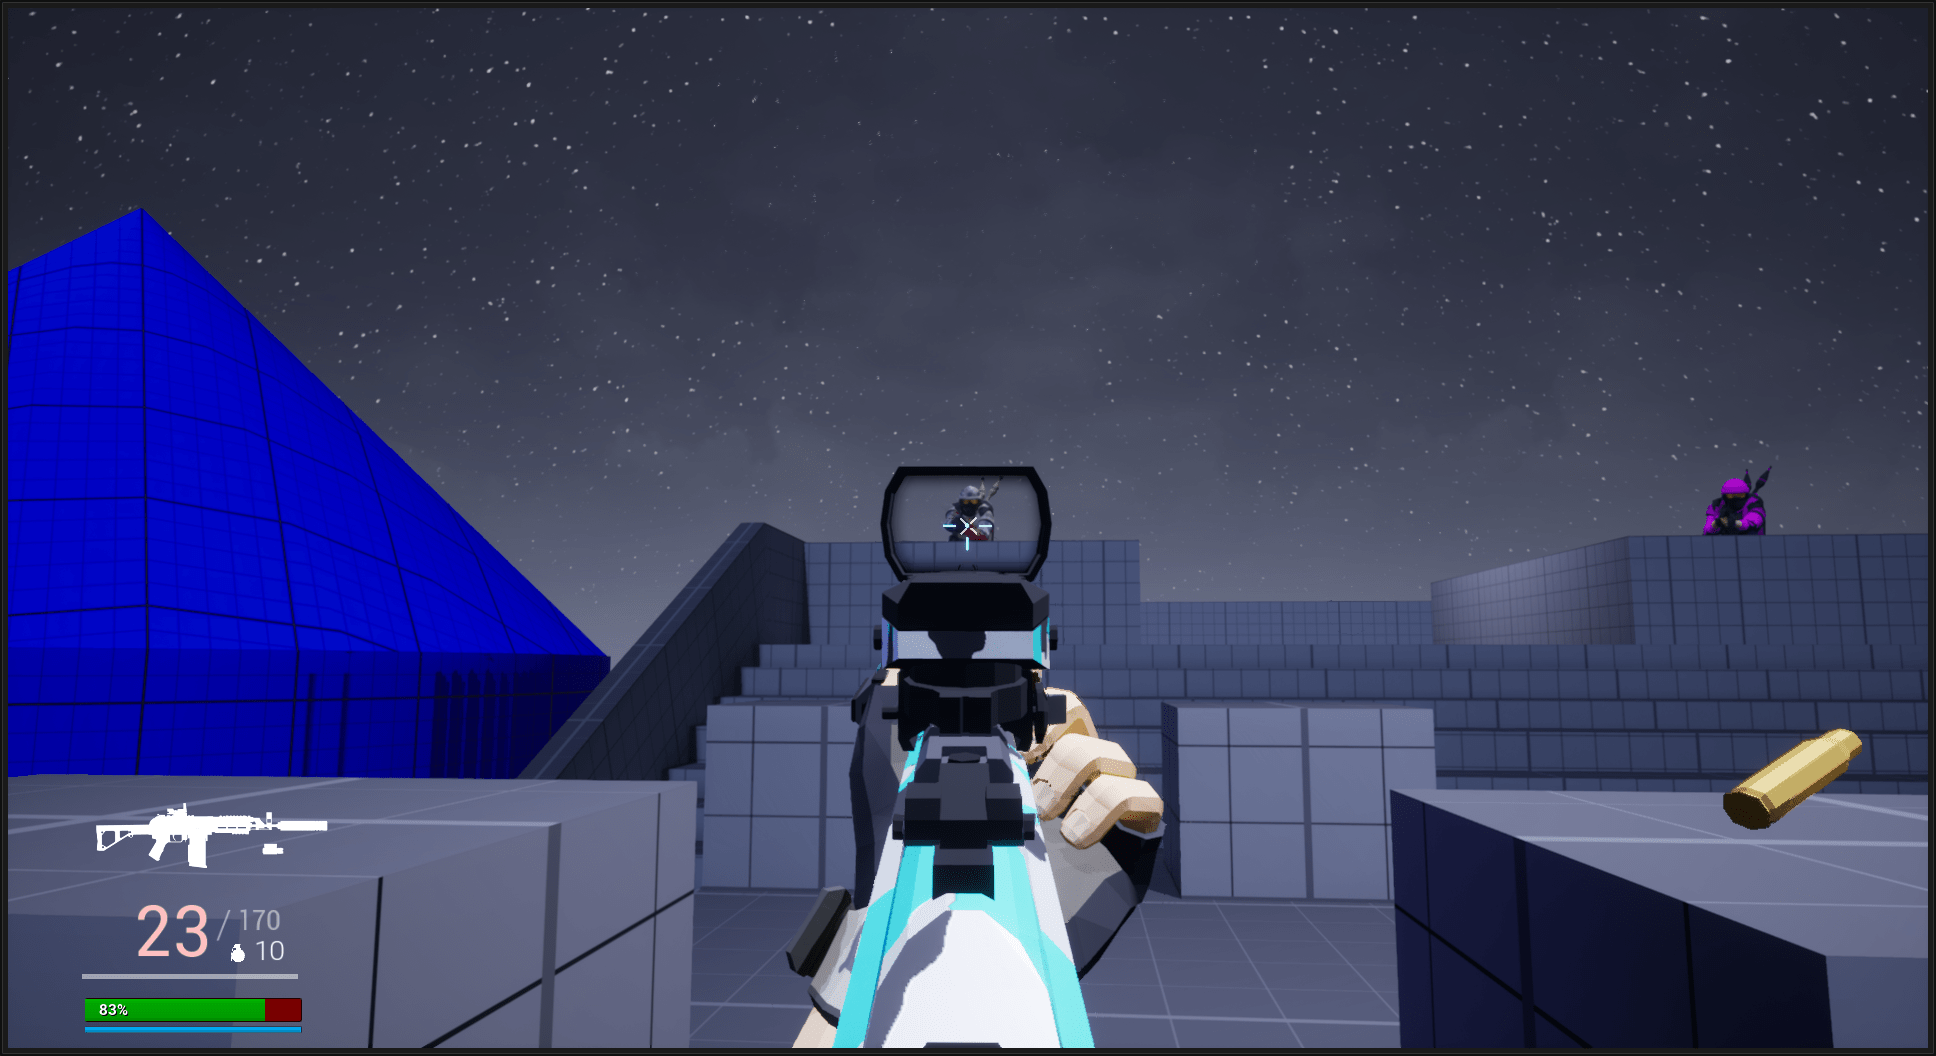
Beat 11: Fights across the fortress
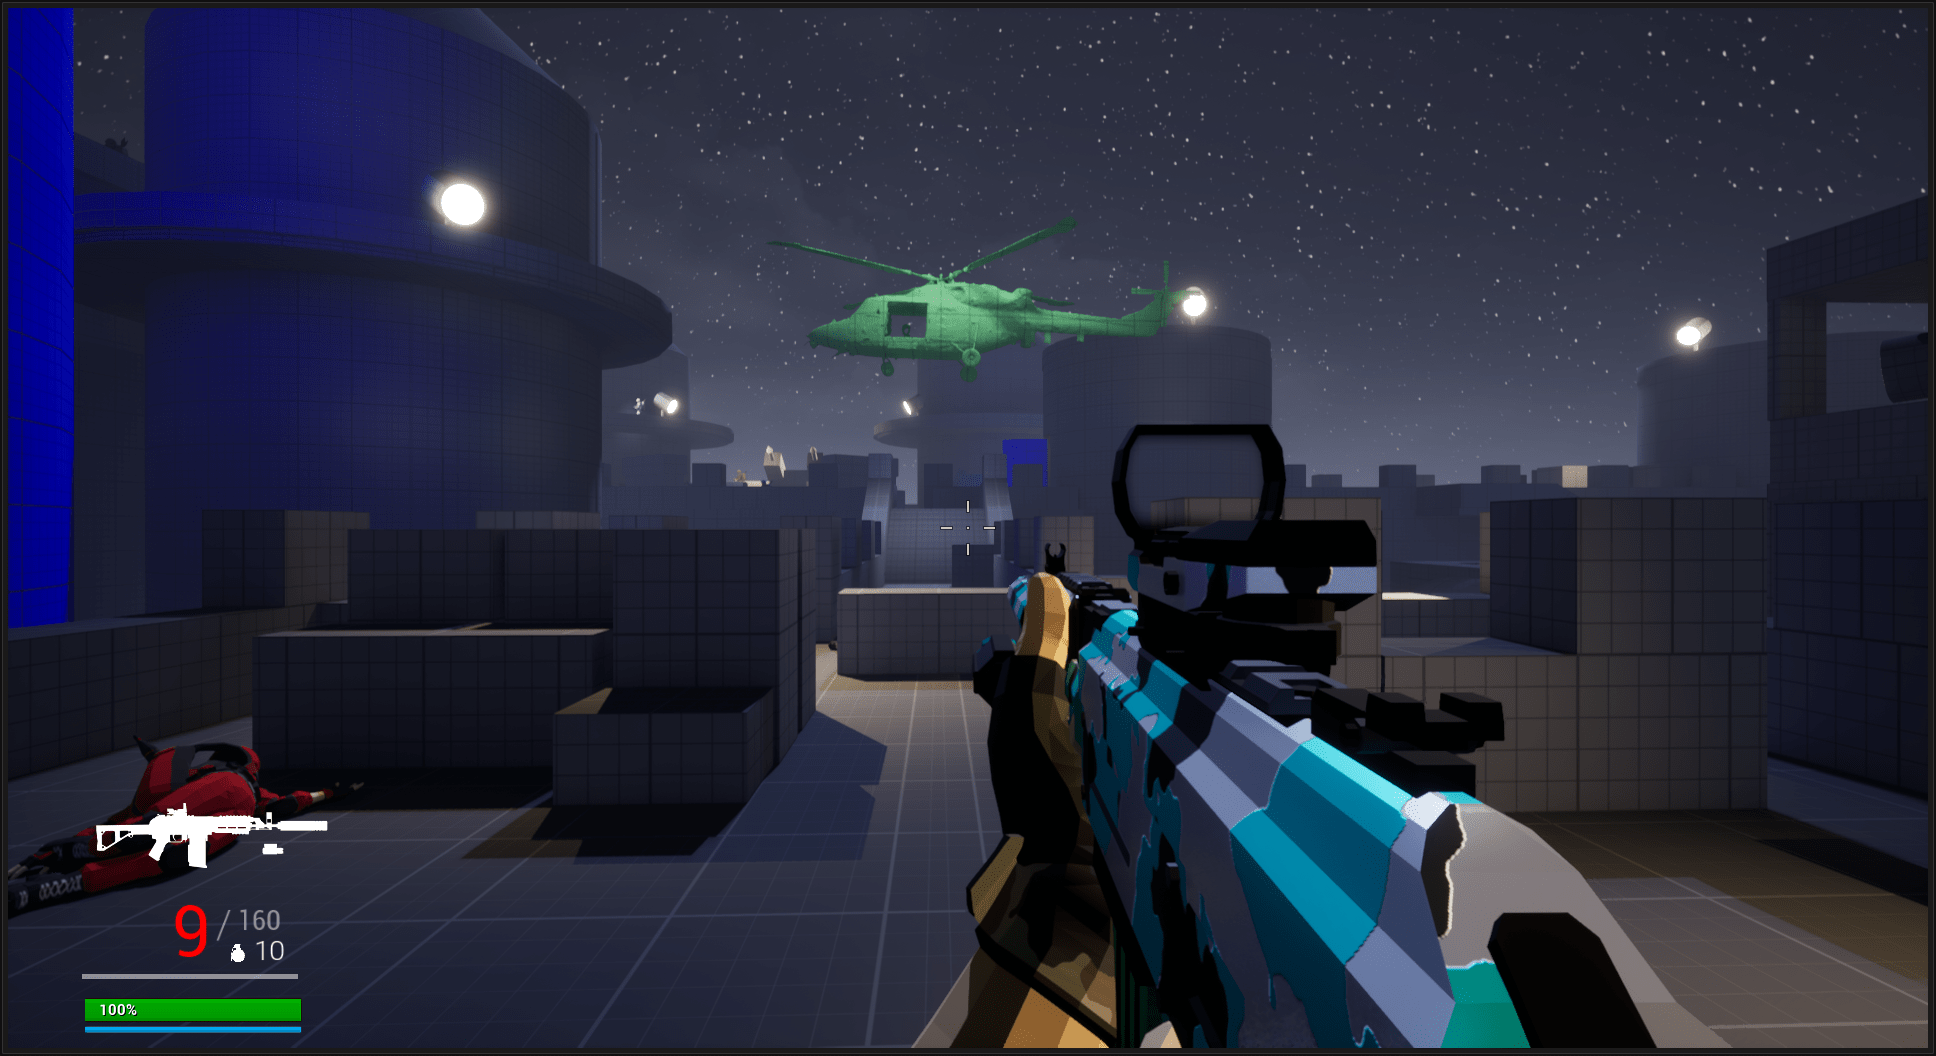
The allied helicopter is suddenly destroyed by an anti aircraft system that was still functioning.
The player is thrown into a section of the fortress which is full of enemies. He is forced to kill everyone on his way back to the walls to destroy the remaining defenses of the fortress.
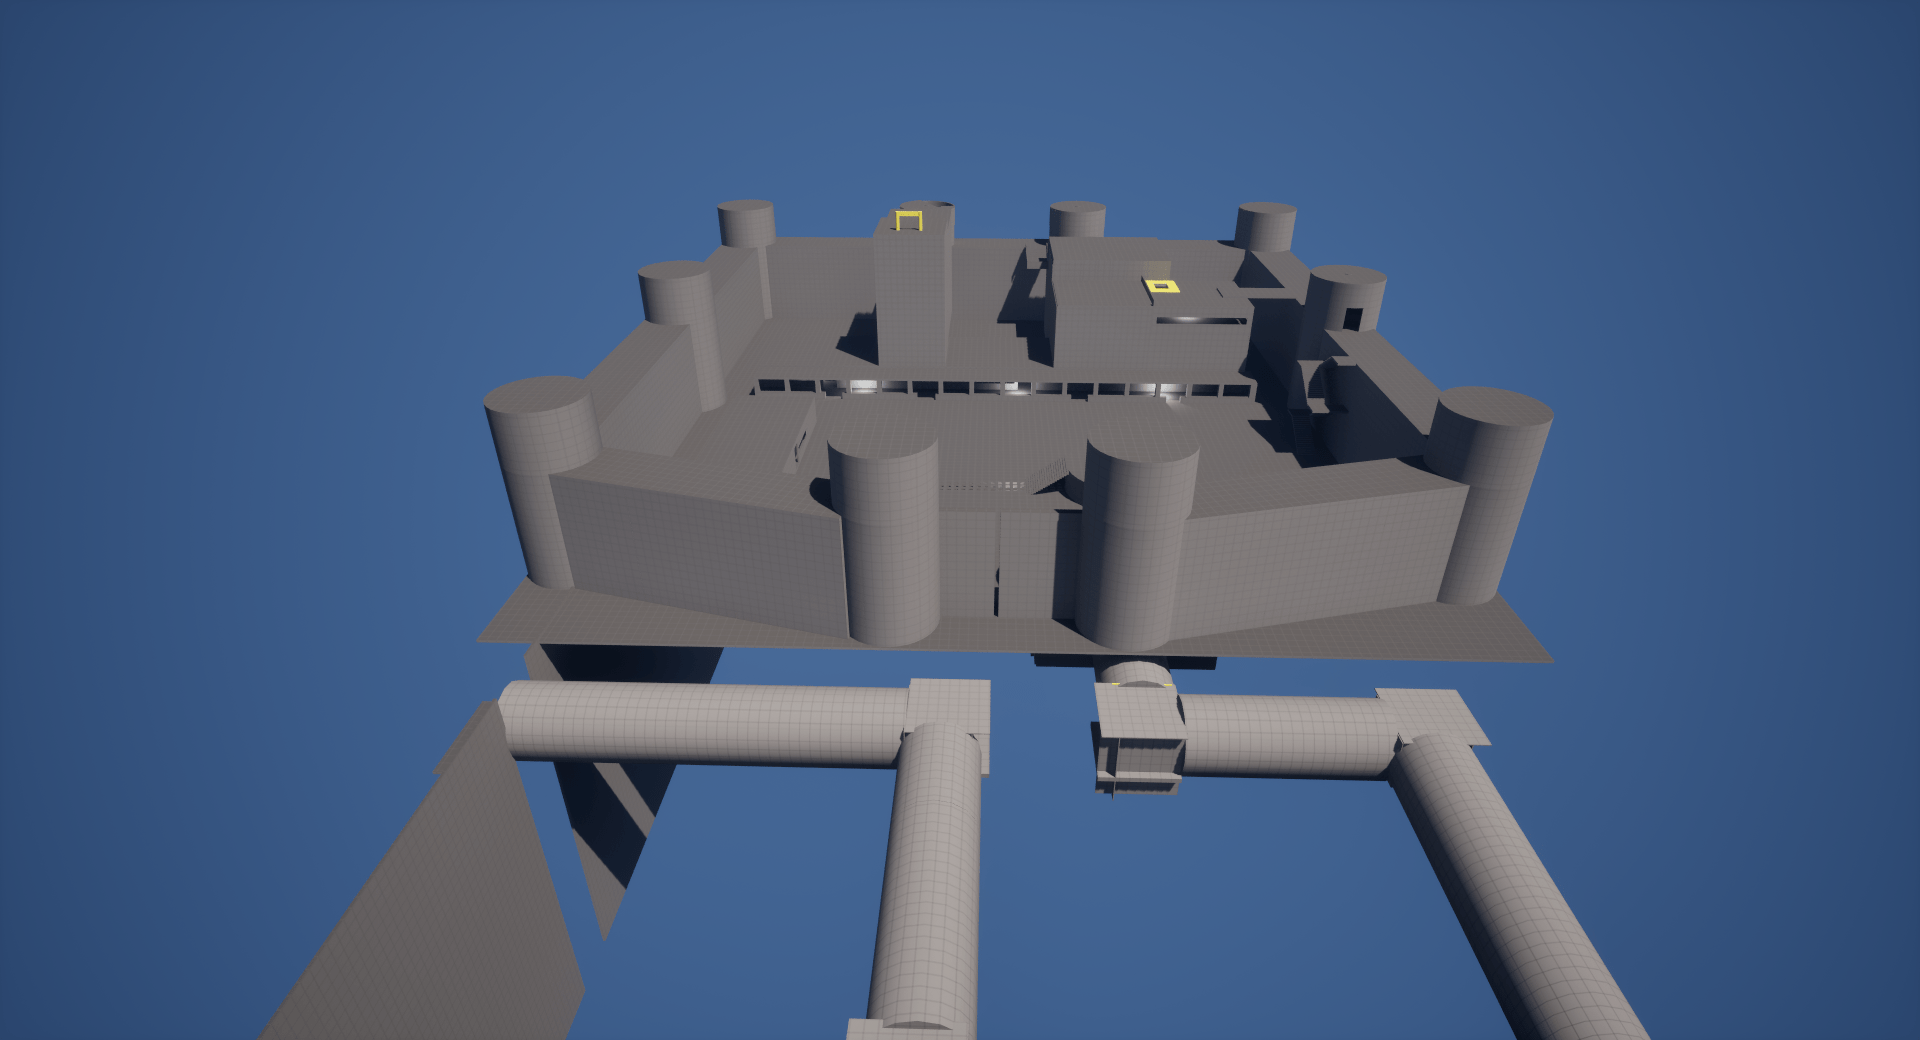
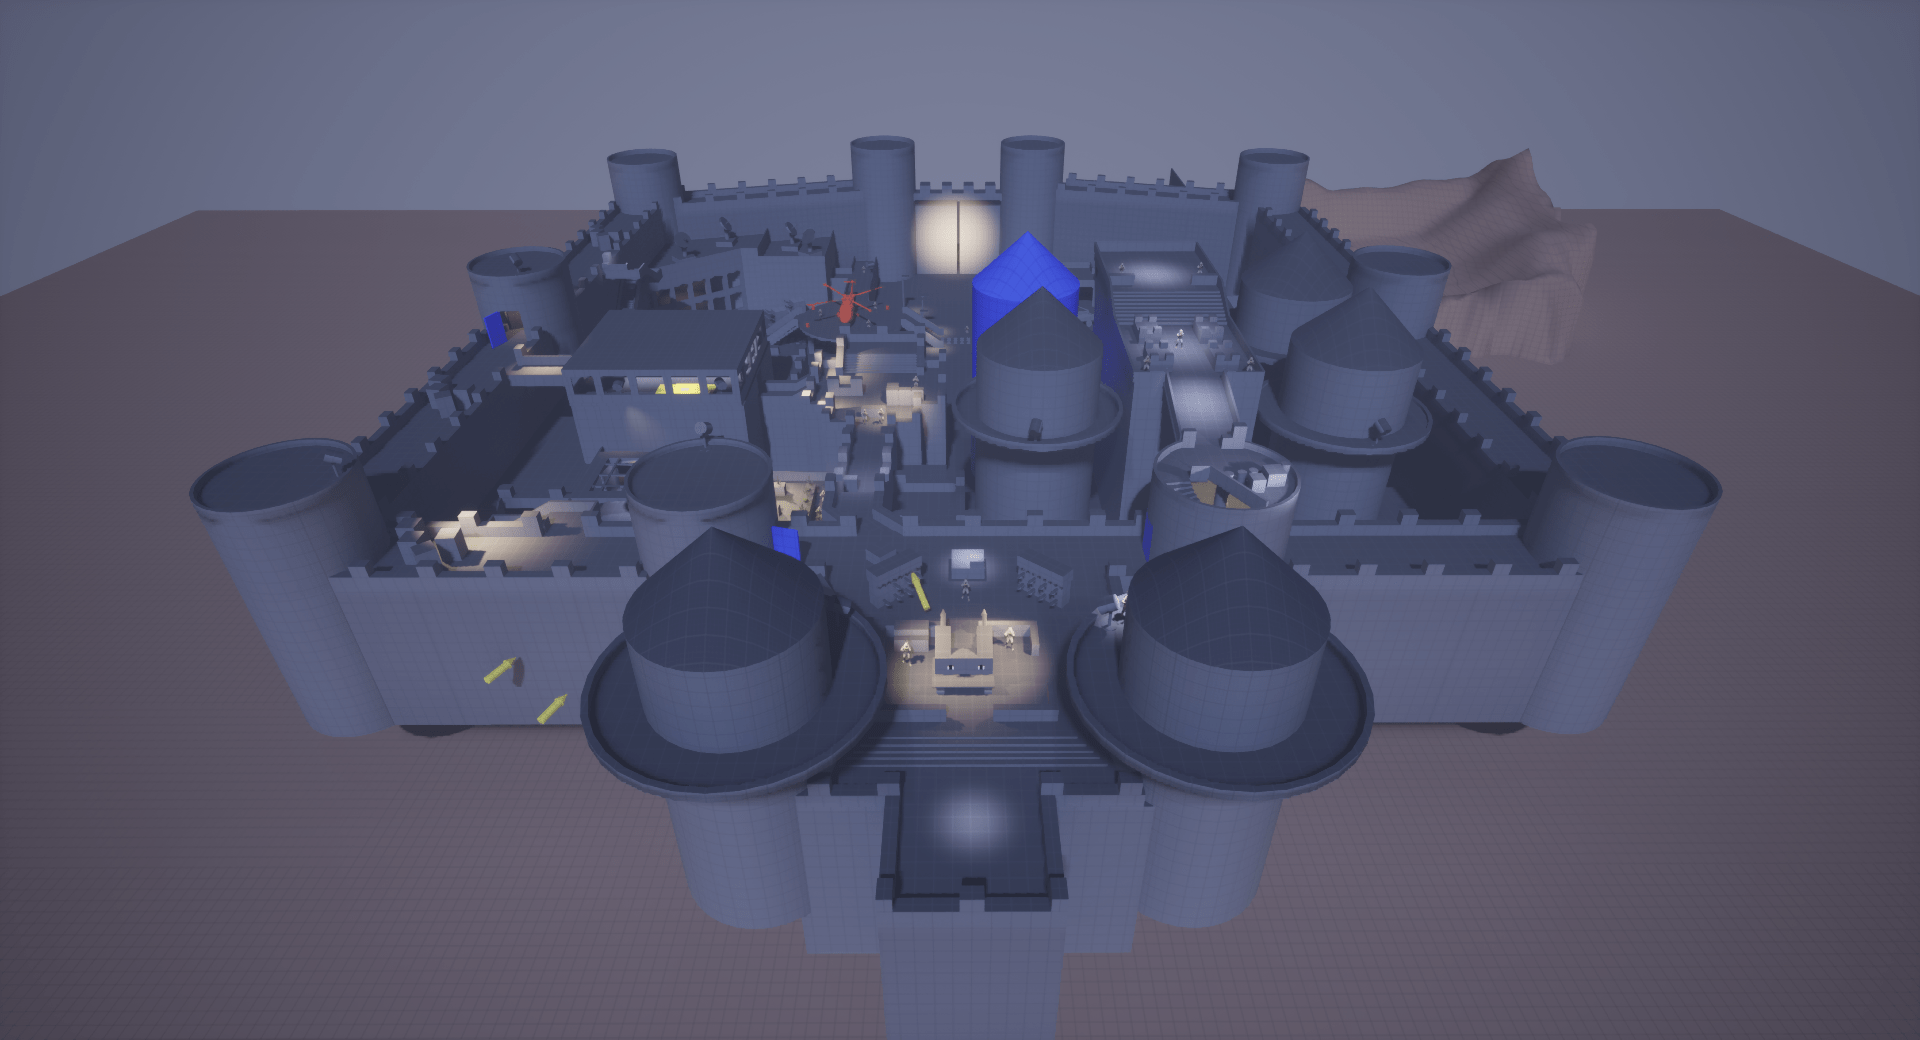
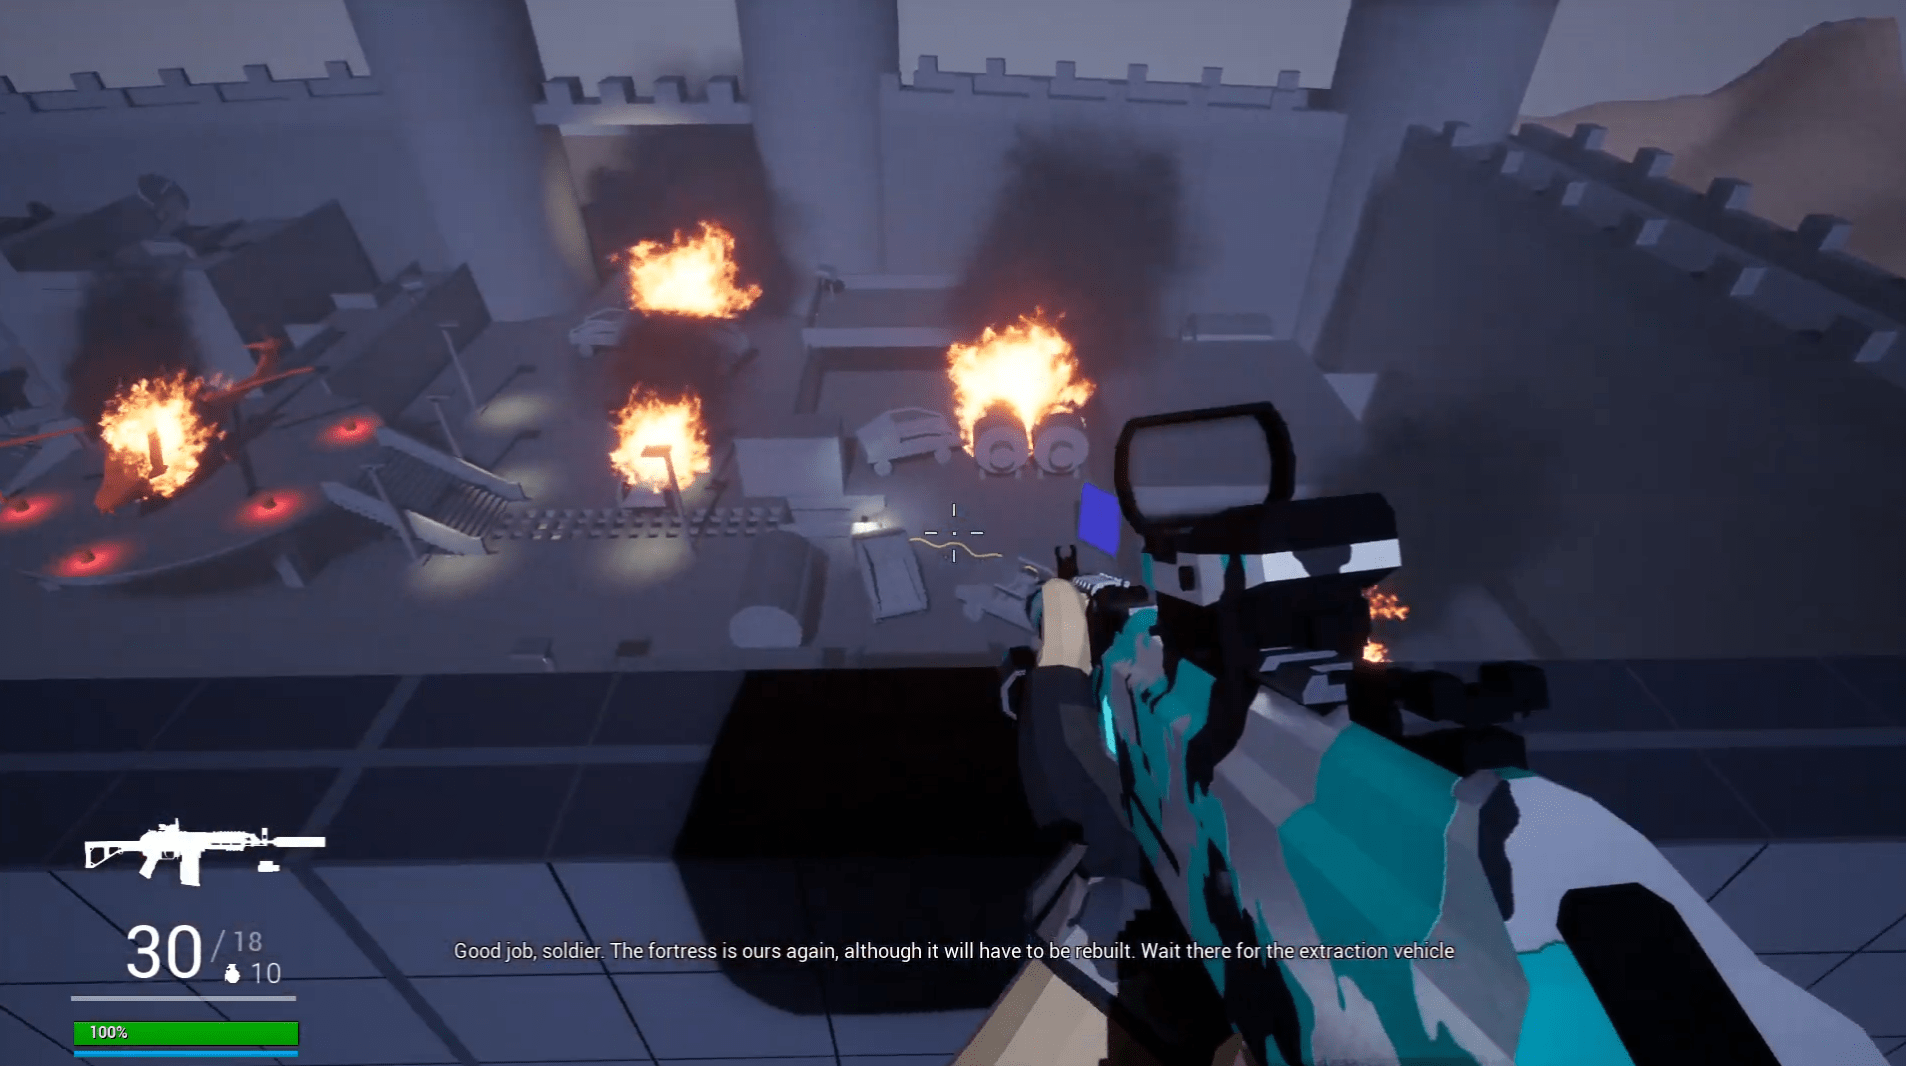
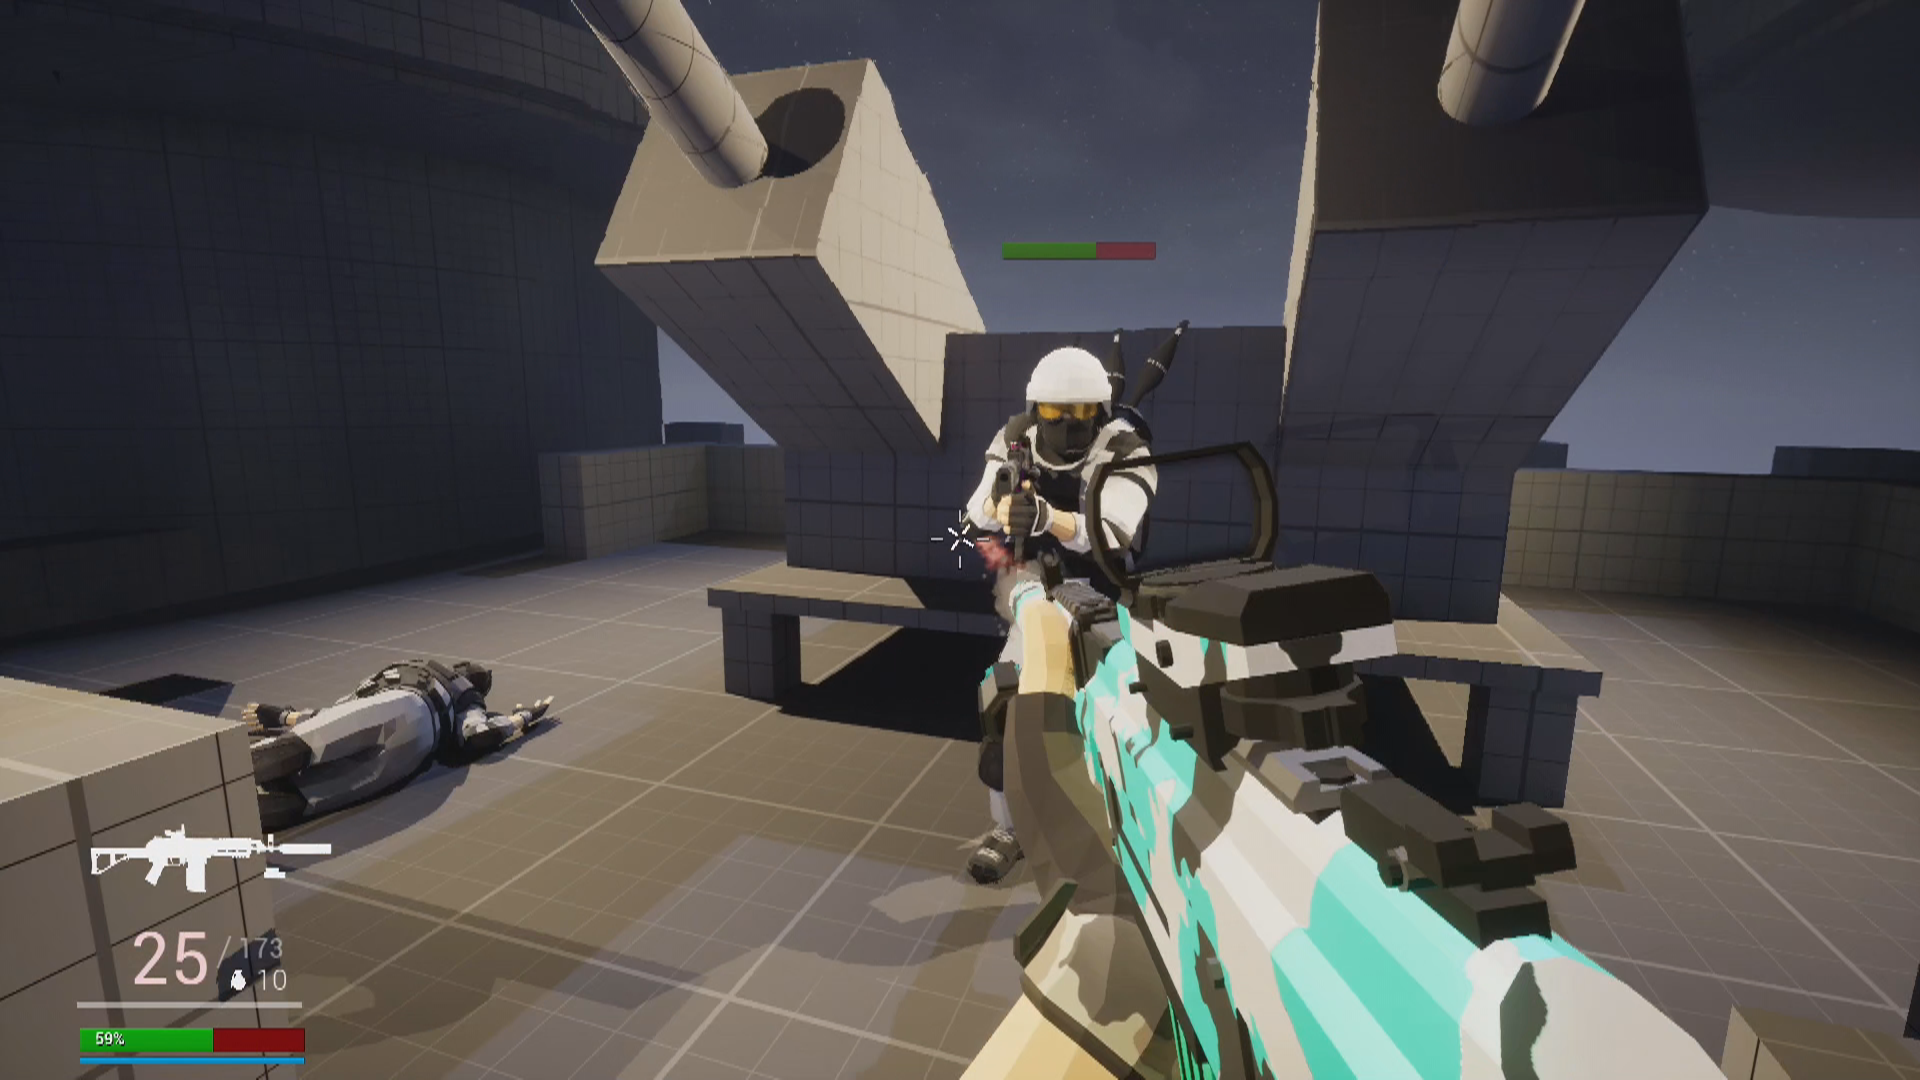
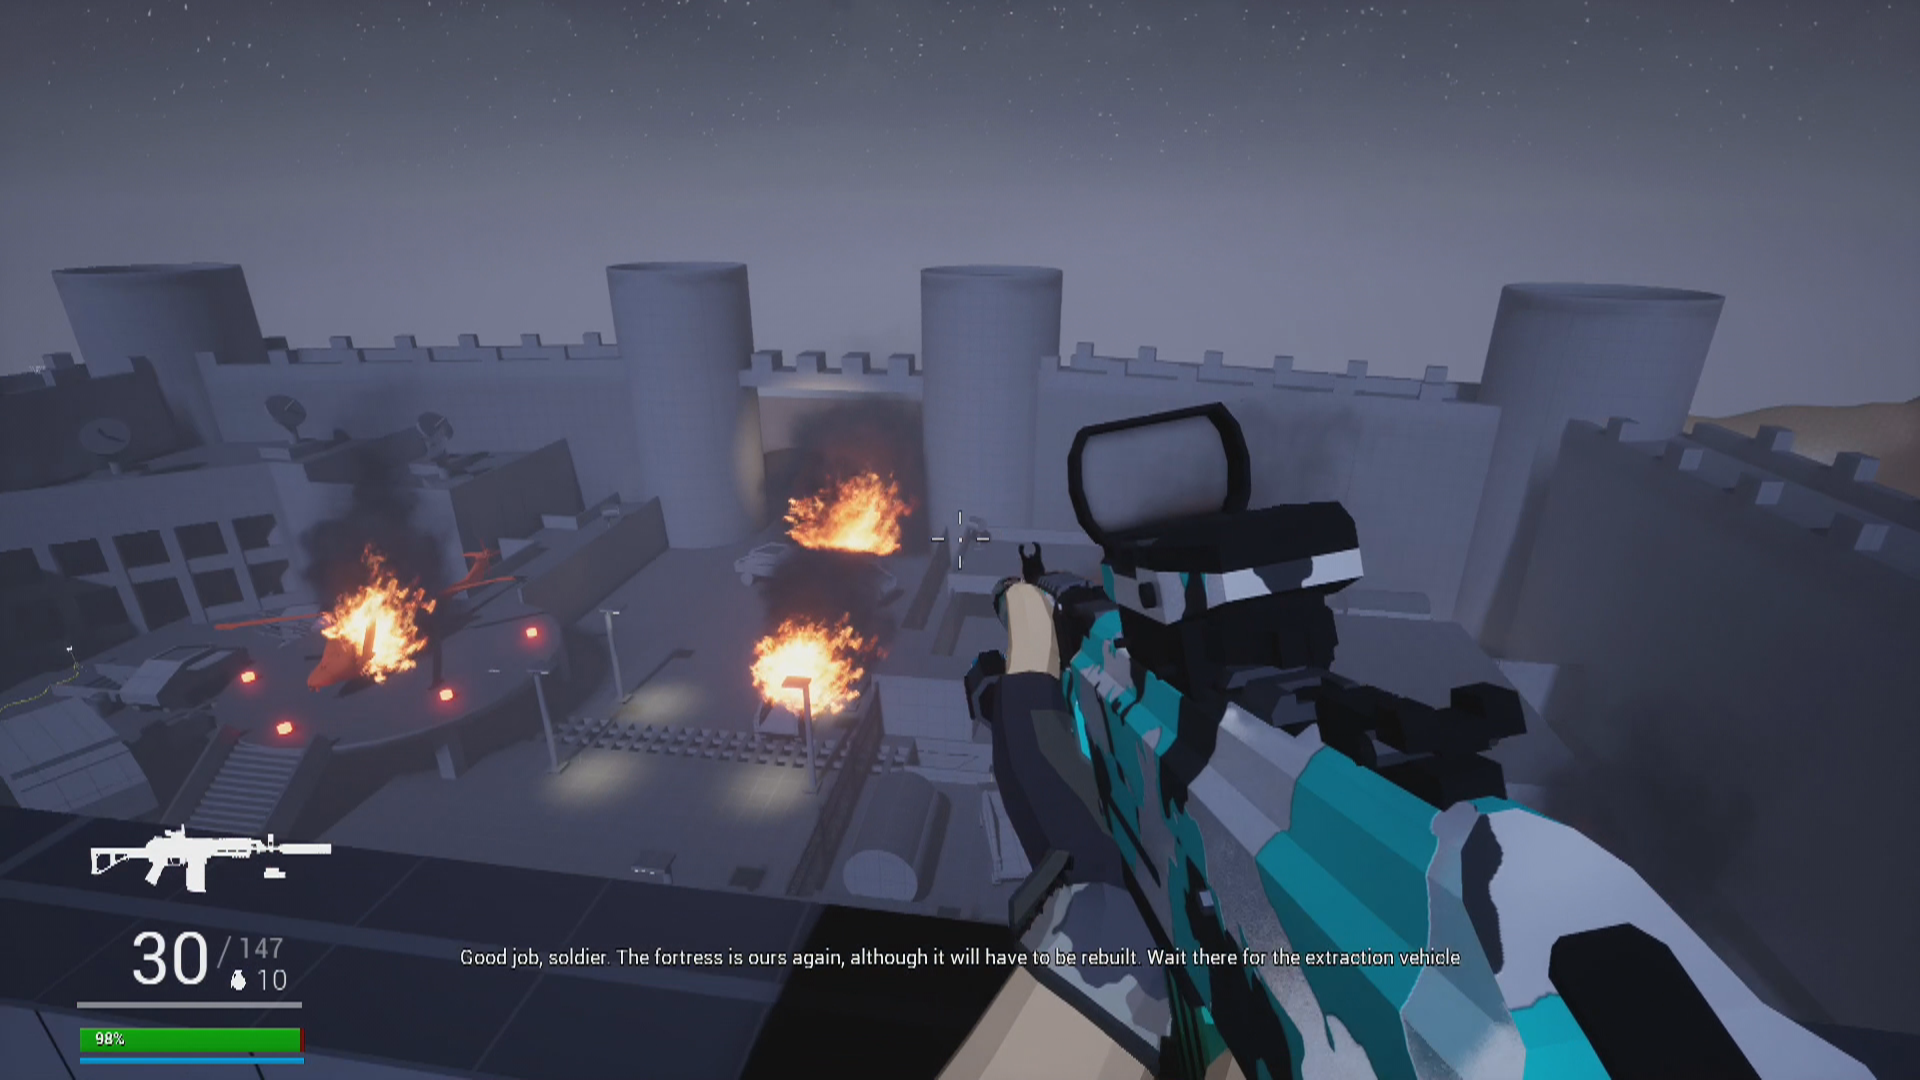
Beat 12: Level end
The player reaches the highest roof of the fortress, where the last unit of enemies is still resisting.
After getting rid of them, the player is rewarded with a final view of the fortress, which is completely destroyed after the battle. At least, It’s in the right hands once again.
The mission is complete.